






















At Tissus Print, we understand that flocking a DTF transfer film onto fabric may seem tricky, but it's a simple and rewarding process. In this guide, we will walk you step by step through applying our high-quality DTF transfer film at home. Follow these instructions to bring your textile creations to life!
Table of Contents
- Introduction
- Materials Needed for Your DTF Project
- Step 1: Preparing the Fabric
- Step 2: Positioning the DTF Transfer Film
- Step 3: Setting Up the Heat Press
- Step 4: Applying the Flocking
- Step 5: Finishing and Care
- Conclusion
Introduction
The DTF transfer (Direct to Film) allows you to customize textiles with vibrant and durable designs. This process, which requires a heat press, is perfect for clothing, bags, and more. In this tutorial, we will guide you through each step of transferring DTF film onto fabric, ensuring a professional finish.
Materials Needed for Your DTF Project
Before starting, here is the essential equipment you'll need:
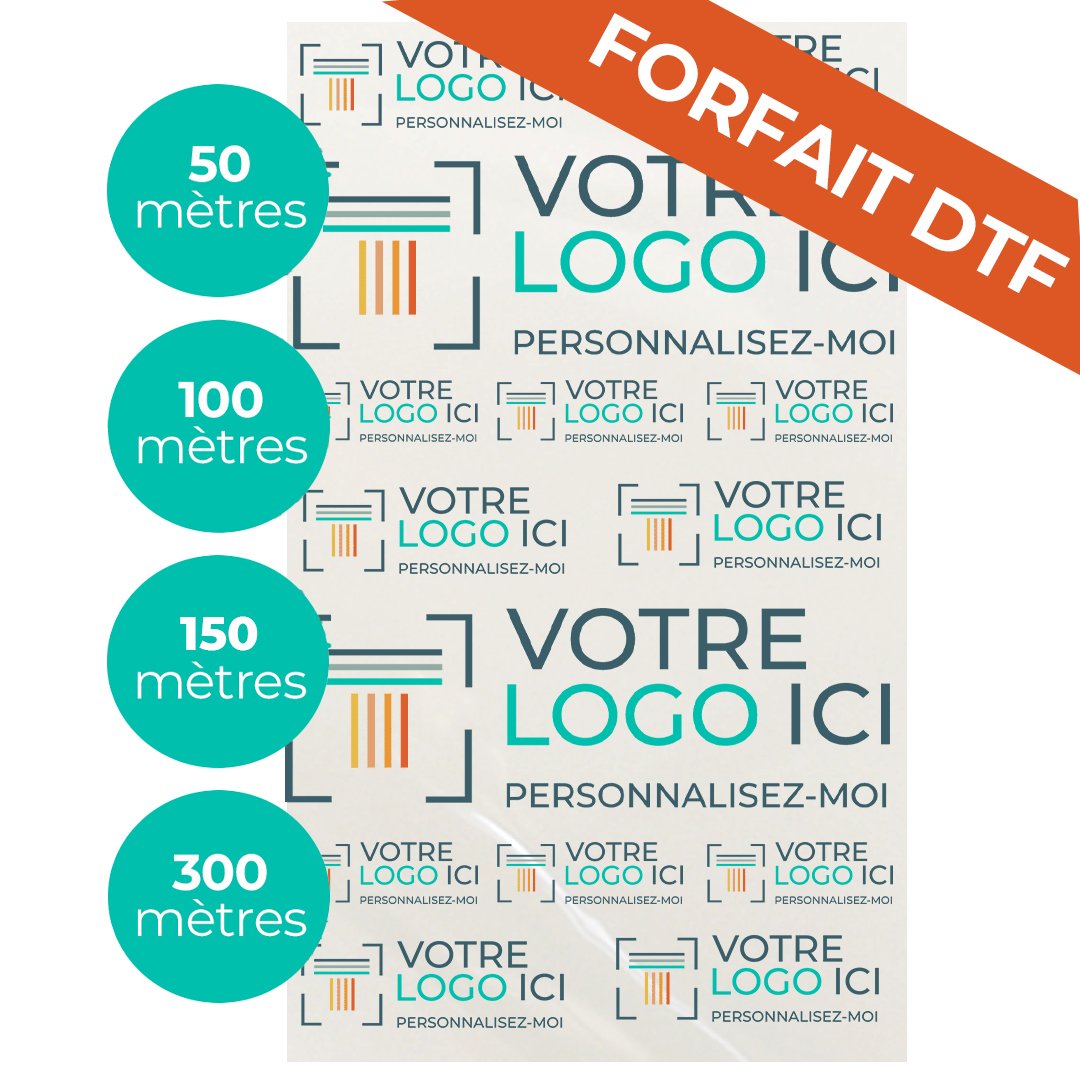
- DTF Transfer Film: Make sure to use a high-quality film for the best results. Check out our DTF transfer film at Tissus Print.
- Heat Press: Essential for applying heat and pressure during flocking.
- DTF Rotary Cutter: For precise cutting of your transfer film, use our DTF rotary cutter. This tool helps create clean edges and simplifies handling your design.
- Cutting Mat for DTF Sheet: Using a cutting mat protects your work surface and ensures accurate and safe cutting.
- Fabric to Customize: Choose an appropriate textile (cotton, polyester, or a blend) for optimal results.
- Parchment Paper: Used to protect both the film and fabric during transfer.
- Scissors: For trimming the film if needed.
Step 1: Preparing the Fabric
Before flocking, it is important to prepare your fabric:
- Washing and ironing: Wash and iron the fabric to remove wrinkles and impurities. This ensures a smooth surface for the transfer.
- Flat placement: Ensure the fabric is laid flat on a stable surface for precise flocking.
Step 2: Positioning the DTF Transfer Film
Once the fabric is ready, it's time to position your transfer film:
- Cutting if necessary: If your film isn't already sized, use scissors or a DTF cutter with a cutting mat to trim it as needed.
- Placement of the film: Carefully position the DTF transfer film on the fabric, ensuring it is centered and aligned correctly.
Step 3: Setting Up the Heat Press
Before applying the flocking, prepare your heat press:
- Temperature and time: Set the temperature (usually between 160°C and 180°C / 320°F–356°F) and time (around 10–15 seconds) depending on the fabric type. Refer to the instructions provided with your DTF transfer film for specific settings.
Step 4: Applying the Flocking
Now it's time to apply the flocking:
- Protect with parchment paper: Place parchment paper over the transfer film to protect both the film and the fabric during heat application.
- Heat application: Close the heat press, apply firm pressure, and hold for the recommended time to ensure proper transfer and adhesion.
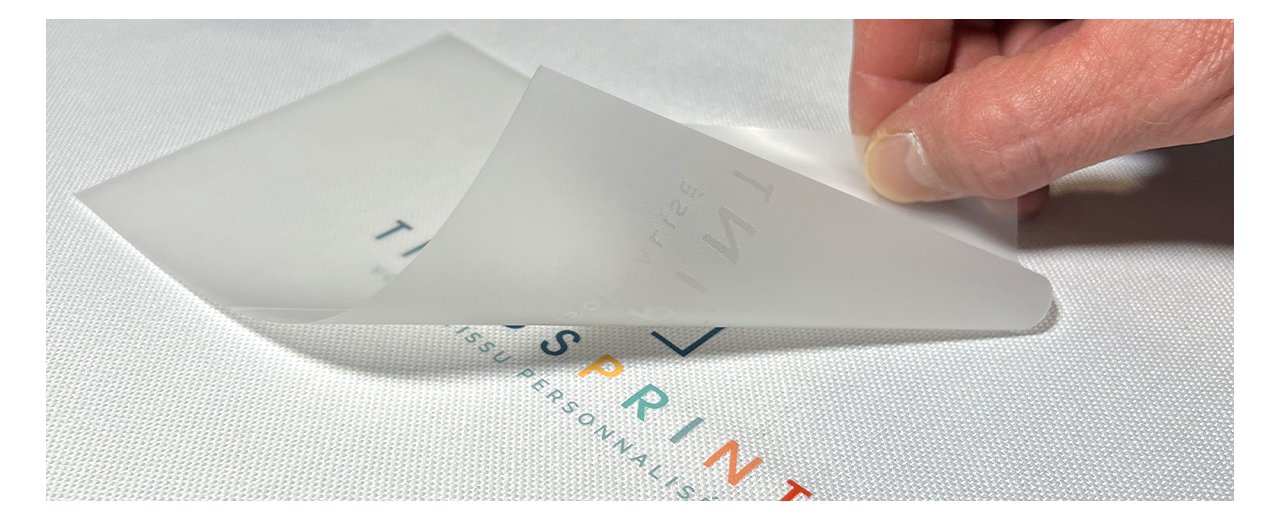
- Peeling the film: After the transfer, carefully peel the film while hot. Do this slowly to avoid lifting the design. (Check film-specific instructions.)
Step 5: Finishing and Care
After flocking, it is important to finalize your project:
- Cooling: Allow the fabric to cool slightly before removing the film to help set the design.
Film removal: Gently remove the transfer film. If parts lift, you can lightly press again with the heat press. - Customized fabric care: To preserve your flocking, wash the fabric inside out and avoid bleach. Follow recommended washing temperatures.
Conclusion
Congratulations! You have successfully flocked your DTF transfer film onto fabric. This simple process lets you create unique, personalized pieces that reflect your style. To learn more about DTF printing techniques, check our article on DTF Printer: Printing on Transparent Film.
At Tissus Print, we are here to support all your textile printing projects. Explore our range of DTF transfer films and unleash your creativity!


0 commentaires