


Do you want to create a design for fabric printing but are new to graphic design? Whether you are a fashion designer, decorator, artisan, or event planner, this article guides you step by step to create a seamless pattern for textile printing without being an expert. Discover the mistakes to avoid, best practices to follow, concrete examples, and how Tissus Print can support you in your project.
Contents
- 1. Understanding what a seamless pattern is
- 2. Common beginner mistakes
- 3. Best practices for a successful pattern
- 4. Examples of successful and failed patterns
- 5. How Tissus Print can help you
- FAQ
1. Understanding what a seamless pattern is
A seamless pattern (or "tileable pattern") is a visual designed to repeat infinitely without visible breaks. It is widely used in custom textile printing because it ensures perfect visual continuity over large fabric surfaces.
Key distinctions:
- Seamless pattern: repeats without visible seams.
- Placed pattern: single visual, positioned in a specific spot.
- Template: a cutting guide for sewing, different from a repeated design.
The benefits are numerous: smooth printing, professional look, versatility for all types of textile projects. Even without being a designer, it’s possible to create a visually impactful design.
2. Common beginner mistakes
| Mistake | Description | Consequence |
|---|---|---|
| Visible seam | Poor alignment of pattern edges | Grid effect or visual break on the fabric |
| Low resolution | File below 150 DPI | Blurry or pixelated print |
| Wrong file format | Using an overly compressed JPG or one without a transparent background | Loss of quality, unwanted white background |
| Incorrect pattern size | Pattern too large or too small for final use | Unbalanced visual, poorly perceived repetition |
3. Best practices for a successful pattern
- Work in a base square: your pattern must align perfectly at the edges.
- Use the right tools: Canva, Repper, or Tissus Print’s integrated tool.
- Test the repetition: visually duplicate the pattern before printing.
- Prepare a clean file: 300 DPI, PNG or TIFF, clear name, actual size.
- Consult our preparation guide.
4. Examples of successful and failed patterns
Successful examples:
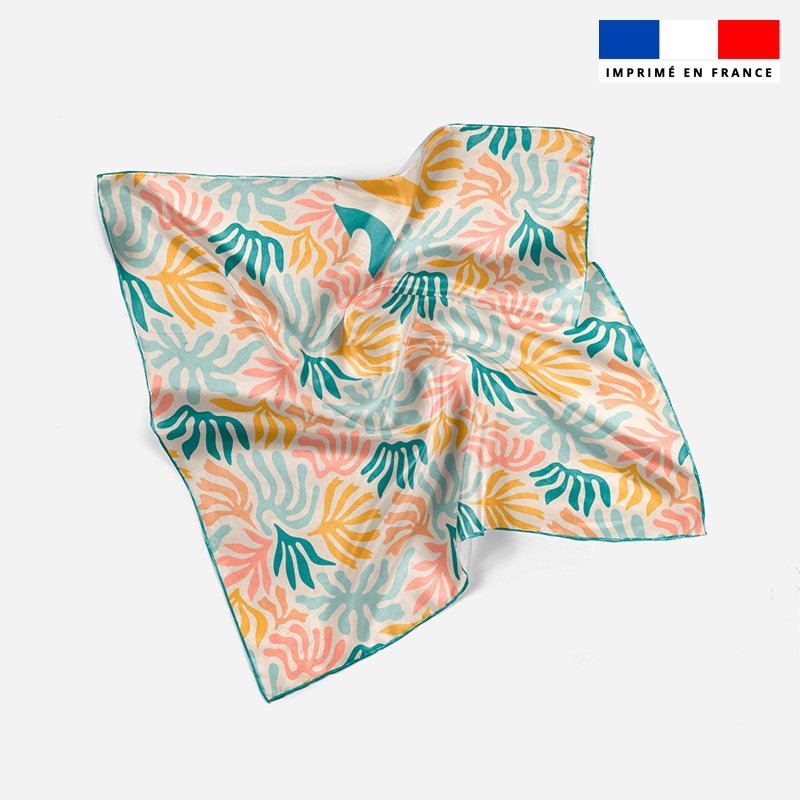
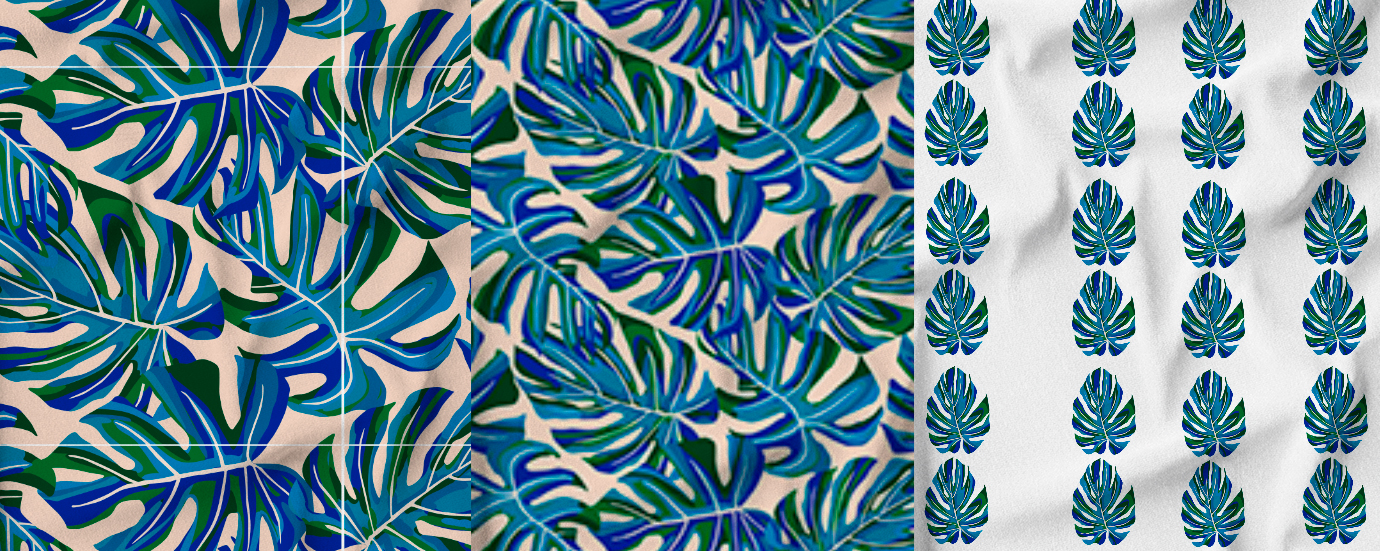
- Floral pattern with invisible seam, balanced density.
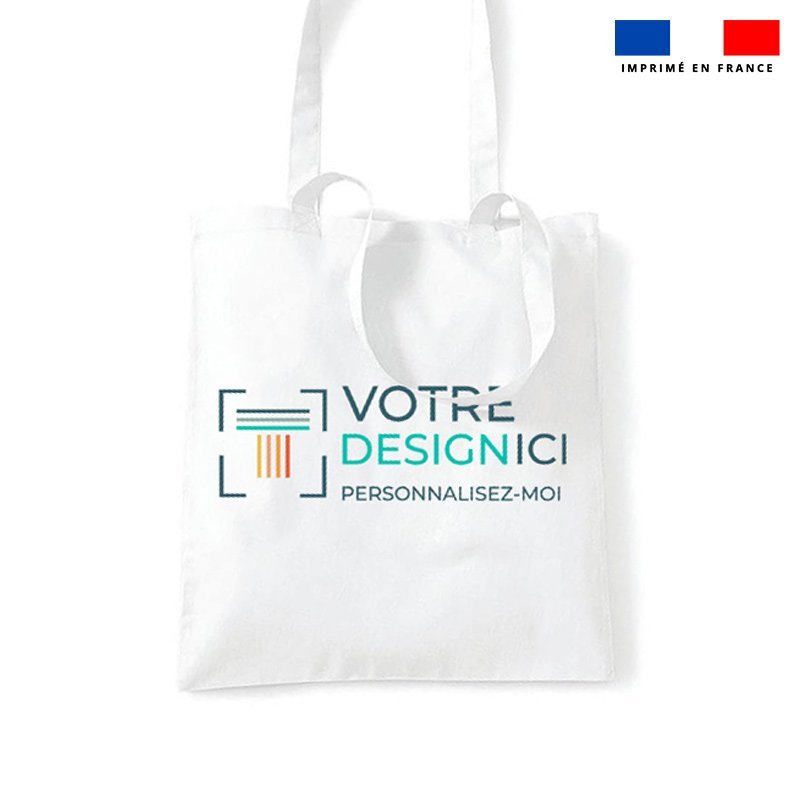
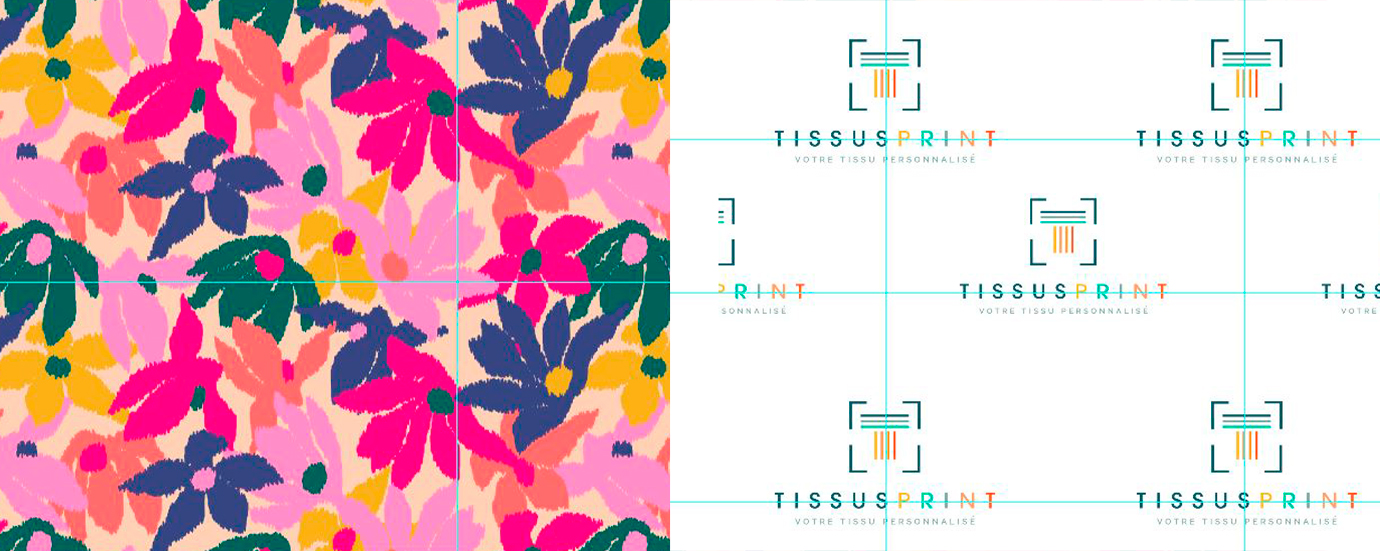
- Logo pattern in staggered layout, dynamic and modern.
Failed examples:
- Pattern with unmanaged white background visible on fabric.
- File too small, resulting in blurry print.
- Placed pattern used instead of seamless, causing grid effect.
5. How Tissus Print can help you create a seamless textile pattern
Creating a seamless pattern for textile printing is not just a design task. It is a true textile creation process, involving technique, foresight, and the right tools. That’s precisely why Tissus Print was created: to support creators of all levels in realizing their ideas with professional results, even without being a designer.
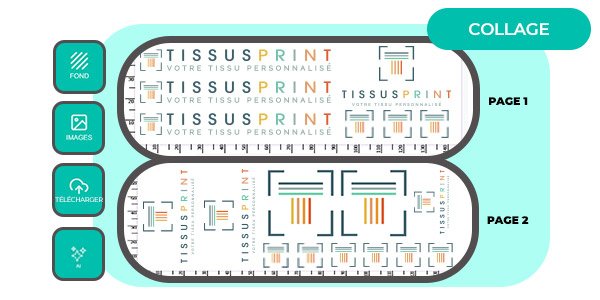
1. Online automatic repetition tool, accessible to everyone
No Photoshop or Illustrator? No problem.
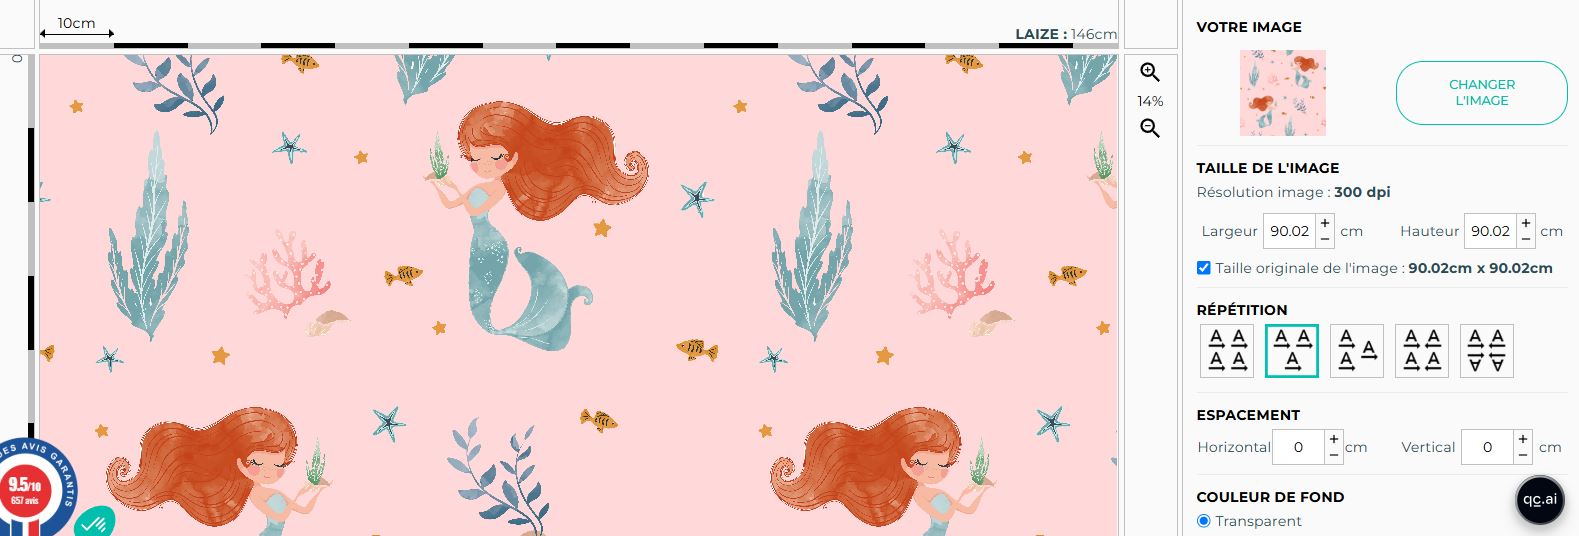
Our platform integrates an intuitive tool that transforms a simple image into a true seamless pattern in a few clicks:
- Choose repetition type: straight, staggered, mirrored, offset…
- Immediate preview of repeated pattern on fabric.
- No graphic skills required: simply upload your file.
Discover the Tissus Print repetition tool
2. Visual preview and on-demand proofing service
With our online tool, you get a preview of your pattern on 1 meter of fabric according to your chosen customization method. This visual helps anticipate the final effect before printing.
We also offer a proofing service (BAT) on request. This paid service includes:
- Technical file check: resolution, dimensions, format, transparent background.
- Seam analysis if your pattern is already repeated.
- Creation of a controlled preview before final approval.
This proof is recommended if you have doubts about your file quality or want technical validation with our team before production.
3. Human support, even if you are a beginner
Have a paper sketch? We help scan and prepare it. Have an idea but unsure how to realize it? We guide you step by step.
We work with creators, stylists, decorators, artisans, as well as emerging brands and event planners without a design department. Our goal: help you bring your visuals to life, whatever your tools or skill level.
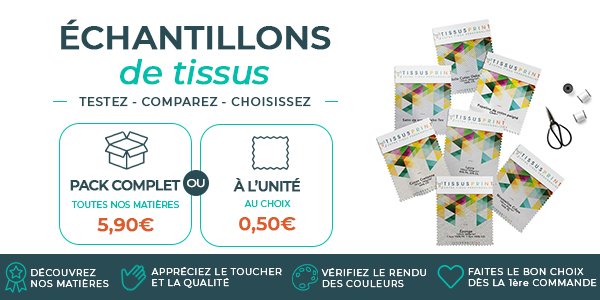
4. Sample service to validate your choices
Before printing multiple meters of fabric, it’s wise to test. We offer printed samples from your design. You can:
- Validate actual colors after printing.
- Check pattern size at real scale.
- Assess chosen fabric quality.
Need to adjust the pattern after receiving the sample? Possible before final order.
5. Meter printing with no minimum order
Whether you want 1 meter or 50 meters, we adapt our service to your needs:
- No minimum quantity.
- Choice of printable fabrics: cotton, polyester, knit, satin, etc.
- Fully customized printing, wide width, professional result.
6. Educational resources at your disposal
Want to go further? Learn how to optimize your design or prepare your files like a pro. Here are resources to consult:
- Create your pattern without being a designer
- Step-by-step guide to optimize your visuals
- 5 simple steps to personalize your fabrics online
Summary
Creating a seamless pattern for textile printing is not reserved for experts. With the right tools, guidance, and quality support, you can achieve professional, customized fabric without complicated software.
Try our tool, test your pattern, or contact us for tailored support. Tissus Print helps you bring your ideas to life, from sketch to printed fabric.
FAQ – Frequently Asked Questions
- What are common mistakes when creating a seamless pattern for textile printing?
- Most common mistakes include visible seams, low resolution, wrong file formats, and incorrectly sized patterns.
- How to prevent a white background from appearing around my DTF pattern in textile printing?
- Use a PNG file with a transparent background and ensure no white layers are included in your visual.
- Why is flattening your file before sending crucial for successful printing?
- To avoid misinterpretation of layers or fonts, the file should be flattened or vectorized.
- What dimensions and resolutions are recommended for high-quality textile patterns?
- Work at 1:1 scale with at least 150–300 DPI, depending on detail level.
- How to plan safety margins to avoid design being cut off during printing?
- Add 0.5 to 1 cm of bleed around your pattern, especially for edge-to-edge prints.


0 commentaires