


You have an image, logo, or design to print on fabric… but you’re not a designer? Unsure if your file is ready or how to avoid print mistakes? This guide is for you.
At Tissus Print, we receive visuals from clients every day who think everything is perfect… but end up with blurry prints, misaligned designs, or distorted colors. The reason is often simple: the file wasn’t properly prepared.
In this article, we explain step by step how to optimize your visual for flawless results, even if you don’t know Photoshop or Illustrator. You’ll find practical tips, examples, free tools, and checklists to prevent errors.
Whether you want to print a t-shirt, tote bag, or fabric panel, follow this complete guide to create a professionally print-ready file.
Goal: so you can confidently send your visual and receive exactly what you expected.
I. Understanding the Basics: What is an Optimized Print-Ready Visual?
Before opening software like Photoshop or Canva, it’s essential to understand what a "print-ready" file requires. Optimizing a visual before fabric printing isn’t optional: it’s necessary for clean, sharp, professional results.
1. What is a “print-ready” visual?
A print-ready visual must follow specific technical rules. It’s not just a pretty file on screen. Here are the four main criteria:
- Proper format: PDF, PNG, AI, EPS, TIFF depending on the printing method
- Sufficient resolution: usually 300 DPI (or vector for logos)
- CMYK color mode: RGB colors do not reproduce faithfully in print
- Margins and bleed considered: to avoid cutting errors
If any of these points are ignored, the final result can be blurry, misaligned, or miscolored. Fortunately, you can fix all of this by following this step-by-step guide.
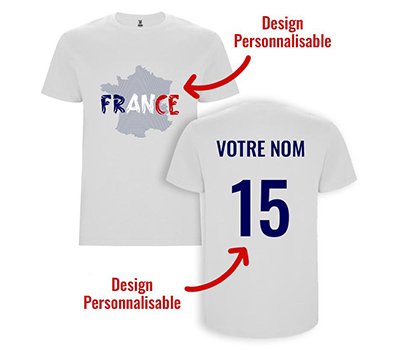
2. Which textile printing technique will you use?
The printing method also affects visual preparation. Here’s a quick reference table:
| Technique | Required Resolution | Recommended Format | Color Mode |
|---|---|---|---|
| DTG (Direct-to-Garment) | 150 to 300 DPI | PNG, TIFF | RGB or CMYK |
| Sublimation | 300 DPI | PDF, PNG | CMYK |
| Screen Printing | Vector | AI, EPS, Vectorized PDF | Pantone or CMYK |
Next, you’ll learn how to check image resolution and prepare it for sharp printing, without blur or pixelation.


0 commentaires