


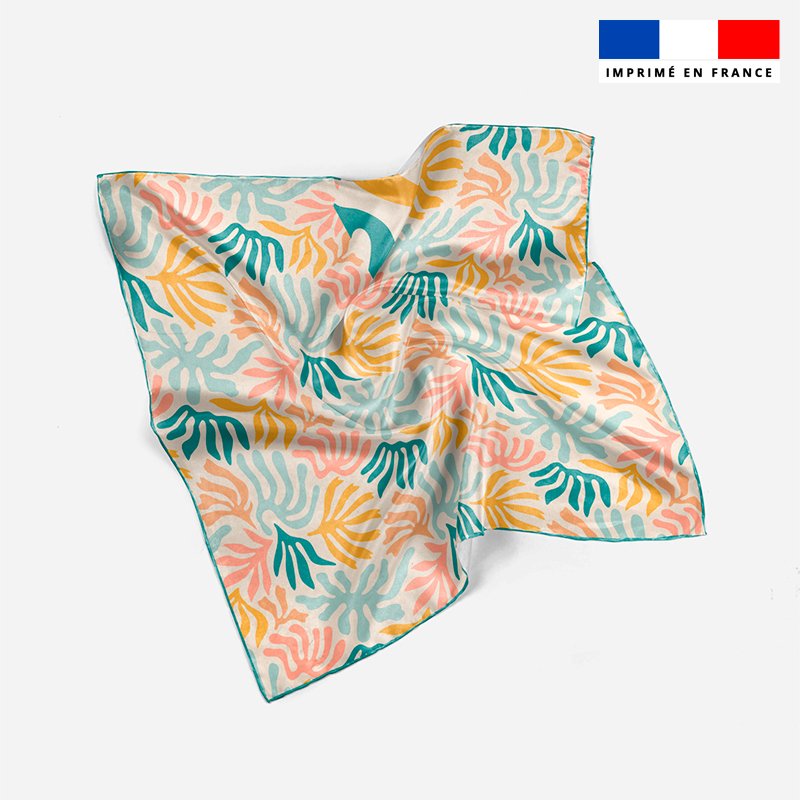


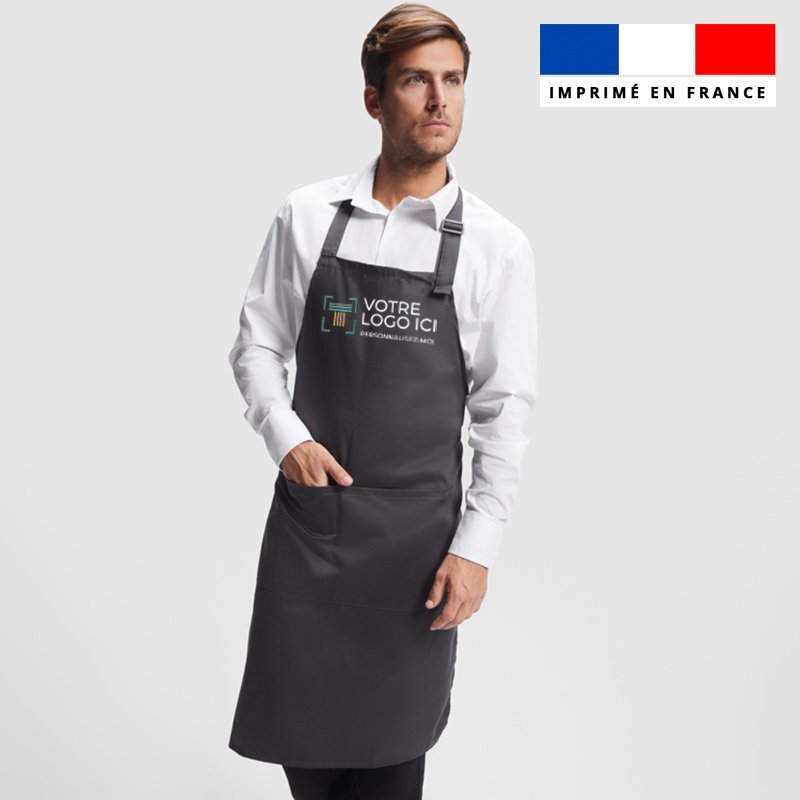
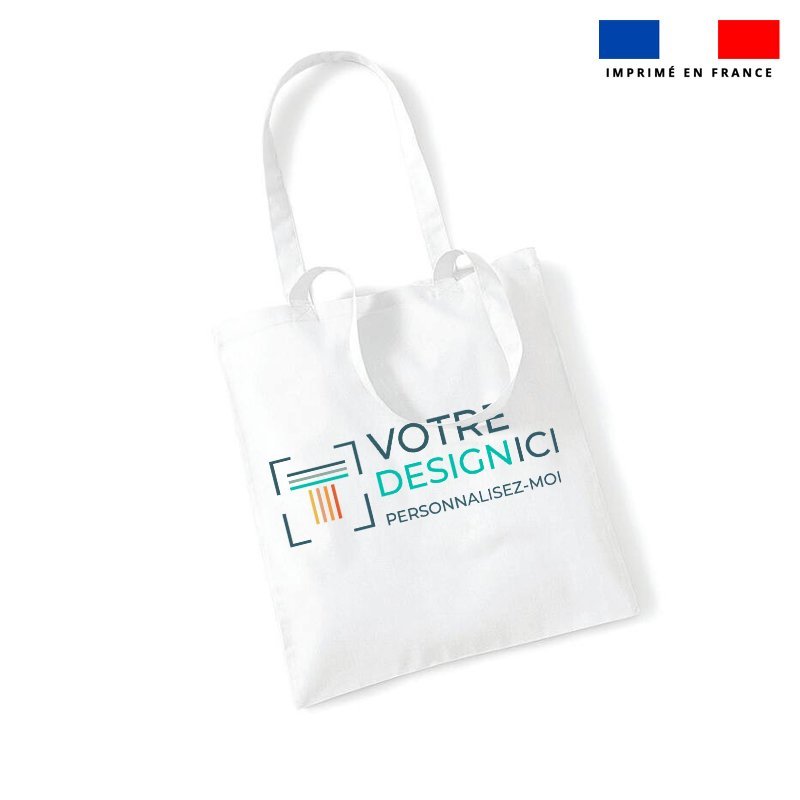
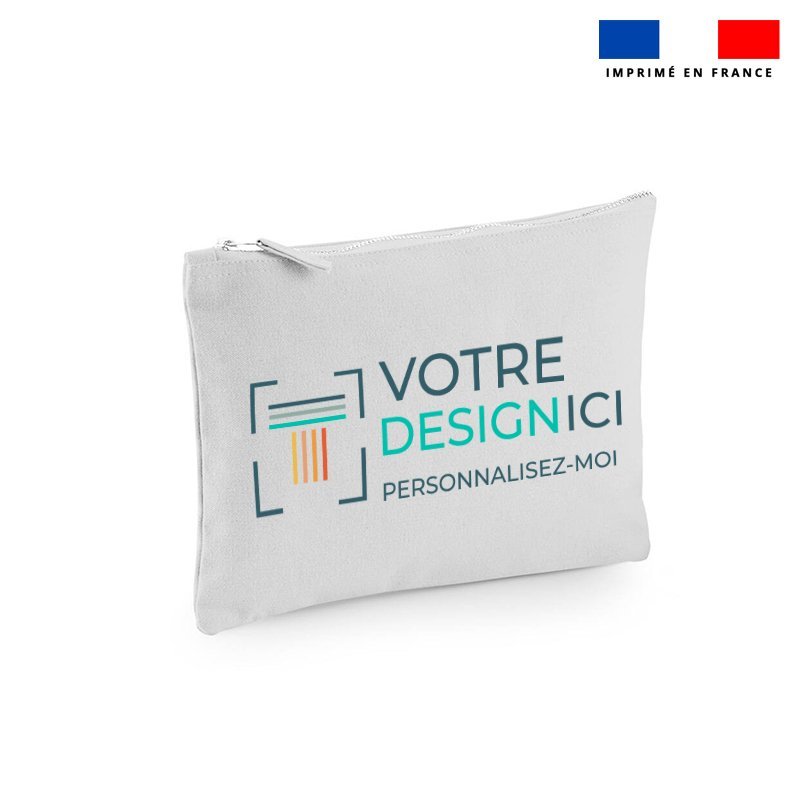
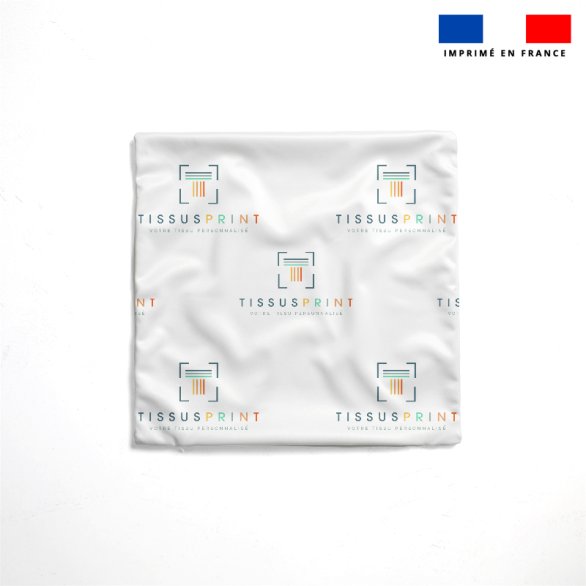

In brief: a placed pattern is a visual positioned in a specific area of the fabric, such as the front of a dress or the center of a cushion. A repeating pattern is reproduced continuously across the entire surface, like a fabric print by the meter. The right choice is not determined by the visual itself, but by the final project: the pattern size, pattern pieces, cutting, and desired result.
The same illustration can create two radically different fabrics. Printed once, large, in the center of a panel, it becomes a statement piece, almost like a painting. Repeated over three meters, it becomes a lively print that dresses a garment, tablecloth, or series of accessories. The source file is identical. The result, however, is completely different.
That is why the choice between a placed pattern and a repeating pattern should be made before sending your file, not afterward. In this guide, we walk you through the method used every day in our workshop: understand the difference, choose according to your project, prepare your file, then create your custom fabric online. Before starting your print, discover how to avoid unpleasant surprises when cutting and sewing.
The topic is far from insignificant. According to ADEME, 3.48 billion units of clothing textiles, household linen and footwear (TLC) were placed on the French market in 2024, representing approximately 886,000 metric tons (source: ADEME, “Textiles d'habillement, linge de maison et chaussures : données 2024”). Faced with these volumes, choosing made-to-order printed fabric designed for a specific piece and printed in the right quantity can help better match production to the actual project.
Placed or repeating pattern: what is the actual difference?
The difference comes down to one simple idea: a placed pattern is designed for one specific location, while a repeating pattern is designed for an entire surface. The first creates a composition, while the second covers the material. Both techniques are available for custom textile printing, regardless of the fabric selected, from organic cotton to polyester printed using sublimation.
Placed pattern: a visual designed for a specific location
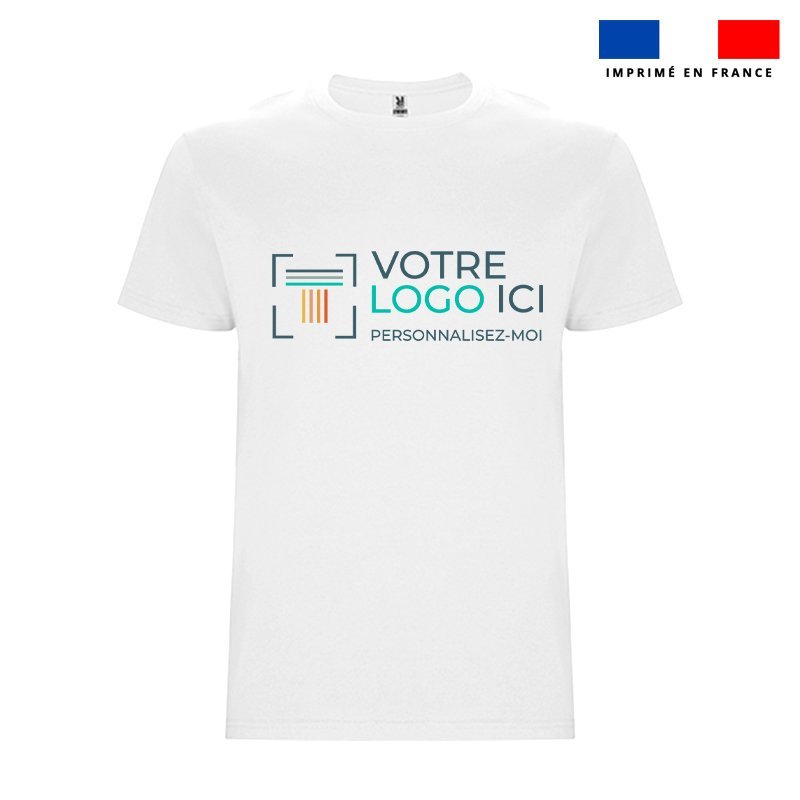
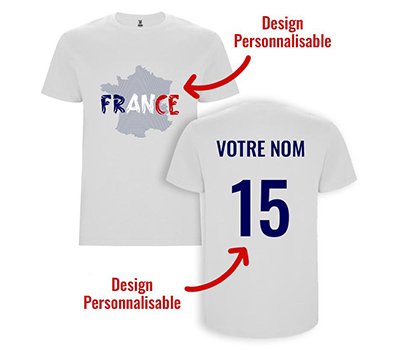
With a placed pattern, the visual is positioned in a predetermined area of the fabric. It appears only once (or a defined number of times), and its position is decided in advance, down to the centimeter.
It is typically used for:
- a large illustration in the center of a panel.
- a drawing on the front of a dress or T-shirt.
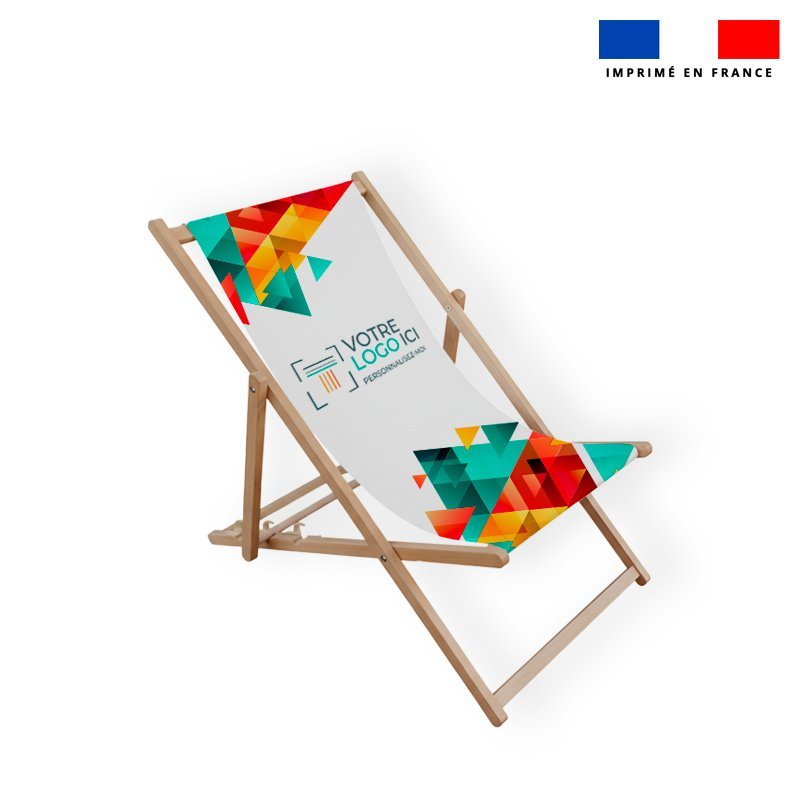
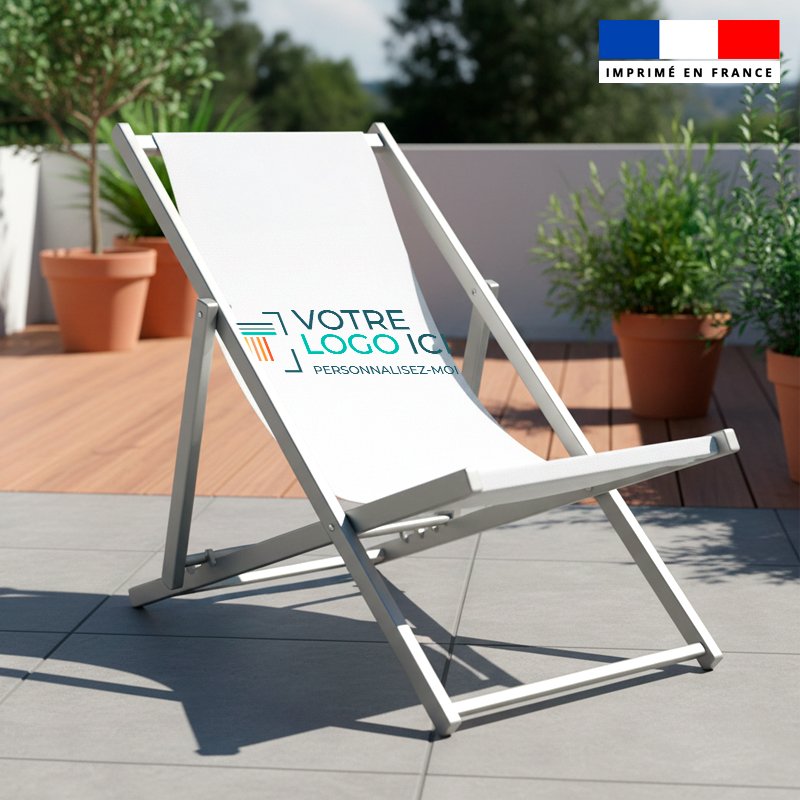
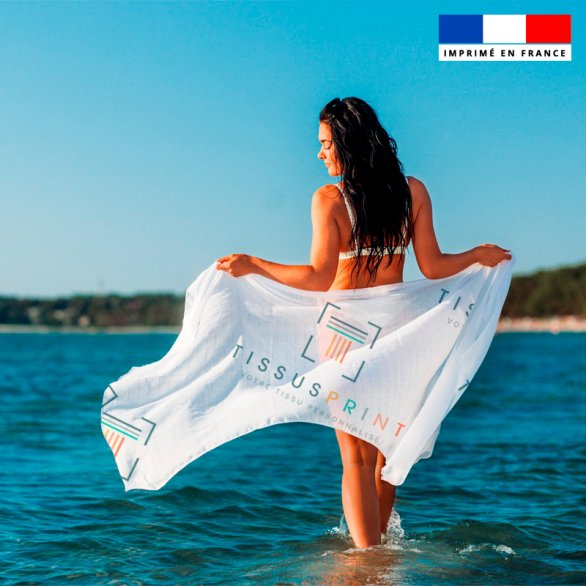
- a logo intended for a tote bag, apron, or deck chair.
- an illustration designed to the exact dimensions of a cushion.
- a visual reserved for a specific part of an accessory, such as the flap of a pouch.
Main advantage: the composition is completely controlled. You decide exactly where the visual will appear on the finished piece, and nothing is left to chance during cutting.
Repeating pattern: a print that continues across the entire surface
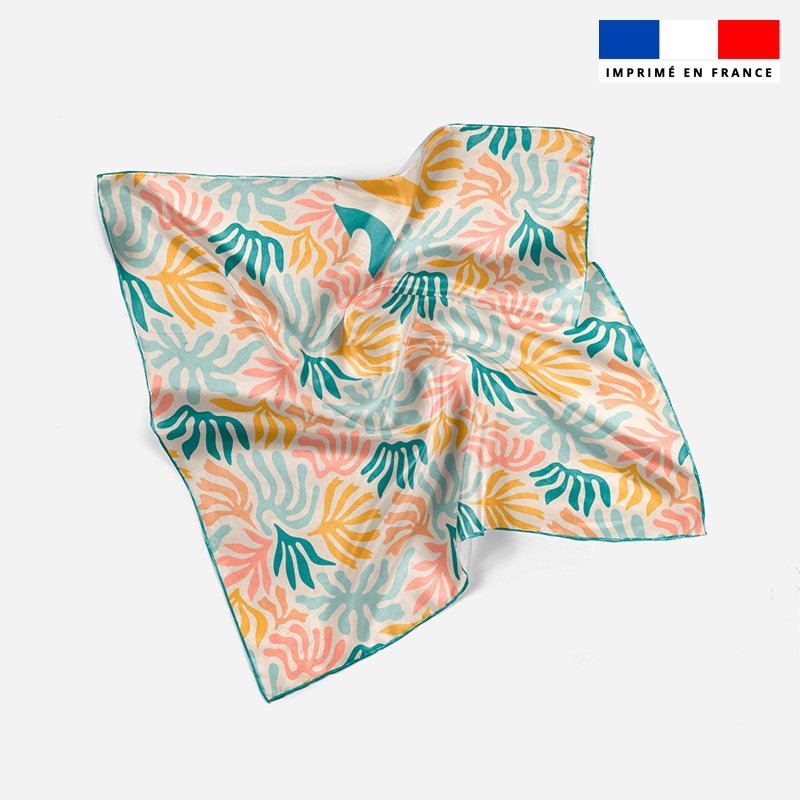
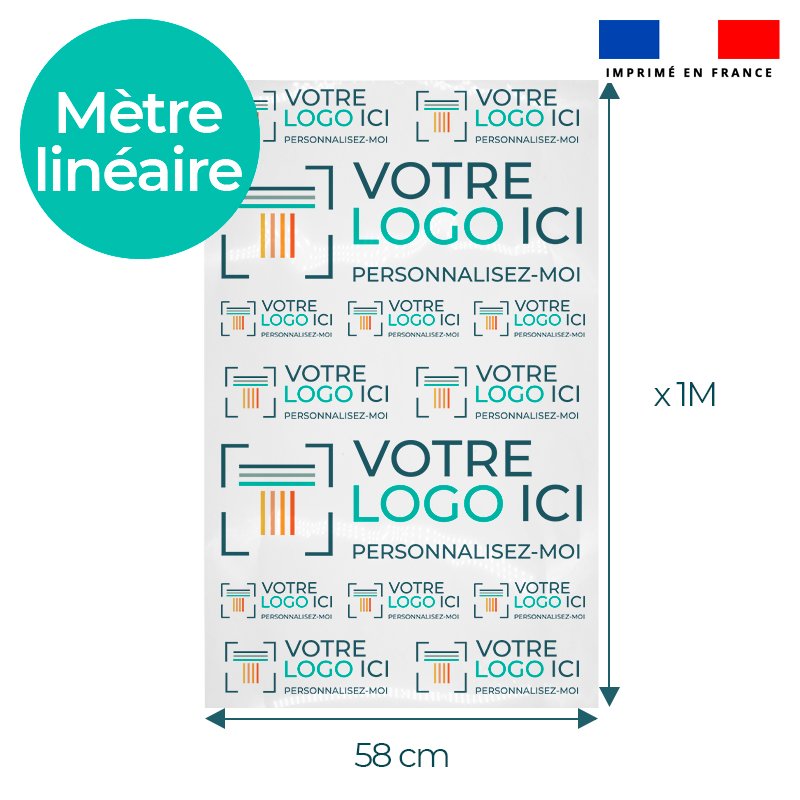
With a repeating pattern, a graphic element (called a “repeat unit” or “tile”) is reproduced side by side, in rows and columns, until it covers the entire amount of fabric ordered. The resulting fabric behaves like a commercial print, with one difference: the design is yours.
It is particularly suitable for:
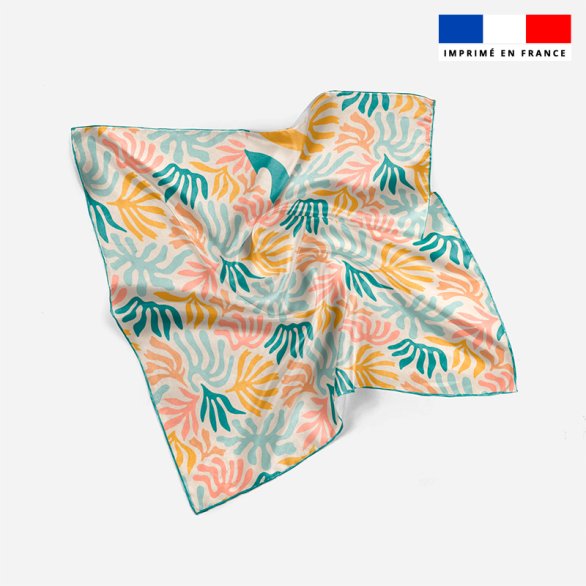
- floral and foliage patterns.
- geometric patterns, stripes, and reinvented polka dots.
- small animals or characters scattered across the surface.
- small hand-drawn or digital illustrations.
- decorative prints intended for upholstery or home textiles.
Main advantage: you obtain continuous, consistent fabric, giving you greater freedom when cutting, especially when working with several meters.
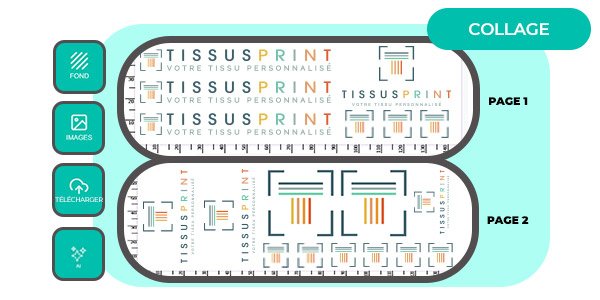
In one image: placed = composition, repeated = continuity

Remember this rule: if the visual needs to be seen in a specific location, it is placed. If it needs to cover the material, it is repeated.
The right choice depends first on your project
Before choosing your pattern, one question needs to be asked: how will your fabric be used and cut? The right pattern is not simply the one that looks good on screen. It is the one that works once the fabric has been cut and turned into a finished product.
The recommended approach always follows the same order:
- my project.
- my pattern.
- my cutting plan.
- the result I want.
- my pattern type.
- my file.
- my print.
The pattern type only comes fifth. Everything before it determines whether it will work.
For clothing: think about the pattern pieces
A garment is never cut from a single piece. The fabric is cut into several pieces: front, back, sleeves, collar, pockets, facings. Each piece only takes a portion of the printed fabric.
A large illustration should therefore be printed as a placed pattern if it needs to appear exactly in the center of the front of a dress, without being cut by a dart or seam. Conversely, a floral or graphic print will generally be designed as a repeating pattern to cover the entire garment, from the sleeves to the hem, without the exact position of each flower mattering.
For a cushion or decorative panel: think about the final surface
When the finished piece has a clearly defined area, a placed pattern becomes particularly useful. The composition can be created to the exact dimensions of the visible surface, including seam allowances.
This applies to:
- a 40 × 40 cm or 45 × 45 cm cushion.
- a wall panel or hanging.
- a chaise lounge or pouf cover.
- a decorative textile panel for a living room or trade show booth.
For several meters of fabric: think about continuity
When the fabric is intended for a long length (curtains, tablecloths, long dresses) or for several different creations, a repeating pattern offers greater freedom. Pattern pieces can be placed anywhere on the fabric because the print remains the same throughout. Fewer cutting constraints mean less fabric waste.
Placed or repeating pattern: which should you choose for your project?
The table below summarizes the situations most frequently encountered by our customers. It can be used as a starting point before refining your choice according to your pattern.
| Project | Placed pattern | Repeating pattern |
|---|---|---|
| Large illustration | Very suitable | Possible |
| Small illustration | Possible | Very suitable |
| Dress with a central visual | Very suitable | Depending on the style |
| Floral dress | Possible | Very suitable |
| Custom cushion | Very suitable | Possible |
| Decorative panel | Very suitable | Possible |
| Several meters of fabric | Depending on the project | Very suitable |
| Several accessories | Depending on the project | Very suitable |
| Continuous print | Not the priority | Very suitable |
Key takeaway:
- Want to showcase an illustration? A placed pattern is recommended.
- Want to create a continuous print? A repeating pattern is recommended.
- Still unsure? Think about the pattern and cutting first; the answer will often become obvious.
5 questions to ask yourself before choosing your pattern
These five questions turn hesitation into a decision. They are the same questions our team asks when a customer requests advice.
1. How large is my pattern?
An XXL pattern measuring 60 cm wide and a small 5 cm illustration will not create the same effect at all. The larger the visual, the more it needs to be placed so it does not get cut off. The smaller it is, the more naturally it lends itself to repetition.
2. Where should my visual appear?
Front, back, sleeve, pocket, center of a cushion, bottom of a curtain: if a specific position is expected, a placed pattern is almost always the right answer. If the position does not matter, a repeating pattern will be easier to use.
3. How many pieces will I cut?
The more pieces the pattern has, the more the placement needs to be planned in advance. For a pillowcase, two rectangles are enough. For a lined jacket, around fifteen pieces may be needed, and each one “captures” a different portion of the fabric.
4. Do I need the pattern to continue?
If the pattern needs to cover several meters, cross seams, or be used on several matching items, repetition is relevant. A well-designed repeat ensures visual continuity from one end of the fabric to the other.
5. What result am I looking for?
The final result should be visualized before making your choice. Are you looking for:
- a large illustration that immediately attracts attention.
- a print that covers the entire surface.
- a discreet, regular pattern.
- a graphic, almost architectural textile.
- a decorative fabric intended for home furnishings.
The first two options respectively point toward placed and repeating patterns. The following three can work in either case, depending on the pattern.
Mistakes to avoid before printing your fabric
Most disappointments come neither from the printing process nor from the fabric. They come from choosing the pattern too quickly. Here are the five most common mistakes and how to avoid them.
Choosing a pattern without thinking about cutting
An illustration that is perfectly centered in the file can be cut in half by a side seam or bust dart. A common example is a portrait placed in the center of a 140 cm fabric width, while the front of the T-shirt is only 50 cm wide. The pattern should be placed, at least mentally, over the file before approval.
Underestimating the pattern size
Proportions can be misleading on screen. A pattern that looks “medium-sized” on a laptop may turn out to be tiny once printed, or conversely, overwhelming. Actual dimensions should always be checked in centimeters. A simple tip: print your visual on paper at 1:1 scale, cut it out, and place it on an existing garment.
Forgetting the repeats in a repeating pattern
A repeating pattern must continue naturally. If a leaf is cut off at the right edge of the repeat unit without reappearing on the left, a visible line will appear every X centimeters across the fabric. This defect cannot be corrected after printing.
Not planning enough fabric
The fabric quantity must be calculated while taking several elements into account:
- the actual surface area of the pattern pieces.
- seam allowances, often 1 to 1.5 cm on each side.
- the direction of the pattern, which may prevent a piece from being turned.
- any repeats that need to be aligned between two pieces.
- a safety margin for a cutting error or test.
Relying only on the on-screen preview
The screen does not reproduce the exact physical appearance of the textile. Colors are displayed using light (RGB), while they are printed with ink onto a fiber that absorbs them differently depending on whether the fabric is cotton, linen, or polyester. The feel, sheen, and density of the pattern can really only be judged by handling the fabric.
Tissus Print tip: for an important project (several meters, a collection, a professional order), we strongly recommend ordering a sample before starting the final quantity. A few dollars invested upfront can help avoid a complete reprint.
How do you prepare a placed pattern for textile printing?
A successful placed pattern is prepared in three stages: define the print area, anticipate the pattern pieces, and check the file quality.
Define the print area
First, the following elements must be established:
- the exact dimensions of the visual, in centimeters.
- its position across the fabric width.
- its orientation, portrait or landscape.
- the margins to preserve around the visual.
- the direction of the pattern, especially if it includes a person, text, or landscape.
Anticipate the sewing pattern
Placement should be planned before printing, not when cutting. For each relevant piece (front, back, sleeves, pocket, collar), it is useful to identify the area that will actually be visible once sewn. On the front of a dress, for example, the 1.5 cm seam allowance, dart, and armhole significantly reduce the usable area.
A customer who wanted to print a watercolor painting of her garden on the front of a wrap dress was able to avoid an unpleasant surprise: by placing her pattern over the file, she realized that the wrap front concealed nearly one-third of the illustration. The visual was shifted by 8 cm before printing. The result was perfect.
Check the file quality
A placed pattern is generally printed large, which makes every flaw visible. The following points should be checked:
- resolution, ideally 150 dpi at the actual print size.
- file dimensions, consistent with the planned area.
- visual sharpness, without blur or compression artifacts.
- no pixelation when the image is enlarged to 100%.
- a format suitable for printing, such as PNG, TIFF, high-quality JPEG, or PDF.
All technical recommendations are detailed in our textile printing guide.
Video tutorial: how to place an image on custom fabric
Need to see how to position your visual in practice? Check out our tutorial to learn how to place an image on custom fabric directly online, in just a few clicks.
How do you create a repeating pattern for continuous fabric?
A repeating pattern is built around a single tile: the repeat unit. If it is designed correctly, the entire fabric will work. If it contains a flaw, that flaw will be reproduced dozens of times.
Create a repeat unit
The repeat unit is a square or rectangle containing all the elements of your print. It is duplicated side by side to cover the fabric. Three repeat methods are commonly used:
- straight repeat, where the units are aligned in a regular grid.
- half-drop repeat, where each row is offset by half the unit for a more natural look.
- mirror repeat, where the unit is alternately flipped to create symmetrical effects.
Choose the repeat size
The size of the repeat unit significantly changes the resulting effect:
- a small repeat (5 to 10 cm) creates a dense pattern, ideal for children's clothing, shirts, or lining.
- a medium repeat (15 to 30 cm) offers a good balance, suitable for most dresses and home textiles.
- a large repeat (40 cm and more) creates a spectacular effect, suited to curtains, wall hangings, and home furnishing pieces.
On a size 38 dress, a 50 cm repeat may only be seen once or twice. On a 2.60 m curtain, it will make a much stronger visual impact.
Check the repeats before printing
Before production, the repeat must be checked. An element located at the edge of the repeat unit must continue naturally onto the neighboring unit: half of a flower cut off on the right must be found exactly on the left. To check this, display your repeated pattern over four or nine units and look for lines, gaps, or unintended groupings. The eye quickly spots a “trace” that repeats.
Good news: with the Tissus Print customization tool, a preview in Repeated Image mode is generated automatically, allowing you to identify these defects before ordering.
Video tutorial: how to create a repeating pattern on fabric
Want to create your own continuous print? Watch our tutorial to discover, step by step, how to create a repeating pattern on custom fabric.
Which option for your project? 6 practical examples
These six situations are among the most common orders received by our workshop. They illustrate the same logic: start with the finished piece and work backward to the file.
A dress with a large illustration: placed pattern
The visual can be positioned precisely on the front, back, or bottom of the skirt. The position is calculated based on the pattern, and the illustration is not cut by seams. This is the choice for designers who want a unique piece, almost like a wearable work of art.
A floral dress: repeating pattern
The pattern covers the entire garment, from the sleeves to the hem. Pattern pieces can be positioned freely, which simplifies cutting and reduces fabric waste.
A cushion with a custom illustration: placed pattern
The visual is designed to the exact dimensions of the cushion. A child's drawing, a pet photo, or a guesthouse logo can therefore be perfectly centered, including seam allowances. Several cushions can even be printed on a single length of fabric to optimize the surface area.
Fabric intended for several accessories: repeating pattern
Toiletry bags, pouches, scrunchies, headbands: the pattern remains usable regardless of the cut. A sewist selling creations at craft markets can cut ten different models from the same fabric length, with a print that is uniquely theirs.
A decorative panel: placed pattern
The composition is designed specifically for the final surface, whether it is a wall hanging, textile headboard, or booth covering. Every element of the image is intentionally positioned.
A series of creations with the same print: repeating pattern
For a clothing brand, association, or event, the same pattern can be used on several pieces and different projects: shirts, bags, aprons, tablecloths. The visual identity is preserved from one medium to another.
What if you want to use the same pattern in several ways?
You do not have to make a single choice forever. The same graphic style can be adapted to your needs without creating a new visual for every application.
Take the example of an illustrator who has drawn a bouquet of peonies. This single drawing can be used in several ways:
- as a large placed pattern in the center of a cushion.
- as a medium-sized repeating pattern for a matching dress.
- as a small, dense repeating pattern for a bag lining.
- as a DTF print, in the form of a transfer applied to a T-shirt or tote bag.
- as a print on ready-to-use custom textiles.
The result: a cohesive collection built from a single source file. This is often how the most recognizable brand identities are created.
Creating custom fabric online: the steps you need to know
Once you have chosen the pattern type, taking action is simple. Here is how custom fabric is created online with Tissus Print, in five steps.
1. Define your project
Which textile? What quantity? What result are you expecting? The fabric choice is guided by its intended use: cotton for a summer dress, sublimation-printed polyester for vibrant colors, heavy canvas for home furnishings, organic cotton for a project with an environmental focus.
2. Prepare your visual
Placed or repeating pattern? Prepare the file accordingly, at the correct size and resolution, following the advice presented above.
3. Check the dimensions
The actual pattern size and fabric dimensions are checked: available fabric width, required length, and seam allowances. The fabric length can be adjusted in 10 cm increments, helping you avoid ordering too much fabric.
4. Customize your fabric
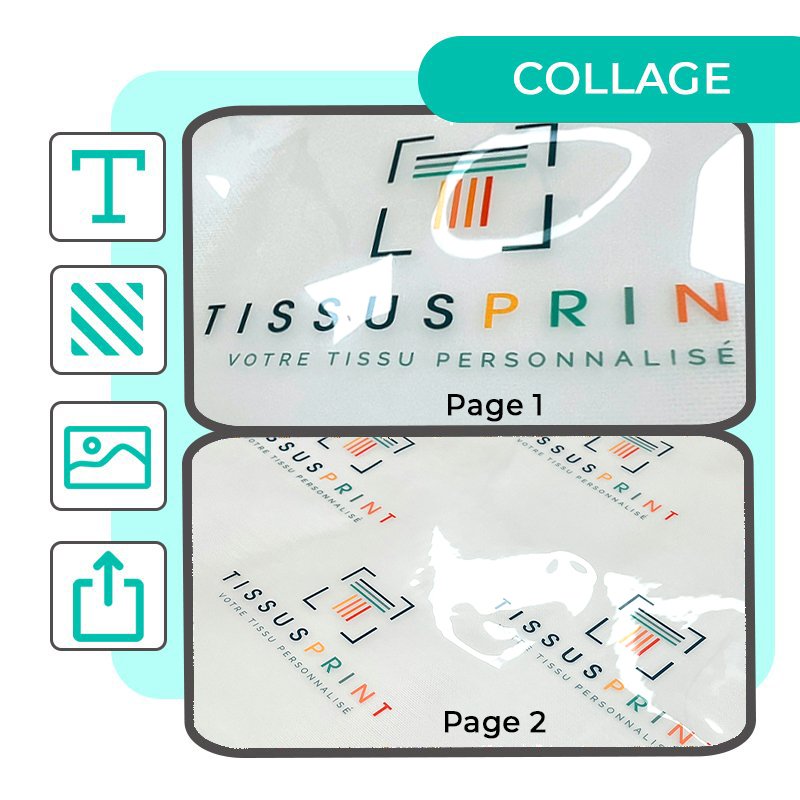
Import your file into the customization tool (up to 100 MB per file). Three modes are available:
- Placed Image mode, for positioning a visual in a specific location.
- Repeated Image mode, to automatically generate a continuous print.
- Patchwork Montage mode, to combine several visuals on the same fabric length.
The position, size, and scale of the pattern can be adjusted directly on screen.
5. Check the result
The preview is carefully checked before approval. For important projects, order a sample to validate the colors, feel, and pattern density under real conditions.
Video tutorial: create custom fabric online, from A to Z
Have you chosen your pattern type? Now discover our complete tutorial to learn how to create your custom fabric online, from importing your visual to the final customization.
Ready for the next step? Customize your fabric online and preview your pattern in just a few minutes.
Don't have a print-ready file yet?
The real obstacle is not always choosing the pattern. Many projects start with an idea, a photo taken on a phone, a drawing on paper, or a low-resolution logo. None of these elements is yet a usable file for textile printing, but all of them can become one.
Have a pattern idea but no print-ready file? Also check out our guide How to customize a textile when you don't have a file? to explore the different solutions available.
To go further, our graphic design service can help: file retouching and preparation, creation from your own elements, or full support. Your placed or repeating pattern is then delivered ready to print.
Tissus Print's advice: think about sewing first
Our advice before starting your print
At Tissus Print, the choice between a placed pattern and a repeating pattern is always considered according to the final use of the fabric. Before ordering, the following points should be checked:
- the final project and its intended use.
- the pattern and number of pieces.
- the actual dimensions of the pattern and fabric.
- the direction of the fabric and pattern.
- the pattern size compared with the piece.
- the amount of fabric needed, including allowances.
- the desired result, validated with a sample if necessary.
A successful pattern is not simply a beautiful visual on a screen. It is a visual that remains consistent once printed, cut, and turned into a finished product.
This requirement also responds to strong consumer interest: according to the Deloitte study Made-to-order: The rise of mass personalisation (2015), more than one in three consumers reported being interested in personalized products, and one in five would be willing to pay up to 20% more for a product designed to their specifications. A poorly executed customization can therefore be costly, while well-planned customization can create real value.
FAQ: placed or repeating pattern
What is the difference between a placed pattern and a repeating pattern?
A placed pattern is a visual positioned in a specific area of the fabric, such as the center of a cushion or the front of a dress. A repeating pattern is reproduced continuously across the entire surface from a repeat unit. The first focuses on composition, while the second focuses on print continuity.
Which pattern should I choose for a dress?
For a dress with a large central illustration, a placed pattern is recommended so that the visual is not cut by seams or darts. For a floral dress or an all-over print, a repeating pattern is more suitable: the pattern pieces can then be positioned freely on the fabric.
Which pattern should I choose for fabric by the meter?
Both options are possible. A repeating pattern is the most common choice for fabric by the meter because it provides complete freedom when cutting. A placed pattern is preferred when the fabric length is intended for a specific piece, such as a decorative panel or several cushions printed on the same length.
Can I create my own repeating pattern?
Yes. An illustration, photo, or drawing can be transformed into a repeating pattern, provided that the repeat unit is correctly designed: elements located at the edges must connect naturally. The Repeated Image mode in the Tissus Print tool lets you preview the result before ordering.
Can I print a large illustration on fabric?
Yes, a large illustration can be printed on fabric, provided that the file has sufficient quality for the intended size and that its dimensions are compatible with the fabric width selected. Files up to 100 MB are accepted by the customization tool, allowing you to import highly detailed visuals.
How can I prevent a pattern from being cut when sewing?
The pattern should be planned before printing. The pattern pieces are placed over the file to identify the area that will actually be visible once sewn, taking seam allowances, darts, and facings into account. The visual is then positioned within this usable area, with a safety margin.
Can I test my pattern before printing several meters?
Yes, and it is strongly recommended for important projects. Ordering a sample lets you check the colors, sharpness, pattern scale, and fabric feel under real conditions. Adjustments can then be made before producing the final quantity, without the risk of a reprint.
What resolution do I need to print a pattern on fabric?
For a sharp result, a resolution of 150 dpi at the actual print size is generally recommended. For highly detailed visuals or large placed patterns, a higher resolution provides additional flexibility. The complete recommendations are provided in the Tissus Print printing guide.
Can Tissus Print help me prepare my file?
Yes. The Tissus Print graphic design service offers file retouching and preparation, creation from your own elements, complete guided creation, or customized support. Your placed or repeating pattern is delivered ready to print on the fabric of your choice.
Conclusion: choose your pattern with the final piece already in mind
To summarize in two lines:
- a placed pattern is a visual designed for a specific location.
- a repeating pattern is a visual designed to continuously cover a surface.
Above all, the choice should be based on the project, pattern pieces, cutting, and final result. A beautiful file that is poorly suited to its finished piece will always be disappointing. A simple file, carefully designed for the sewing project, will produce fabric you can be proud of.
Already have your pattern? Create your custom fabric online with Tissus Print and print a textile that is truly suited to your project. For a collection, professional order, or large quantity, you can order a sample beforehand to validate the result. Have a question about your file or pattern? Check out our FAQ or contact our team: your project will be carefully reviewed.


0 commentaires