


Introduction
In this article, we dive deep into the technicalities of fabric weight, demystifying its mysteries and revealing the secrets behind every gram. Get ready to be guided through the nuances of this essential measurement, as we give you the power to choose the perfect fabric for every project. Are you ready to explore the wonders of fabric weight?
For further reading, check out our material guide, detailing the properties of each textile, including their weight and width.
Understanding Fabric Weight
Let's dive into the fascinating world of fabric weight, a fundamental indicator that goes beyond the simple numbers on a label. You might wonder exactly what it is, and more importantly, why it’s so crucial in the world of custom fabric printing. Imagine this: you are about to create a masterpiece, a work of art on fabric. You want every color, every detail, to pop with clarity. Well, my friend, this is where fabric weight comes into play.
It's more than just a number. It's the subtle balance between weave density, material structure, and even how light interacts with each fiber. In short, it’s what separates an average print from a sensational one.
So why care? Because fabric weight is the holy grail for achieving high-quality results. Imagine a fabric that’s too light: your colors could appear washed out. Too heavy, and your design might feel as subtle as an elephant in a porcelain shop.
In this article, we will explore the depths of fabric weight, demystify its mysteries, and give you the power to choose the right fabric for every project. Are you ready to uncover the secrets behind every flawless print?
To select the best fabric by weight and use, check out our comprehensive guide on the various custom fabrics available for printing.
Units of Measurement: Weight, GSM
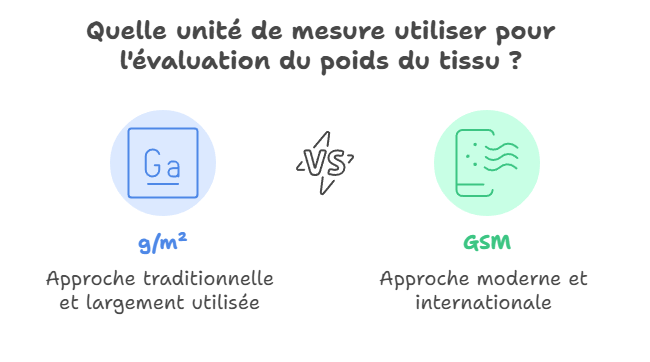
You often face a tricky dilemma: grams per square meter (g/m²) or GSM (Grams per Square Meter)? These acronyms may seem familiar, but do you really know what lies behind them?
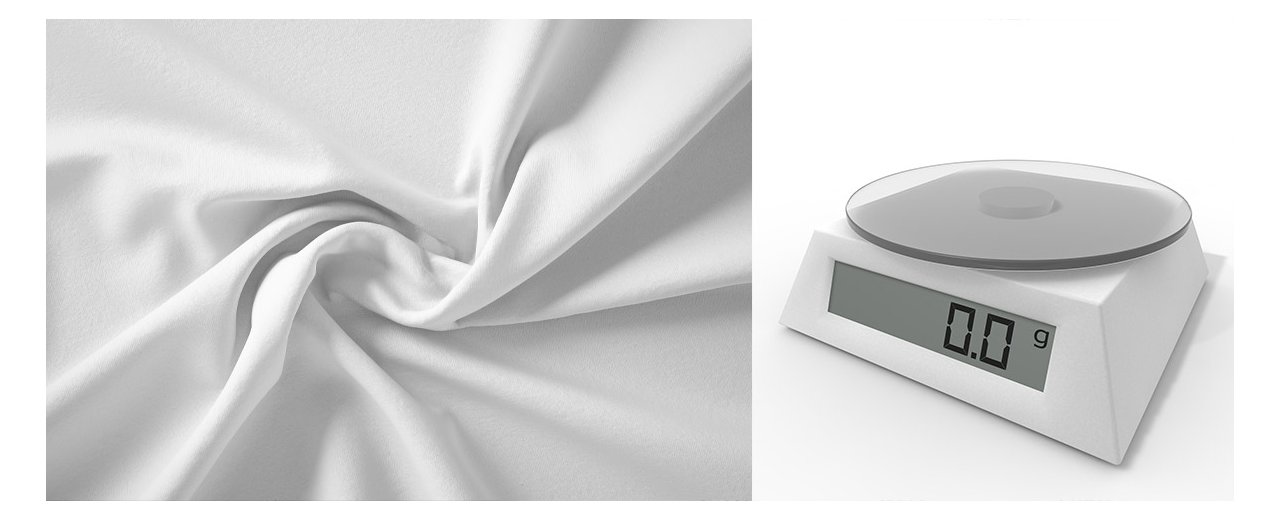
 weight measurement unit
On one side, we have grams per square meter (g/m²), the respected veteran of the textile industry. On the other, GSM, the newcomer, ready to conquer the world of fabric printing. But what does it really mean?
Grams per square meter is the classic measure. It sounds good, right? Simple, direct, and time-tested. GSM, with its modern appeal, offers a fresh approach. It’s like switching from a rotary phone to a state-of-the-art smartphone.
In short, although both essentially measure the same thing, grams per square meter is more commonly used in French-speaking regions, while GSM is more widespread in English-speaking countries and international contexts.
Fabric weight, a crucial data point in textile creation, is often presented in two forms:
- g/ml (grams per linear meter): measures the weight of one meter of fabric based on its width.
- g/m² (grams per square meter): measures the weight of one square meter of fabric.
This distinction is essential because it allows for more accurate comparisons between different fabrics, regardless of width, which can vary from one textile to another. Thus, g/m² becomes the preferred reference for assessing fabric density and quality.
How to Measure Fabric Weight
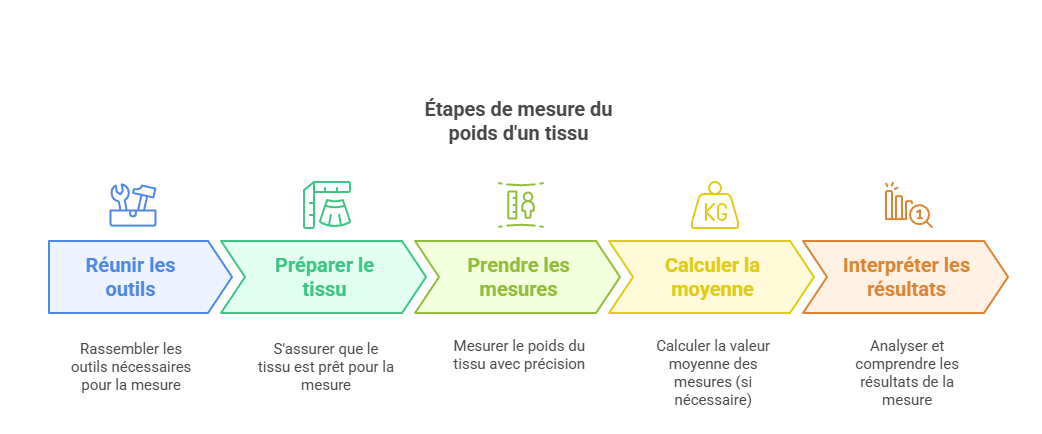
Measuring fabric weight may seem intimidating, but don’t worry—I’ll guide you through each step like a practical tutorial. Get ready to become a fabric measurement expert!
 fabric weight measurement step
Step 1: Gather Your Tools
Before starting, make sure you have the right tools on hand. You’ll need a precise scale, ideally a digital scale, to get accurate measurements. Also, ensure the scale is properly calibrated for reliable results.
Step 2: Prepare the Fabric
Place your fabric on a flat, smooth surface. Make sure it is spread evenly, without wrinkles or bumps, to get accurate measurements. If necessary, you can use weights to hold the fabric in place.
Step 3: Take the Measurements
Carefully place the fabric on the scale, ensuring it doesn’t exceed the scale’s maximum weight. Note the weight displayed. If measuring multiple samples, record each weight separately.
Step 4: Calculate the Average (Optional)
If you measure multiple fabric samples, calculate the average weight to get a more precise measurement. Simply add the weights of all measured samples and divide the total by the number of samples.
Step 5: Interpret the Results
Now that you have your measurements, you can interpret the fabric weight according to your needs. The higher the fabric weight, the denser and more durable it will be, while a lighter weight may be more suitable for delicate projects.
There you go—you now have all the steps to measure fabric weight like a pro. With a little practice and precision, you’ll be able to select the perfect fabric for every custom printing project. Your turn!
Proper care of your custom textiles is essential to maintain their quality. Discover 10 tips to extend their lifespan.
Concrete Example: Calculating Fabric Weight (g/m²)
Weight corresponds to the fabric weight per 1 m², expressed in g/m². Here’s a simple numerical example to calculate it from a sample.
Starting Data
- Length: 50 cm (0.50 m)
- Width: 40 cm (0.40 m)
- Weight measured on scale: 60 g
1) Calculate the Sample Area
Area = Length × Width
0.50 m × 0.40 m = 0.20 m²
2) Apply the Weight Formula
Weight (g/m²) = Weight (g) ÷ Area (m²)
Weight = 60 g ÷ 0.20 m² = 300 g/m²
Result
The sample corresponds to a fabric of 300 g/m². This generally indicates a thick and durable textile, suitable for projects that need to last.
Pro Tip (Accuracy)
For more reliable measurements, repeat the process on 2 or 3 samples and calculate the average weight. This reduces discrepancies due to cutting or fabric irregularities.
Project Suitable for Each Fabric Weight
Now that you know how to interpret fabric weight, it’s time to put your knowledge into practice. Think of yourself as a master chef, choosing the perfect ingredients for a signature dish.
| Fabric Weight Type | Suitable Projects |
|---|---|
| Light (50g/m² - 100g/m²) |
|
| Medium (around 150g/m²) |
|
| Heavy (200g/m² and above) |
|
Light Sewing Project
 light sewing project
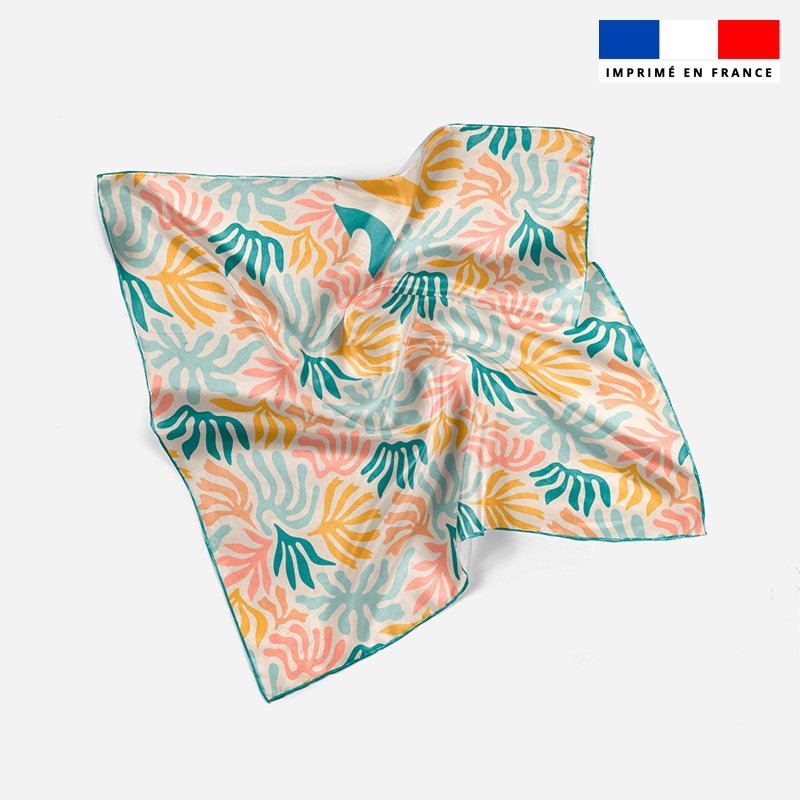
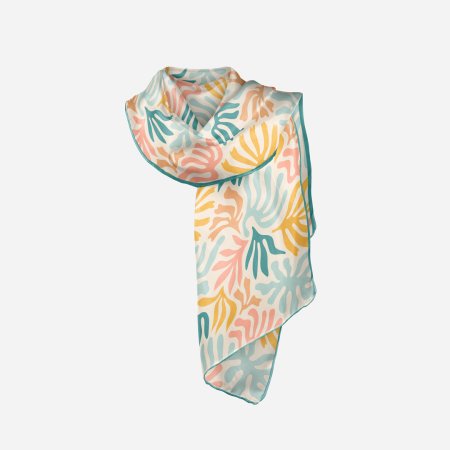
For a light project like a feather, a lightweight fabric of 50g/m² to 100g/m² is your best ally. Think of flowing scarves, pretty shawls, or fluttery dresses. A lightweight fabric like chiffon would be perfect.
At Tissus Print, our custom satin (110 g/m²) is ideal for scarves and light dresses.
Heavy Sewing Project
What about more robust projects? This is where heavy fabrics come in. Think of luxurious curtains or plush cushions made from velvet or cotton. These upholstery fabrics usually weigh over 200 g/m². Here, fabric weight adds an extra dimension of durability, strength, and tactile feel.
Medium Sewing Project
Don't underestimate the versatility of medium-weight fabrics, around 150 g/m². They offer the perfect balance between lightness and durability, making them ideal for a wide range of projects. Whether sewing an elegant summer dress, creating cozy couch cushions, or crafting trendy accessories like pouches and bags, medium-weight fabrics, especially cotton, are your reliable allies. With their versatility and ease of handling, these fabrics quickly become your go-to choice in sewing and crafting.
Conclusion
There you have it, dear reader—you now hold the keys to understanding and mastering the art of fabric weight. Throughout this article, we explored different units of measurement, demystified measurement techniques, and even offered practical tips for choosing the ideal fabric for every project.
Whether you plan to create a feather-light piece or dive into a more robust project, fabric weight will be your faithful guide at every step of the creative process. With a bit of practice and precision, you can transform every idea into reality, every project into a textile masterpiece.
So now, armed with this freshly acquired knowledge, embark on your textile journey with confidence and determination. May your creations shine brilliantly, supported by the perfect fabric weight. Happy creating!


0 commentaires