


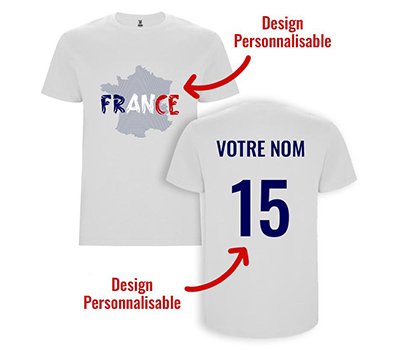


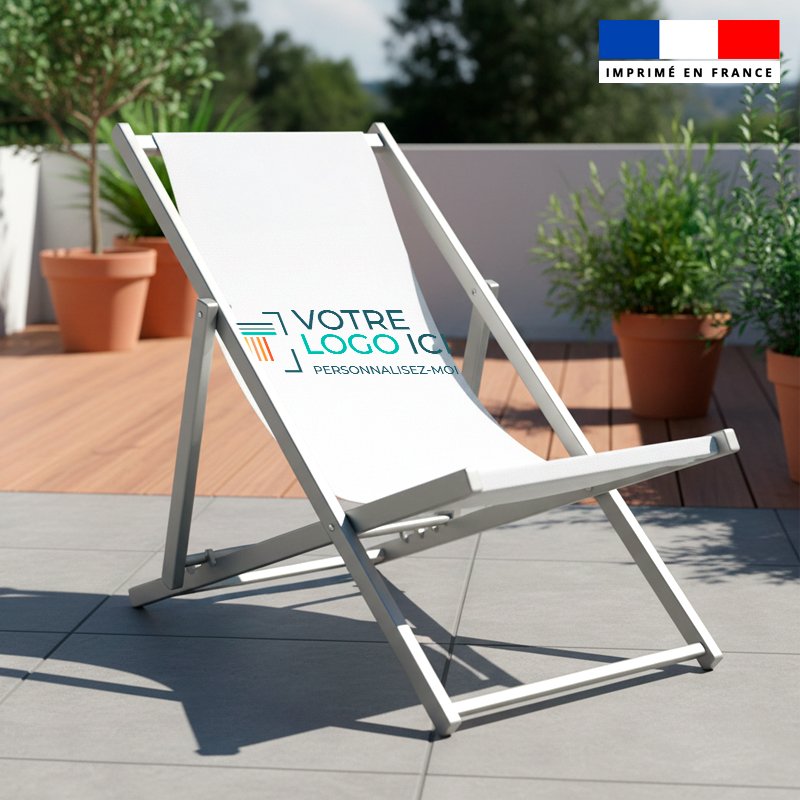


DTF printing (Direct To Film) is increasingly popular among textile professionals, particularly clothing brands that want to personalize their products independently using a heat press. However, a poorly executed DTF transfer can compromise the visual quality and durability of the print.
To ensure a clean, durable, and professional result, Tissus Print has identified for you the 5 most common mistakes with DTF film and, more importantly, how to avoid them effectively.
Contents
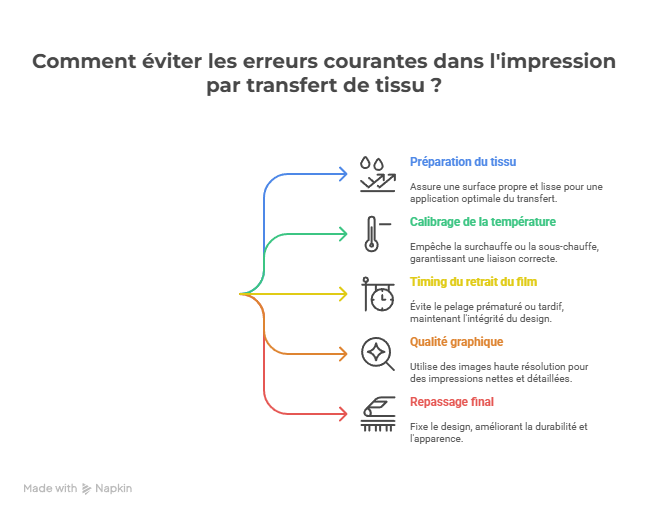
- 1. Applying the transfer to an improperly prepared fabric
- 2. Incorrect temperature or pressing time
- 3. Removing the film too early or too late
- 4. Using a low-quality graphic file
- 5. Forgetting the final pressing to fix the design
- Summary table
- Conclusion
- FAQ
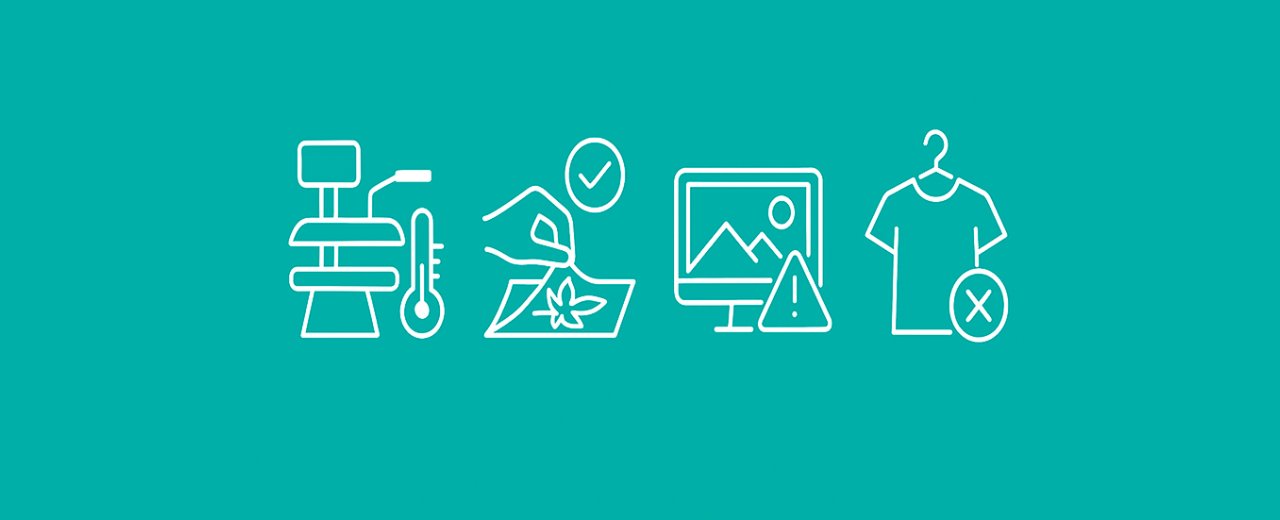
1. Applying the transfer to an improperly prepared fabric
The DTF film may not adhere properly to the fabric if it is not carefully prepared.
- Iron the fabric empty to smooth it,
- Remove residual moisture that prevents proper adhesion,
- Ensure no residue (dust, sizing, loose fibers) interferes with application.
2. Incorrect temperature or pressing time
DTF printing relies on a fundamental trio: temperature, time, and pressure. Too low a temperature does not melt the adhesive correctly. Too high, it can burn or deform the transfer.
General recommendations:
- Temperature: 150°C to 160°C.
- Pressing time: 10–15 seconds depending on the press.
- Pressure: medium to high.
For more information on ideal settings and applying the transfer film, see our practical guide: How to Apply Your Transfer Film Easily at Home.
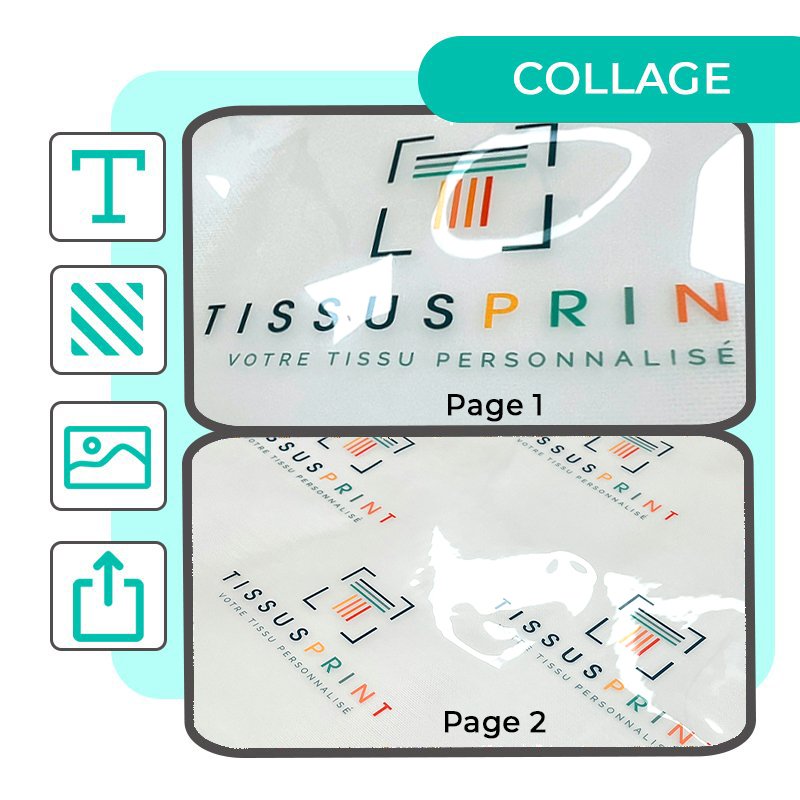
3. Removing the film too early or too late
The timing of removing the DTF film is crucial. Removing it too early or too late compromises the transfer quality.
Two types of film:
- Hot peel: remove immediately after pressing while hot.
- Cold peel: remove after the film has fully cooled.
4. Using a low-quality graphic file
Even the best DTF film cannot improve a poorly designed image. A badly prepared file results in visible defects after printing: blurriness, pixelation, misinterpreted colors.
Check these essentials:
- Resolution: minimum 300 dpi.
- Format: PNG (transparent background), TIFF.
- Proper handling of white areas (clean clipping).
Not a graphic designer? Follow our detailed tutorial to prepare files correctly: Step-by-Step Guide to Optimizing Your Designs Before Printing.
5. Forgetting the final pressing to fix the design
The final pressing step is essential to strengthen ink adhesion and improve the durability of the print over time.
Tips:
- Final pressing: 5–10 seconds.
- Use a Teflon sheet or silicone paper.
- Apply consistent pressure without excess.
Summary table of mistakes to avoid with DTF film
| Common Mistake | Consequence | Best Practice |
|---|---|---|
| Improperly prepared fabric | Weak adhesion, transfer peeling off | Iron, remove moisture and residues |
| Incorrect temperature/time | Burned or poorly melted transfer | 150–160°C, 10–15 sec, medium to high pressure |
| Poor timing when removing film | Design torn or edges damaged | Follow instructions: hot peel or cold peel |
| Low-quality graphic file | Blurry, pixelated, dull colors | 300 dpi, PNG or vector, transparent background |
| Skipping the final pressing | Poor wash durability | Second press 5–10 sec with Teflon sheet |
Additional recommendation: To avoid surprises, store your printed DTF film in a dry, clean, and heat-free environment before use.
Conclusion: How to avoid these mistakes?
Every step in the DTF transfer process matters. Choosing the right DTF film, precise heat press settings, and high-quality graphic files are essential to achieve professional results.
Tissus Print supports you with:
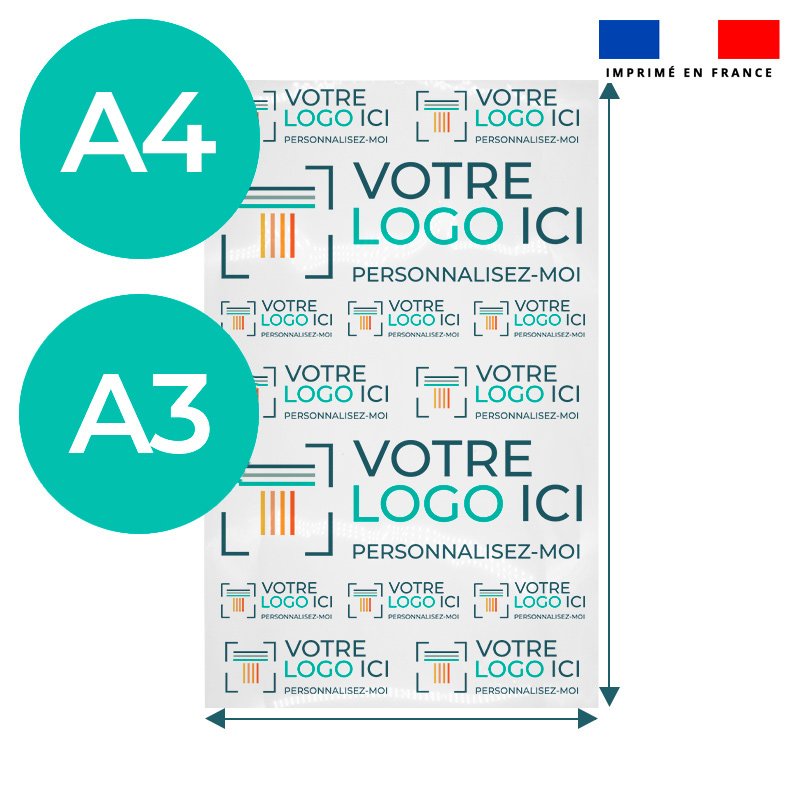
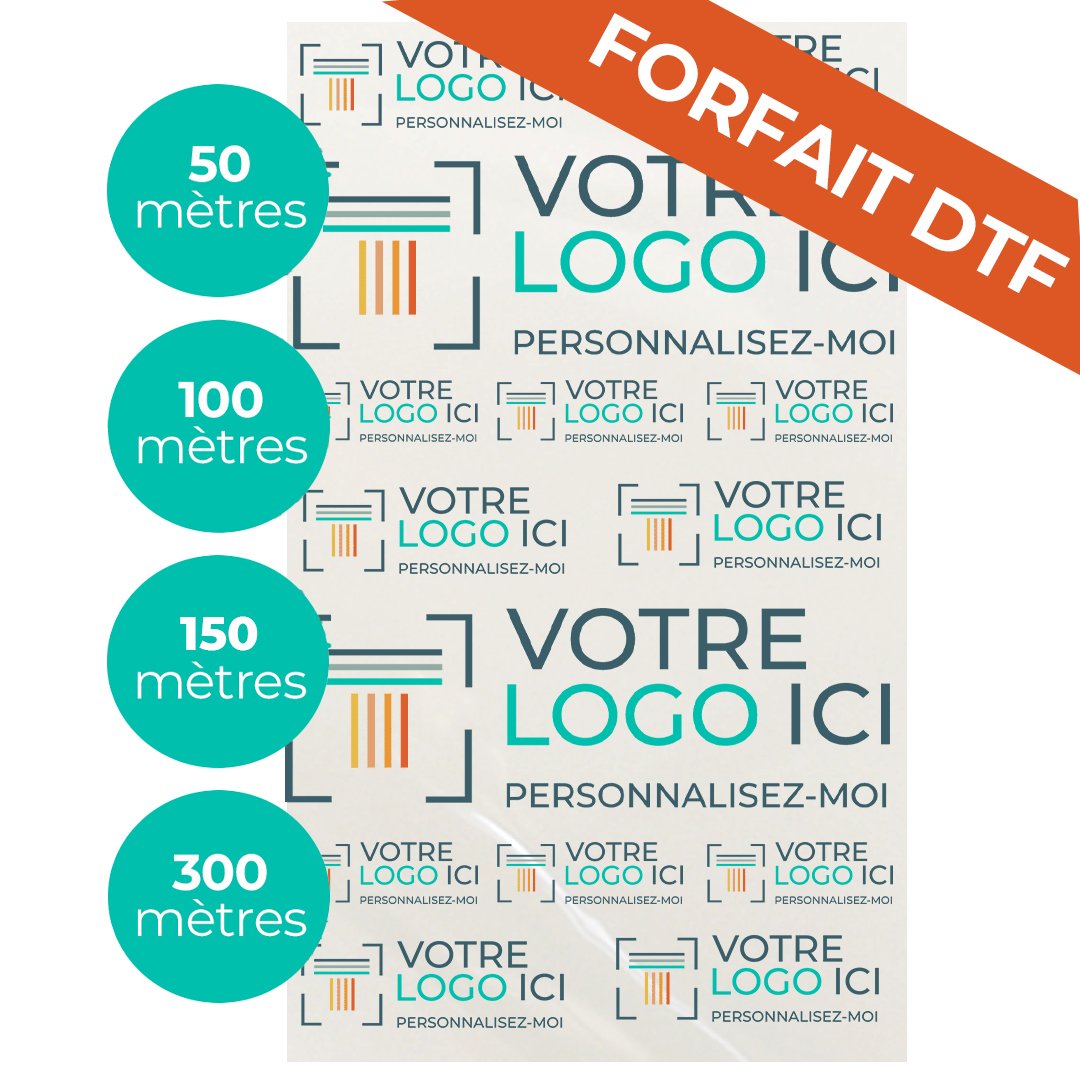
- Custom-printed DTF films (rolls, A3/A4 sheets, professional packages).
- Professional and durable digital printing.
- Technical advice tailored to textile professionals.
FAQ
What are the most common mistakes when applying DTF transfers?
Common mistakes include improperly prepared fabric, incorrect temperature or pressing time, removing the film too early or too late, low-quality graphic files, and skipping the final pressing.
How can I prevent damage from incorrect temperature?
Use a professional heat press set between 150°C and 160°C for 10–15 seconds. Avoid imprecise domestic equipment.
Why does uneven pressure reduce DTF transfer durability?
Uneven pressure results in incomplete adhesion, weakening the print. Consistent pressure appropriate to the fabric thickness is required.
How can removing the film too early compromise the result?
Removing too soon can tear the design or prevent the adhesive from setting correctly. Follow the peel type: hot peel or cold peel.
What tips help prepare the fabric perfectly before DTF transfer?
Iron the fabric, remove moisture, dust, and avoid chemical treatments. This ensures a clean and stable surface for optimal transfer adhesion.


0 commentaires