


Summary
- Why Create a Repeating Pattern?
- Tools for Creating a Repeating Pattern
- Create a Repeating Pattern with Photoshop: Detailed Steps
- Use Print Fabric to Create Your Own Custom Fabric
- Practical Tips for Creating a Repeating Pattern
- Conclusion
Introduction
Do you have a specific idea for a pattern but don't know how to create a repeating pattern to customise fabric? Are you new to graphic design and feel a little lost when faced with tools like Photoshop? Don't worry, you've come to the right place! In this guide, we'll explain step by step how to create a repeating pattern from scratch, so you can customise your fabric like a pro, even if you're new to graphic design.
Whether you want to customise fabric for clothing (T-shirts, sweatshirts, dresses), accessories (tote bags, pouches) or even fabrics for interior design projects, Tissus Print allows you to create customised fabric that meets your expectations. You will learn how to use Photoshop to repeat a pattern and create an infinite pattern that repeats across the entire surface of the fabric, while choosing the pattern size that suits your project. So, are you ready to get started? Follow the guide!
1. Why create a repeated pattern?
A repeated pattern (also known as an all-over pattern) is an image or design that repeats across the entire surface of the fabric, creating a uniform and visually consistent texture. This type of pattern is widely used in fabric customisation for a variety of applications:
- Customised clothing: You can create customised fabric for your T-shirts, sweatshirts, dresses or even smaller items such as pouches or tote bags.
- Furnishing fabrics: Curtains, cushions and other decorative items.
- Accessories: Create original designs for bags, key rings, caps, etc.
By creating a repeating pattern, you can easily extend a design to the size of a fabric while maintaining perfect consistency. It is important to take into account the width of the customisable fabric you have chosen, as this will affect how the pattern repeats. Once you have created your pattern, simply choose the size of the repeated pattern, select the type of fabric you want and define the result you want to achieve.
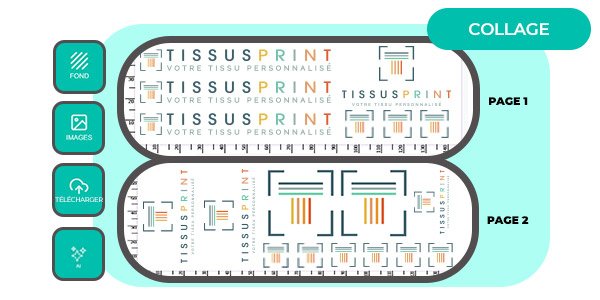
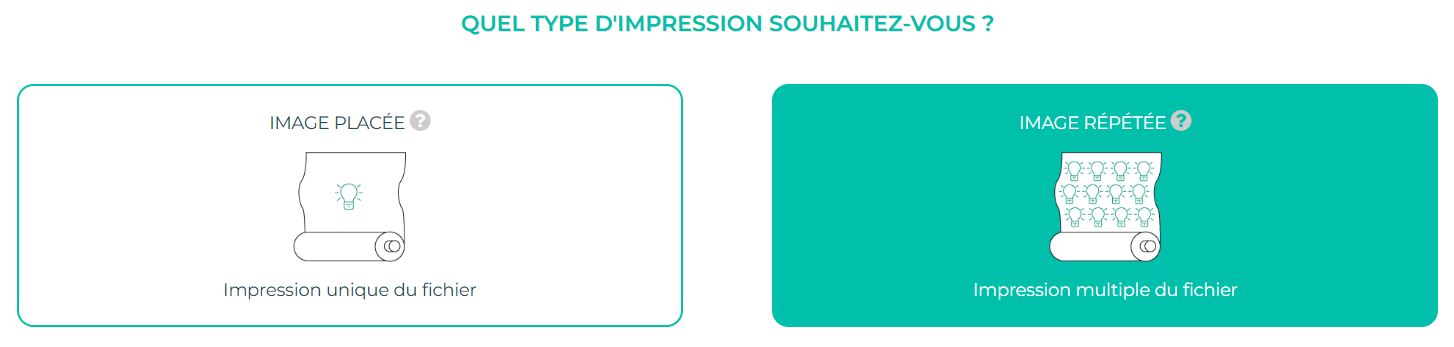
At Tissus Print, once you have created your pattern, simply upload it and select the "REPEATED IMAGE" option to create your custom fabric in no time.
2. Tools to create a repeated pattern
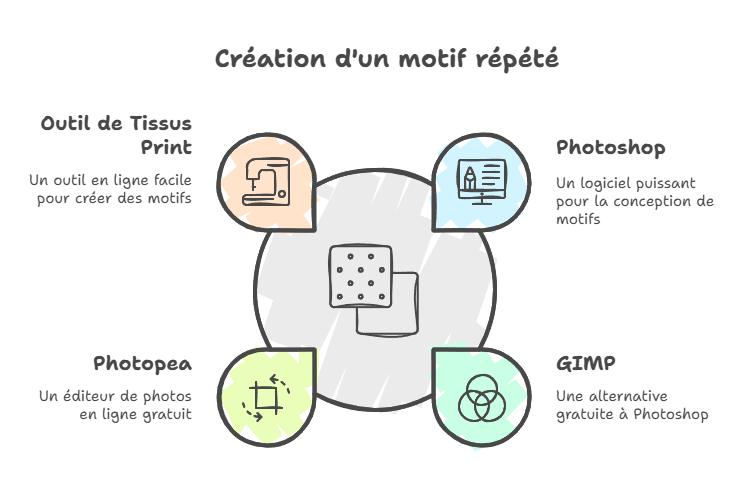
Creating a repeating pattern requires the use of graphics software. You don't need to be an expert to do it! For beginners, there are several software programmes such as Photoshop, as well as simple online tools. If you're looking for a quick and easy solution, our repeated pattern customisation tool allows you to design your pattern directly on our website. However, Photoshop is the tool most used by professionals for its power and numerous options.
| Tool | Advantages and disadvantages | Price | Ease of access |
|---|---|---|---|
| Tissus Print tool | - Easy to use for creating repeating patterns. - Direct integration with the printing platform. - No graphic design skills required. - Less flexibility for highly complex designs. - Fewer advanced features for very detailed adjustments. | Free (on the website) | Very easy to access, online-based |
| Photoshop | - Very powerful software with a wide range of advanced features. - Large community and numerous online resources. - Very flexible for creating and editing complex designs. - Steep learning curve for beginners. - Requires a powerful computer. - Free 7-day trial version. | Starting at £19.99/month | Paid software, requires installation |
| Illustrator | - Ideal for creating vector patterns (no loss of quality). - Allows for precise and professional designs. - Powerful tools for working with colours and shapes. - More suitable for vector patterns than bitmap images. - Moderate learning curve. - Free 7-day trial version. | Starting at £23.99/month | Paid software, requires installation |
| Photopea | - Free, works directly in the browser (web-based). - Interface similar to Photoshop, making it easy to transition. - No installation required, can be used on any device. - Less powerful than Photoshop and Illustrator. - Fewer advanced features, especially for very complex designs. - Advertising on the free version. | Free | Very easy to access, online-based |
| GIMP | - Free and open-source. - Suitable for creating bitmap images and repetitive patterns. - Large community with many tutorials. - Less intuitive than Photoshop, longer learning curve. - Fewer professional features than Photoshop or Illustrator. - Interface sometimes considered less modern and less user-friendly. | Free | Easy to access, requires installation |
| Procreate | - Intuitive app for creating drawings and patterns on iPad. - Perfect for creating hand-drawn patterns or freehand drawing. - Fewer vector features compared to Illustrator or Photoshop. - Requires an iPad and Apple Pencil. - Less flexibility for creating highly complex patterns. - No native option for creating repeating patterns (but manual solutions exist). | Starting at £7.99 (one-time purchase) | Very easy to use, requires an iPad and Apple Pencil |
If you don't have Photoshop, there are free alternatives such as GIMP and Photopea, but we will be using Photoshop in this guide for its simplicity and powerful features. Don't worry if you have no experience in graphic design: we will guide you through every step of creating your repeating patterns!
3. Create a repeating pattern with Photoshop: detailed steps
Step 1: Install Photoshop
Before you begin, make sure you have Photoshop installed on your computer. If you don't have a licence yet, a free 7-day trial version is available, allowing you to test the software before committing. Once Photoshop is installed, we're ready to begin!
Step 2: Create a new document
Open Photoshop.
In the menu bar at the top, click File > New to create a new document. In the window that appears, fill in the fields as follows:
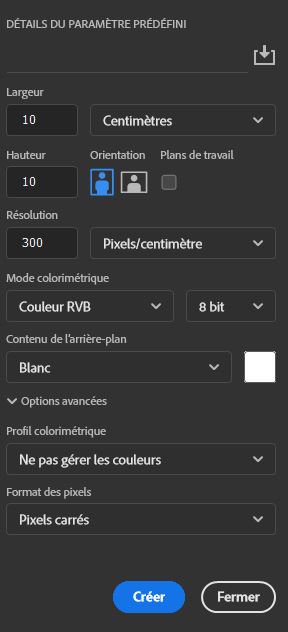
- Width and Height: Choose the size of the pattern you want to create. For a pattern that will repeat well, a medium size such as 20 cm x 20 cm works well.
- Resolution: Choose 300 DPI (dots per inch). A high resolution is crucial to ensure that your pattern is sharp and clear when printed on fabric.
- Colour mode: Select RGB (Red, Green, Blue). This is important for printing on fabric, as RGB is suitable for digital image design.
- Colour profile: If possible, choose Adobe RGB 1998, a widely used colour profile for accurate colours. This is not mandatory, but recommended.
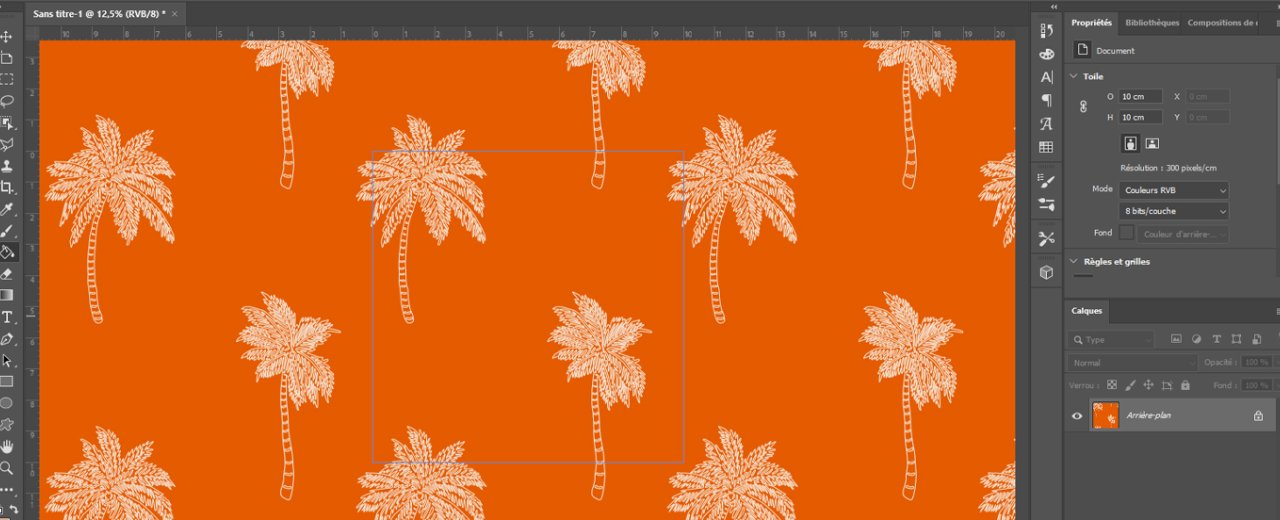
Step 3: Add your image
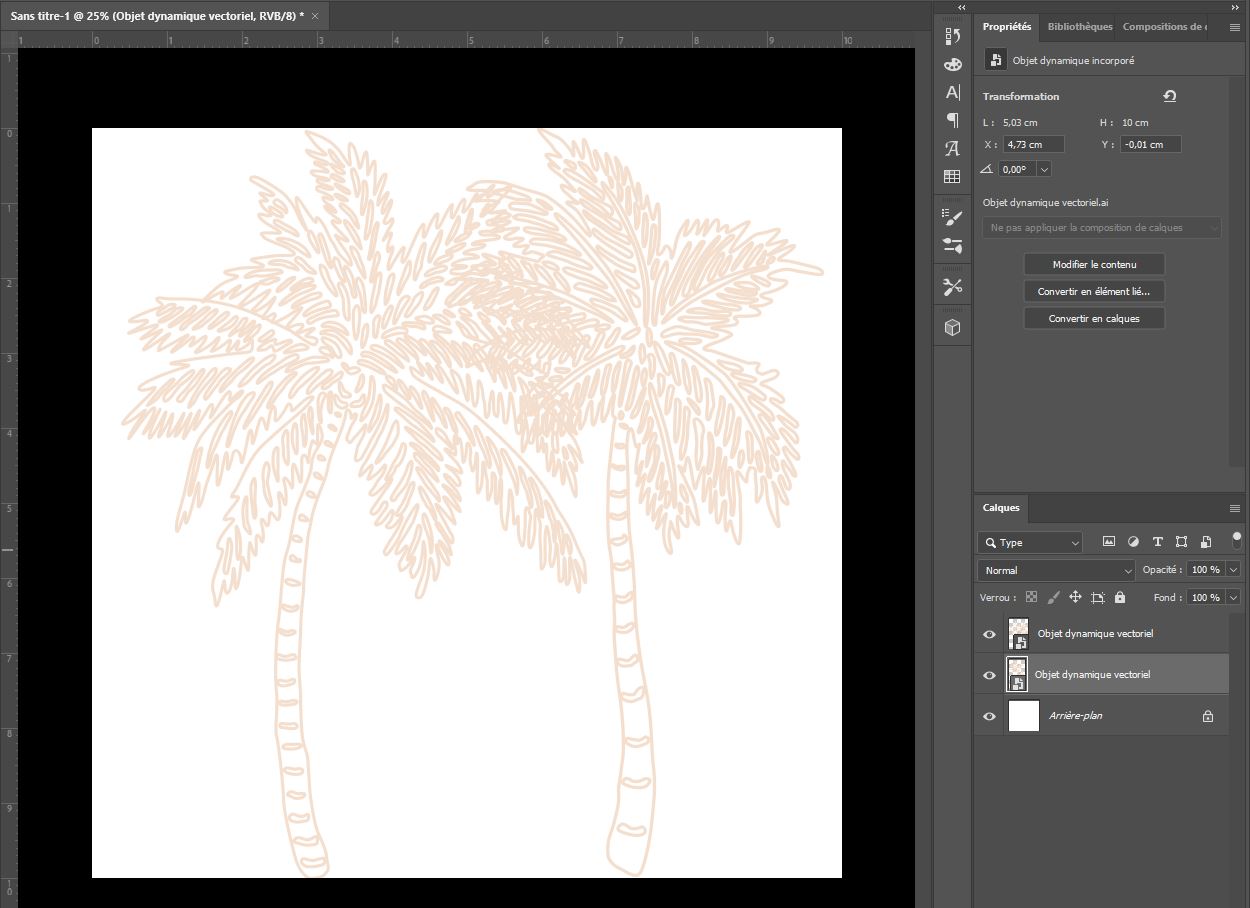
Now that you have created your document, it is time to add the image you want to repeat. You can import an image from your computer by going to File > Import and selecting your file. Once the image has been inserted, you can move, resize or transform it as required.
Step 4: View the repeated pattern
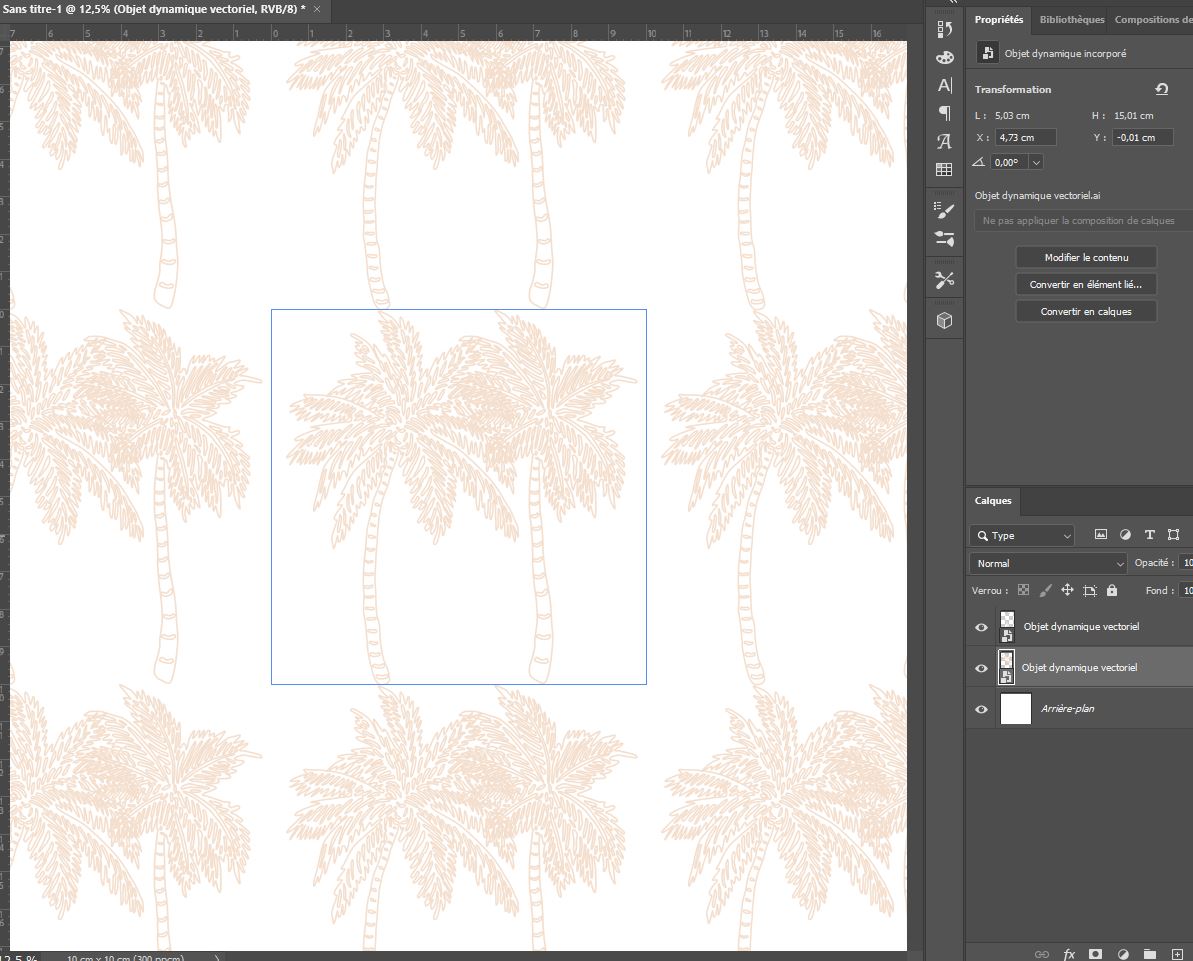
To see your pattern repeat, go to the menu bar at the top and click View > Pattern Preview. This option allows you to see in real time how the image repeats across the document.
If you are not satisfied with the appearance of the pattern, you can adjust the position, size, or shape of the image using the move, rotate, and scale tools in Photoshop.
Step 5: Customise your pattern
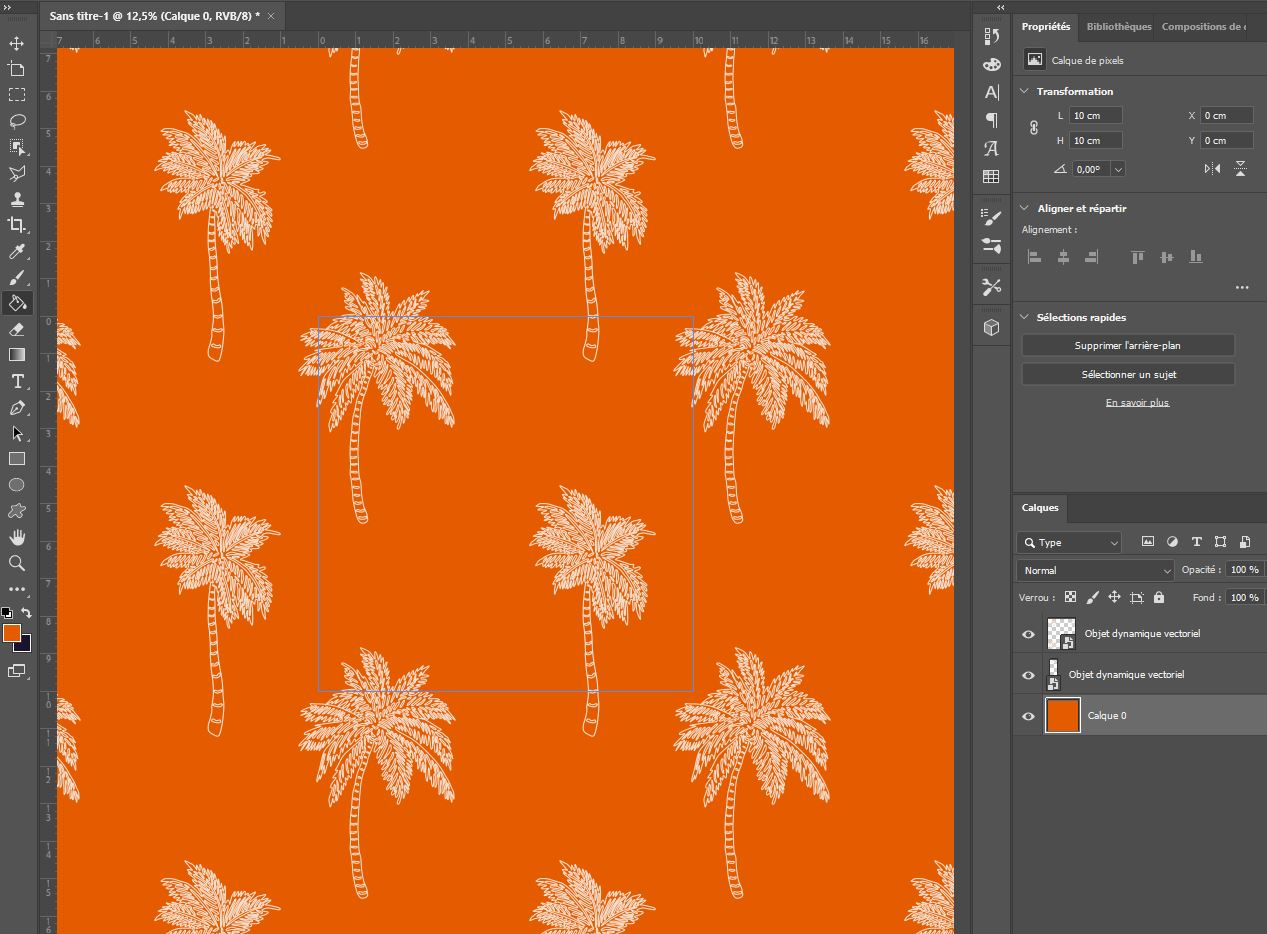
One of the great advantages of Photoshop is that it allows you to easily add elements to your pattern. You can:
- Add text: Ideal for further customising your designs, for example by adding slogans or typographic patterns.
- Change colours: Use the colour tools to change the palette and adapt the pattern to your theme or preferences.
- Add shapes and designs: For example, if you want to incorporate graphic elements such as hearts, stars, stripes, etc., simply add them directly to your document.
Step 6: Flatten the layers
Before saving your work, you need to flatten the layers. This means merging all the different parts of your design into a single image. To do this:
Go to Layer > Flatten Image. This simplifies the image and prepares it for saving, avoiding any problems when printing your repeated pattern.
Step 7: Save your pattern
Finally, to save your pattern, go to File > Save As. We recommend choosing the TIFF format. This format is ideal for textile printing, as it maintains excellent image quality, even for large prints.
4. Use Tissus Print to create your custom fabric
With Tissus Print, you can easily create your own custom fabric, whether you have a pattern that you want to repeat or a unique image. Here are the simple steps to customise your fabric:
- Choose your fabric: Go to the Tissus Print website and select the fabric of your choice (e.g. cotton, polyester, etc.).
- Add your image: Upload the file you created in Photoshop.
- Select the "REPEATED IMAGE" option: This option will automatically repeat your image on the fabric. You can also use the "Create a repeating pattern" tool to adjust the pattern to your preferences (size, spacing, etc.).
- Finalise your order: Choose the amount of fabric you want and customise your order. In just a few clicks, your custom fabric is ready to be printed!
With this easy-to-use tool, you can create custom fabrics from any image, whether it's already repeated or not, for your fashion, decoration or other unique creations!
5. Practical tips for creating a repeating pattern
Creating a successful repeating pattern requires a little attention to detail, but with the right tips, you can achieve professional results even if you are new to graphic design. Here are some practical tips to help you create a harmonious, high-quality repeating pattern:
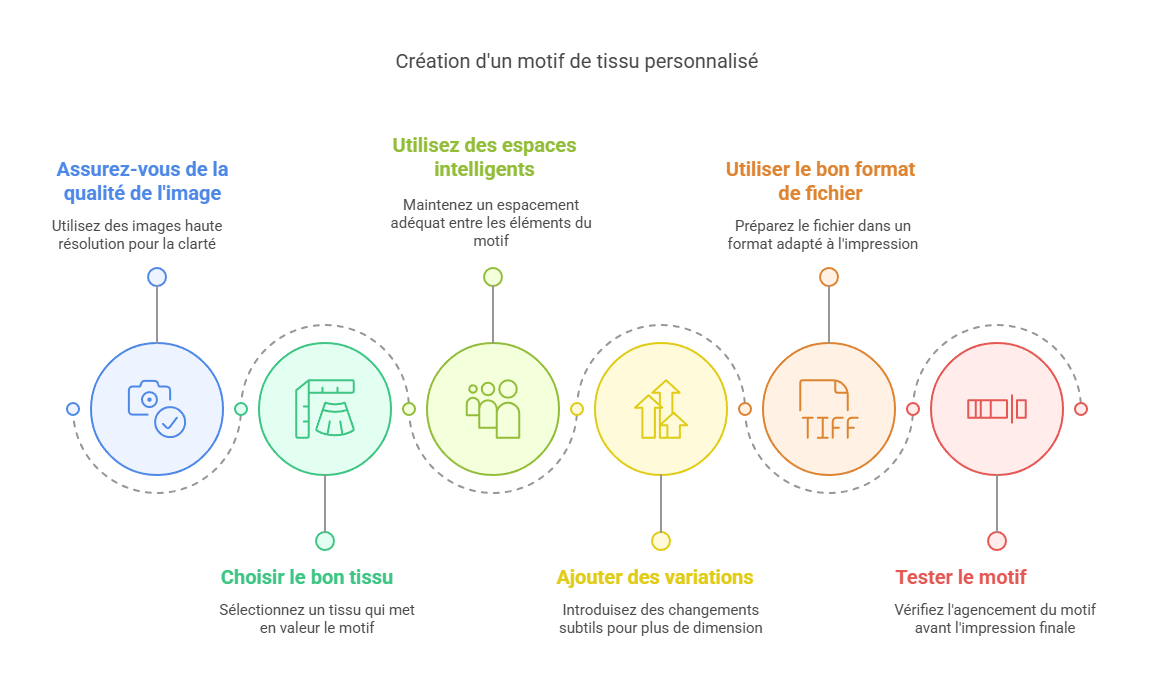
- Ensure your image is of high quality: The higher the resolution of your image, the clearer and more precise your repeated pattern will be on the fabric. Don't hesitate to use high-resolution images for a flawless finish.
- Choose the right fabric: The type of fabric will influence the appearance of your pattern. Cotton fabric is ideal for printing a repeated pattern, while synthetic fabrics can give a slightly different effect with methods such as sublimation.
- Use smart spacing: When creating a pattern, make sure that the elements of your design are not too close to each other. Good spacing between the elements of the pattern can improve the harmony and fluidity of the repeated print.
- Customise by adding variations: If you want your repeating pattern to have more dimension, you can play with colours, add textures or incorporate slight variations between repetitions to give your design more life and harmony.
- Use the right file format: To avoid any problems when printing, it is important to prepare your file correctly. Check out our comprehensive guide to preparing the perfect textile print file to ensure that your file meets the necessary standards.
- Choose the right file format: The format of your file plays an important role in the quality of the print. Make sure you use a suitable file format. For more information on recommended formats, see our article on which file format for high-quality printing.
- Test before printing: Before finalising your design and printing it on the fabric, feel free to preview it to see how your pattern repeats. This will allow you to make sure everything is arranged correctly and adjust the elements if necessary. Request a proof and/or order a sample of your custom fabric.
Important note about the repeat: When creating your repeat pattern, it is essential to choose between a straight repeat or an offset repeat. A straight repeat aligns the patterns in a regular, orderly fashion, while an offset repeat creates a more dynamic and less symmetrical effect. This choice will depend on the type of look you want to achieve for your custom fabric.
By applying these practical tips, you will be able to create a high-quality repeat pattern that will enhance your textile designs. Whether for a personal or professional project, these tips will allow you to design consistent and attractive patterns for all your textile customisation needs.
Conclusion
Creating a repeating pattern to customise fabric is a simple but powerful way to bring your designs to life, whether you are a fashion designer, a craftsperson or simply someone looking for a unique project. Using tools such as Photoshop or our online customisation tool, you can transform any image into a harmonious and consistent pattern that suits your needs.
Whether you choose a repeating pattern or an image that you want to multiply on your fabric, it's important to master the key steps to ensure print quality. Take care to choose the right resolution for your images, the width and type of fabric suitable for your project, and adjust the size of the pattern according to the desired result. Every detail counts to achieve a result that meets your expectations. With Tissus Print, customising your fabrics is child's play. Thanks to our simple and effective options, you can create a unique fabric in just a few clicks. Whether you need a repeated design for T-shirts, tote bags, clothing or even accessories, our platform offers you the flexibility to choose the pattern size, fabric type and scale for a flawless finish.


0 commentaires