


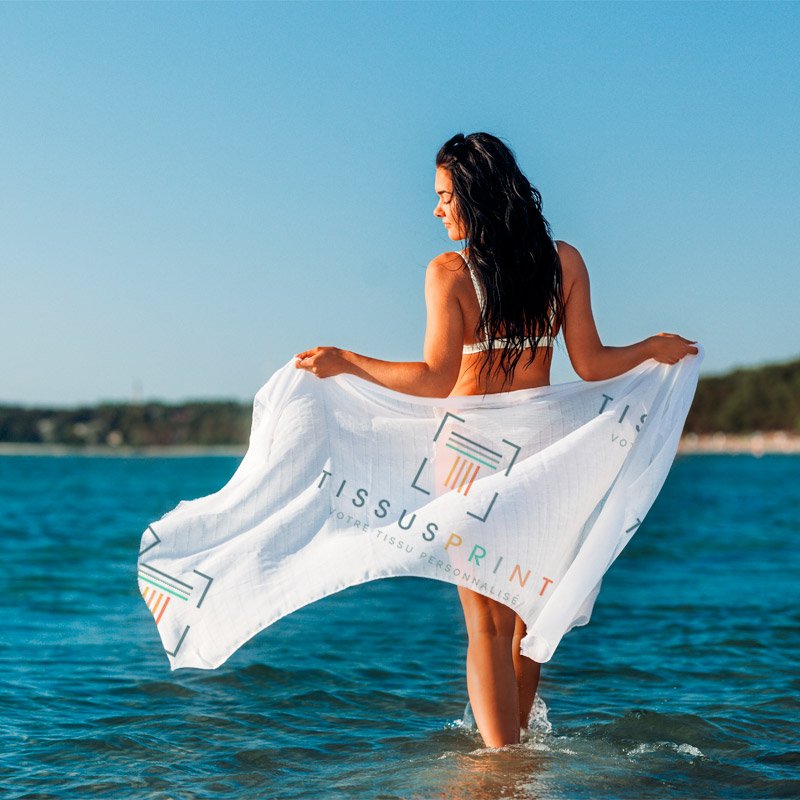


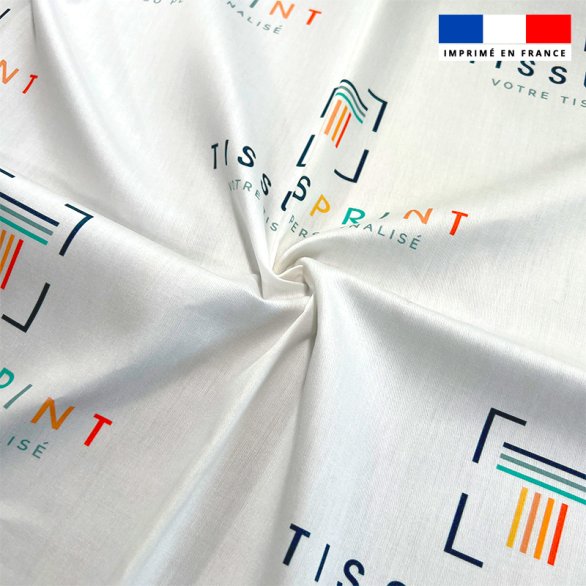
At Tissus Print, the French specialist in custom textile printing, we bring your creations to life through a unique expertise: personalized fabric printing.
Whether you are an individual passionate about décor, a fashion designer, a textile designer, or a visual communication professional, our digital fabric printing service allows you to create printed fabric by the meter using your own designs, logos, photos, or illustrations.
With our online customization tool, you can design your pattern from A to Z, preview the result, choose your material (cotton, satin, velvet, polyester, canvas, etc.), and order in just a few clicks.
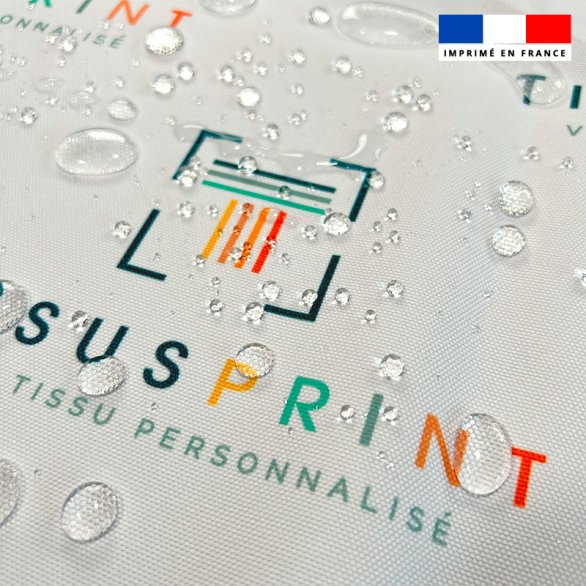
Our fabrics are printed in our workshop in Cuers (Var, 83, France), with no minimum order, using Oeko-Tex® certified inks for a durable, vibrant, and environmentally friendly finish.
In this comprehensive guide, discover how to choose your fabric, create your pattern, and obtain high-quality custom printed fabric, whether for fashion, décor, events, or professional projects.
Why choose custom printed fabric?
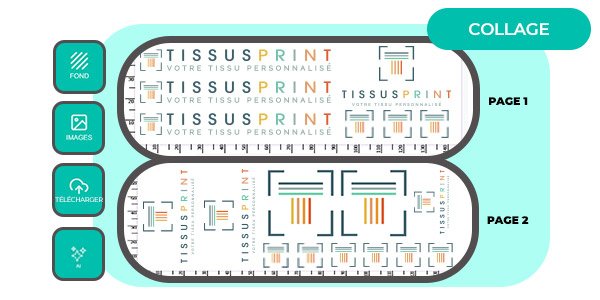
At Tissus Print, we transform your ideas into fabric printed by the meter, with no minimum order. Whether you are an individual, designer, decorator, or imaging professional, our customization tool allows you to easily create custom fabric: repeated patterns, photos, logos, collage, background colors, rotation, and more.
Access all the features you need to create a pattern. Practice and use our platform to design your printed fabric.
Discover fabric customization in video:
How to choose a fabric?
The first step is the most important: selecting the material on which you want to print your fabric.
Natural fabrics (direct printing)
- Cotton (cotton canvas, poplin, cretonne): matte finish, soft touch, ideal for accessories, clothing, linings, and interior décor.
- Advantages: natural appearance, comfort, good drape.
Synthetic fabrics (sublimation printing)
- Polyester (satin, velvet, lycra, canvas, waterproof, blackout, flame-retardant non-fire): vibrant colors, excellent stability, easy care.
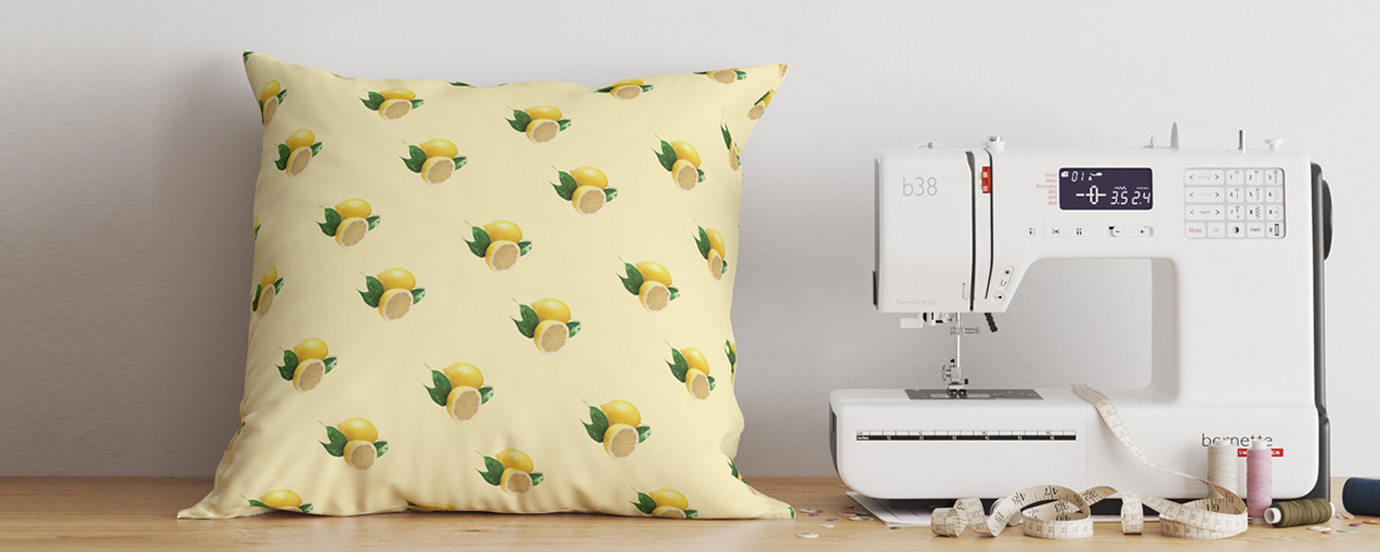
- Uses: curtains, cushions, tablecloths, soft signage, sportswear/leisuresuits, stage design, outdoor (water-repellent version).
- Typical widths: 140–150 cm.
For more information on choosing your material, see our fabric guide.
How to create a pattern for your printed fabric?
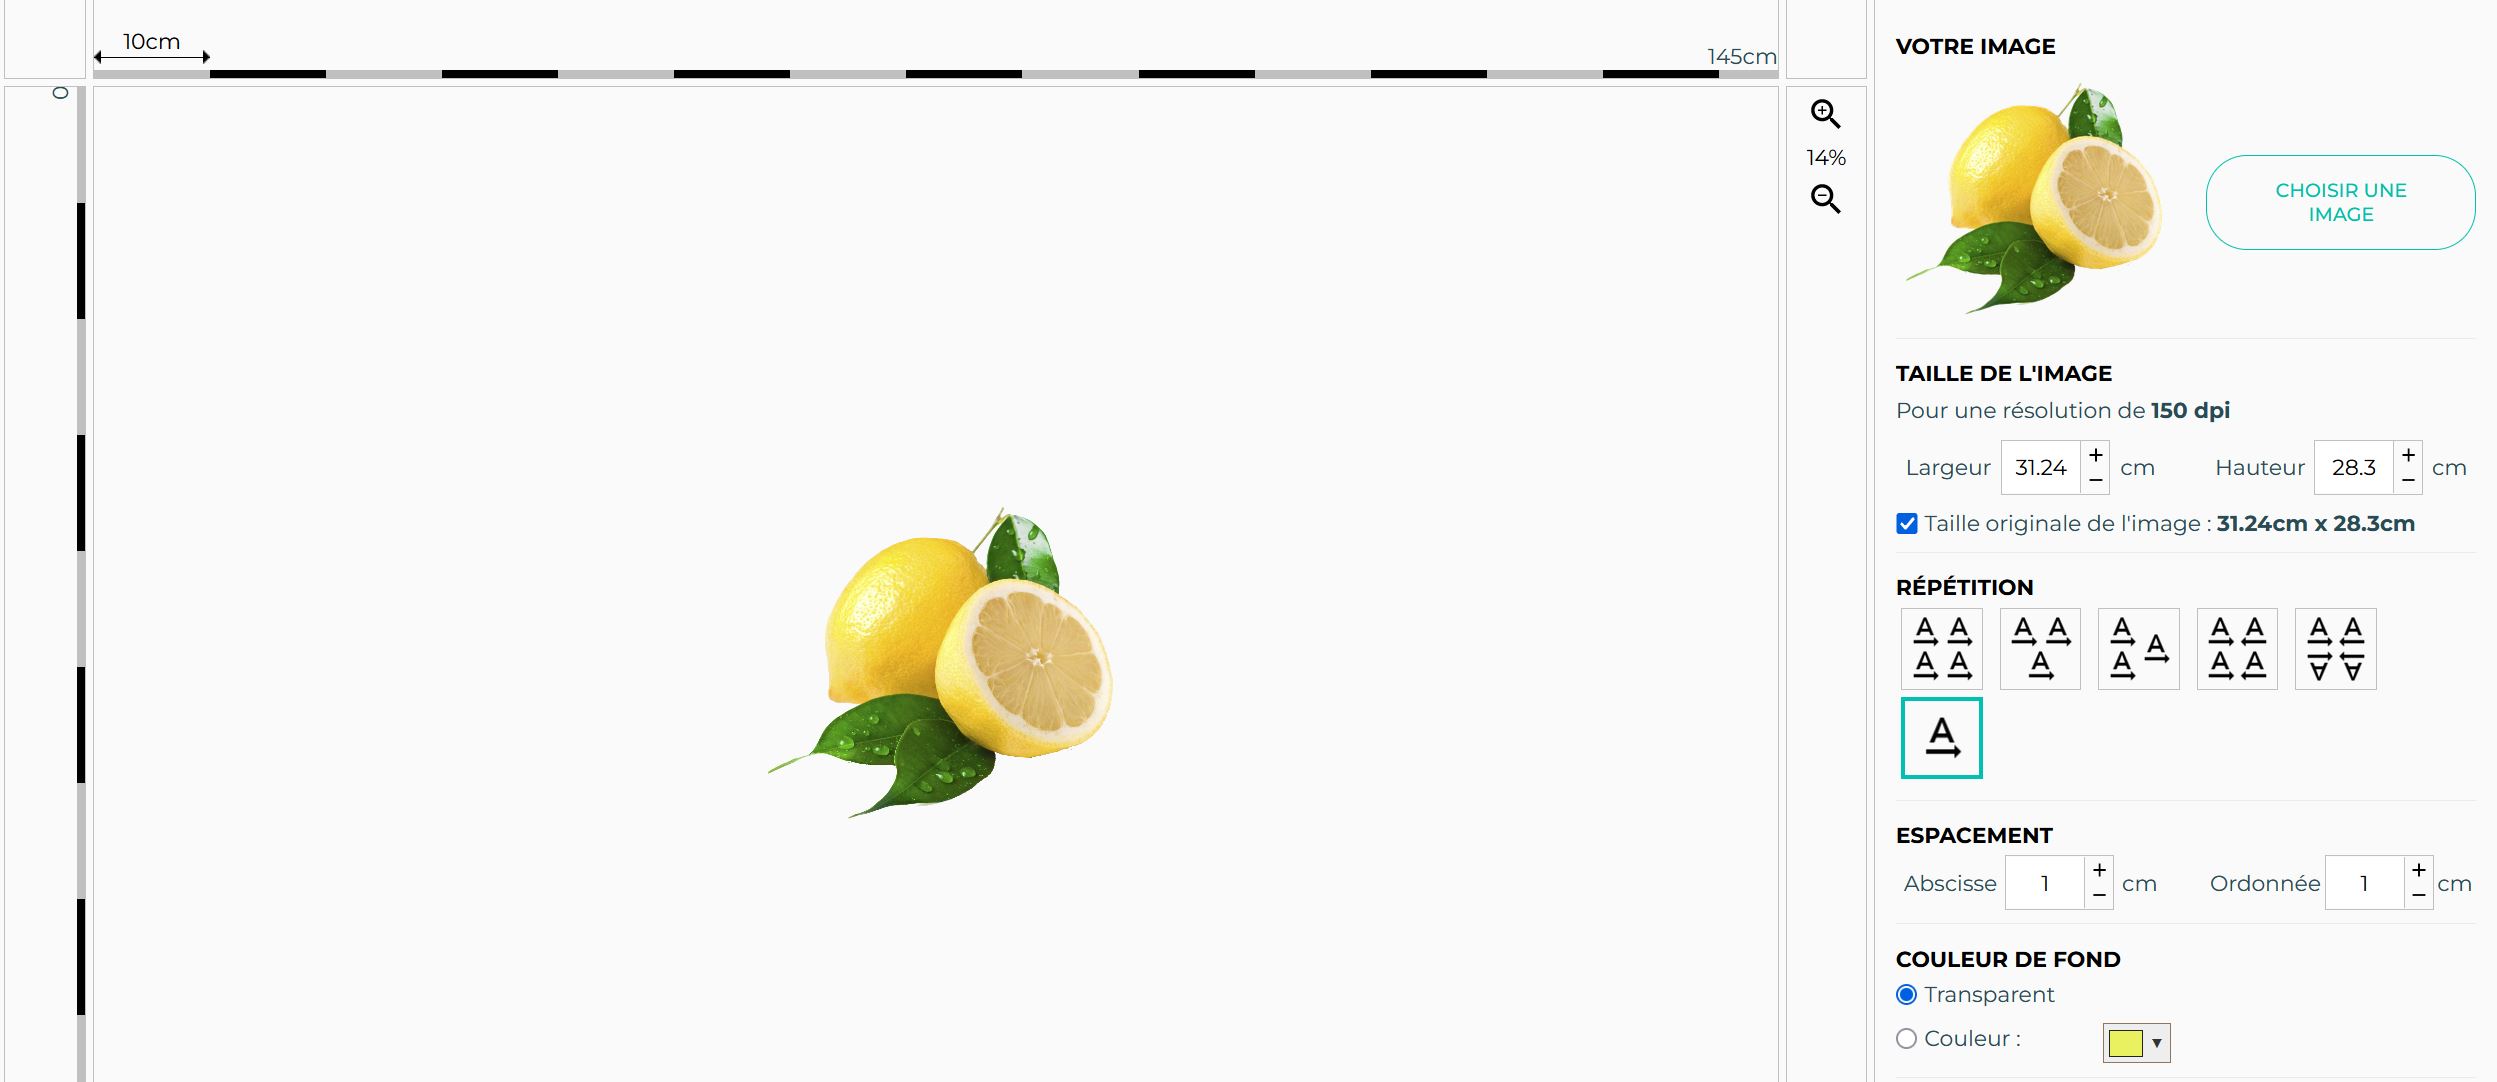
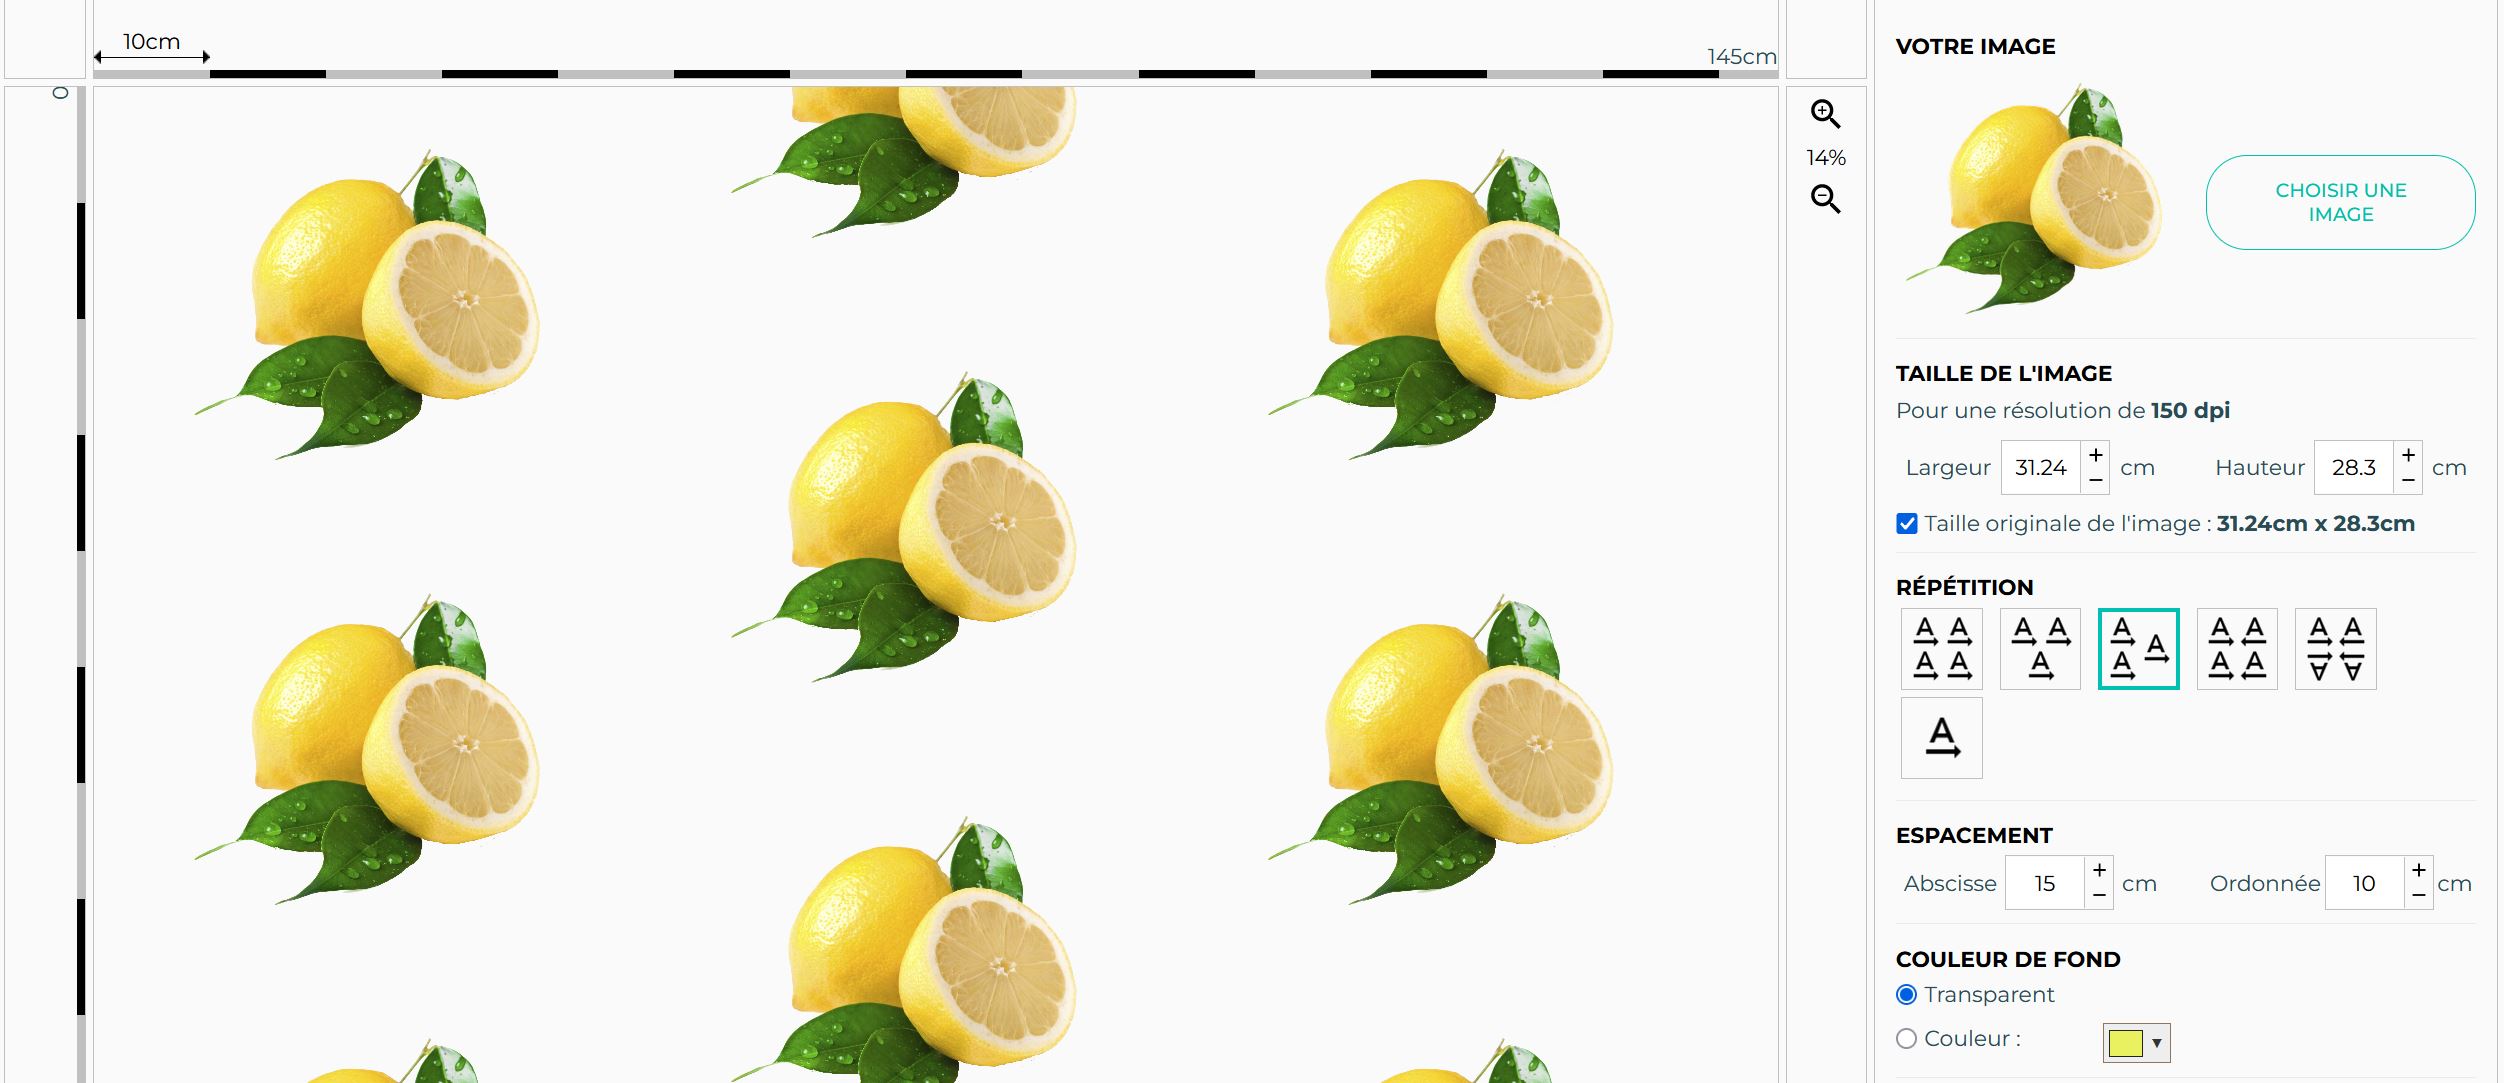
Step 1: Choose an image 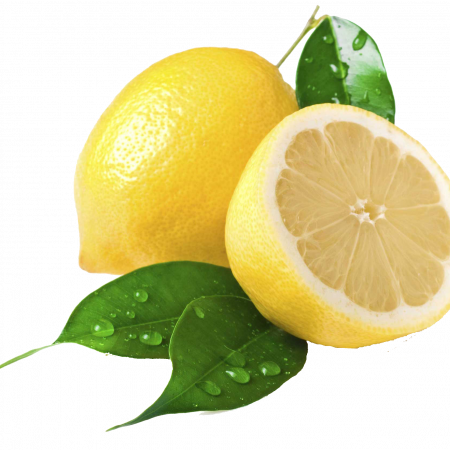
First, to create your printed fabric, you need to select an image. A logo, motif, clipart, illustration, or photo—choose the image you want to print on fabric.
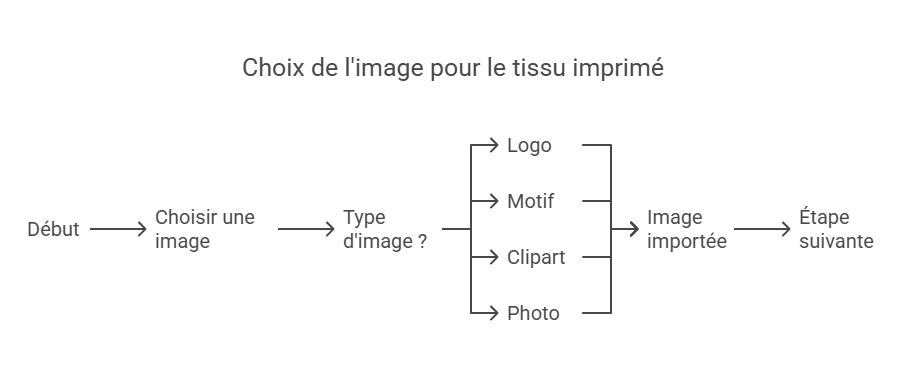
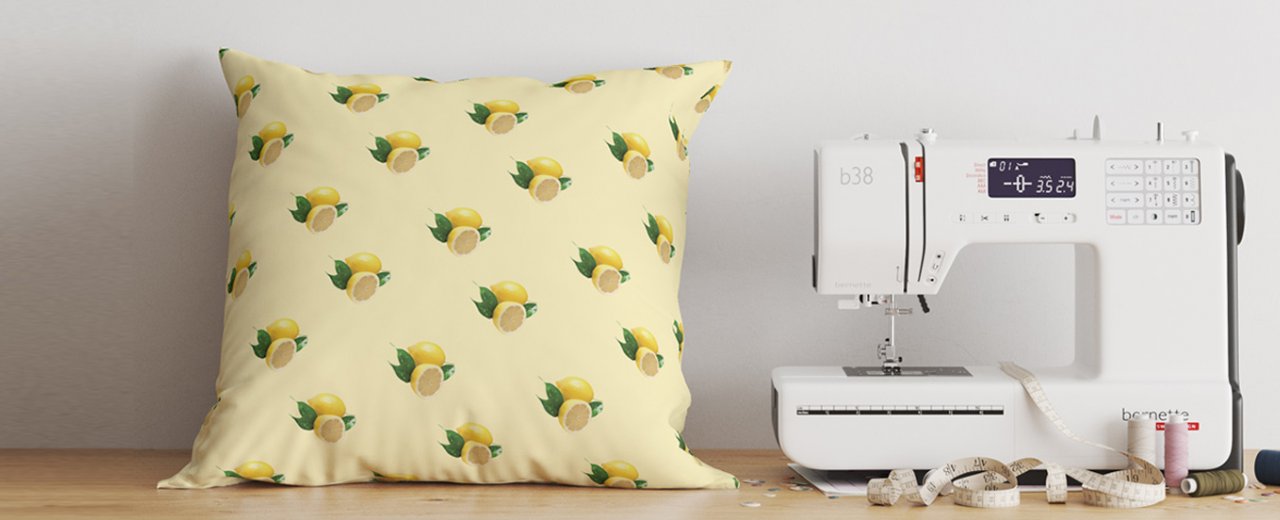
Example: here, we imported a PNG image with a yellow lemon pattern.
Step 2: Image resolution
Once imported, our online pattern creation tool shows your image size and resolution relative to the displayed size, helping you determine the optimal resolution for high-quality printing.
Higher resolution (closer to 300 dpi) ensures better print quality. A resolution of 150–300 dpi is usually sufficient for excellent textile printing results.
You can reduce the image size after import, but be careful: resizing too small or too large can affect quality. Our tool will display a warning in orange if the resolution is insufficient.
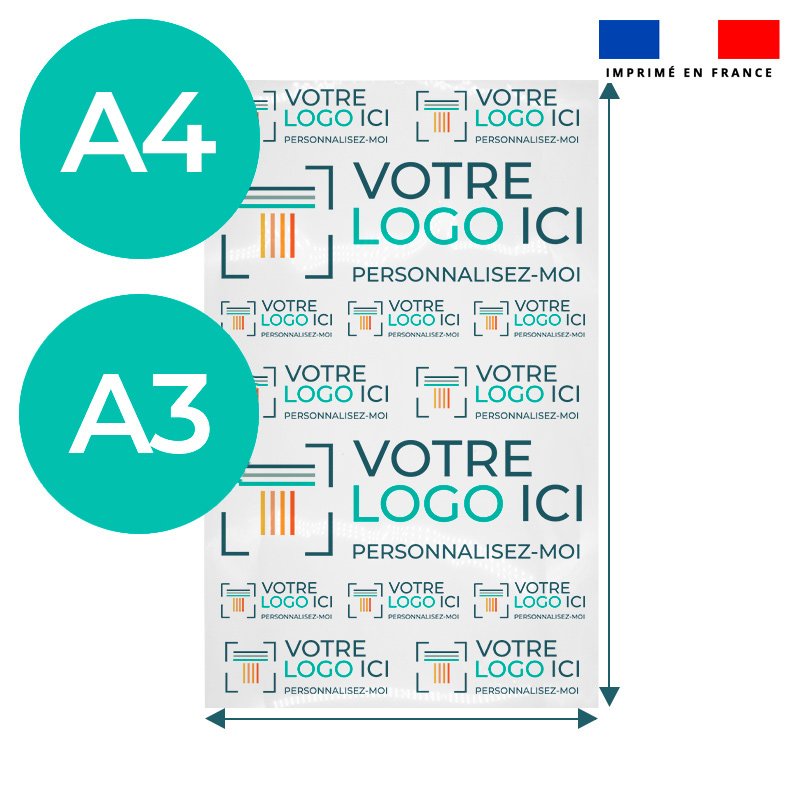
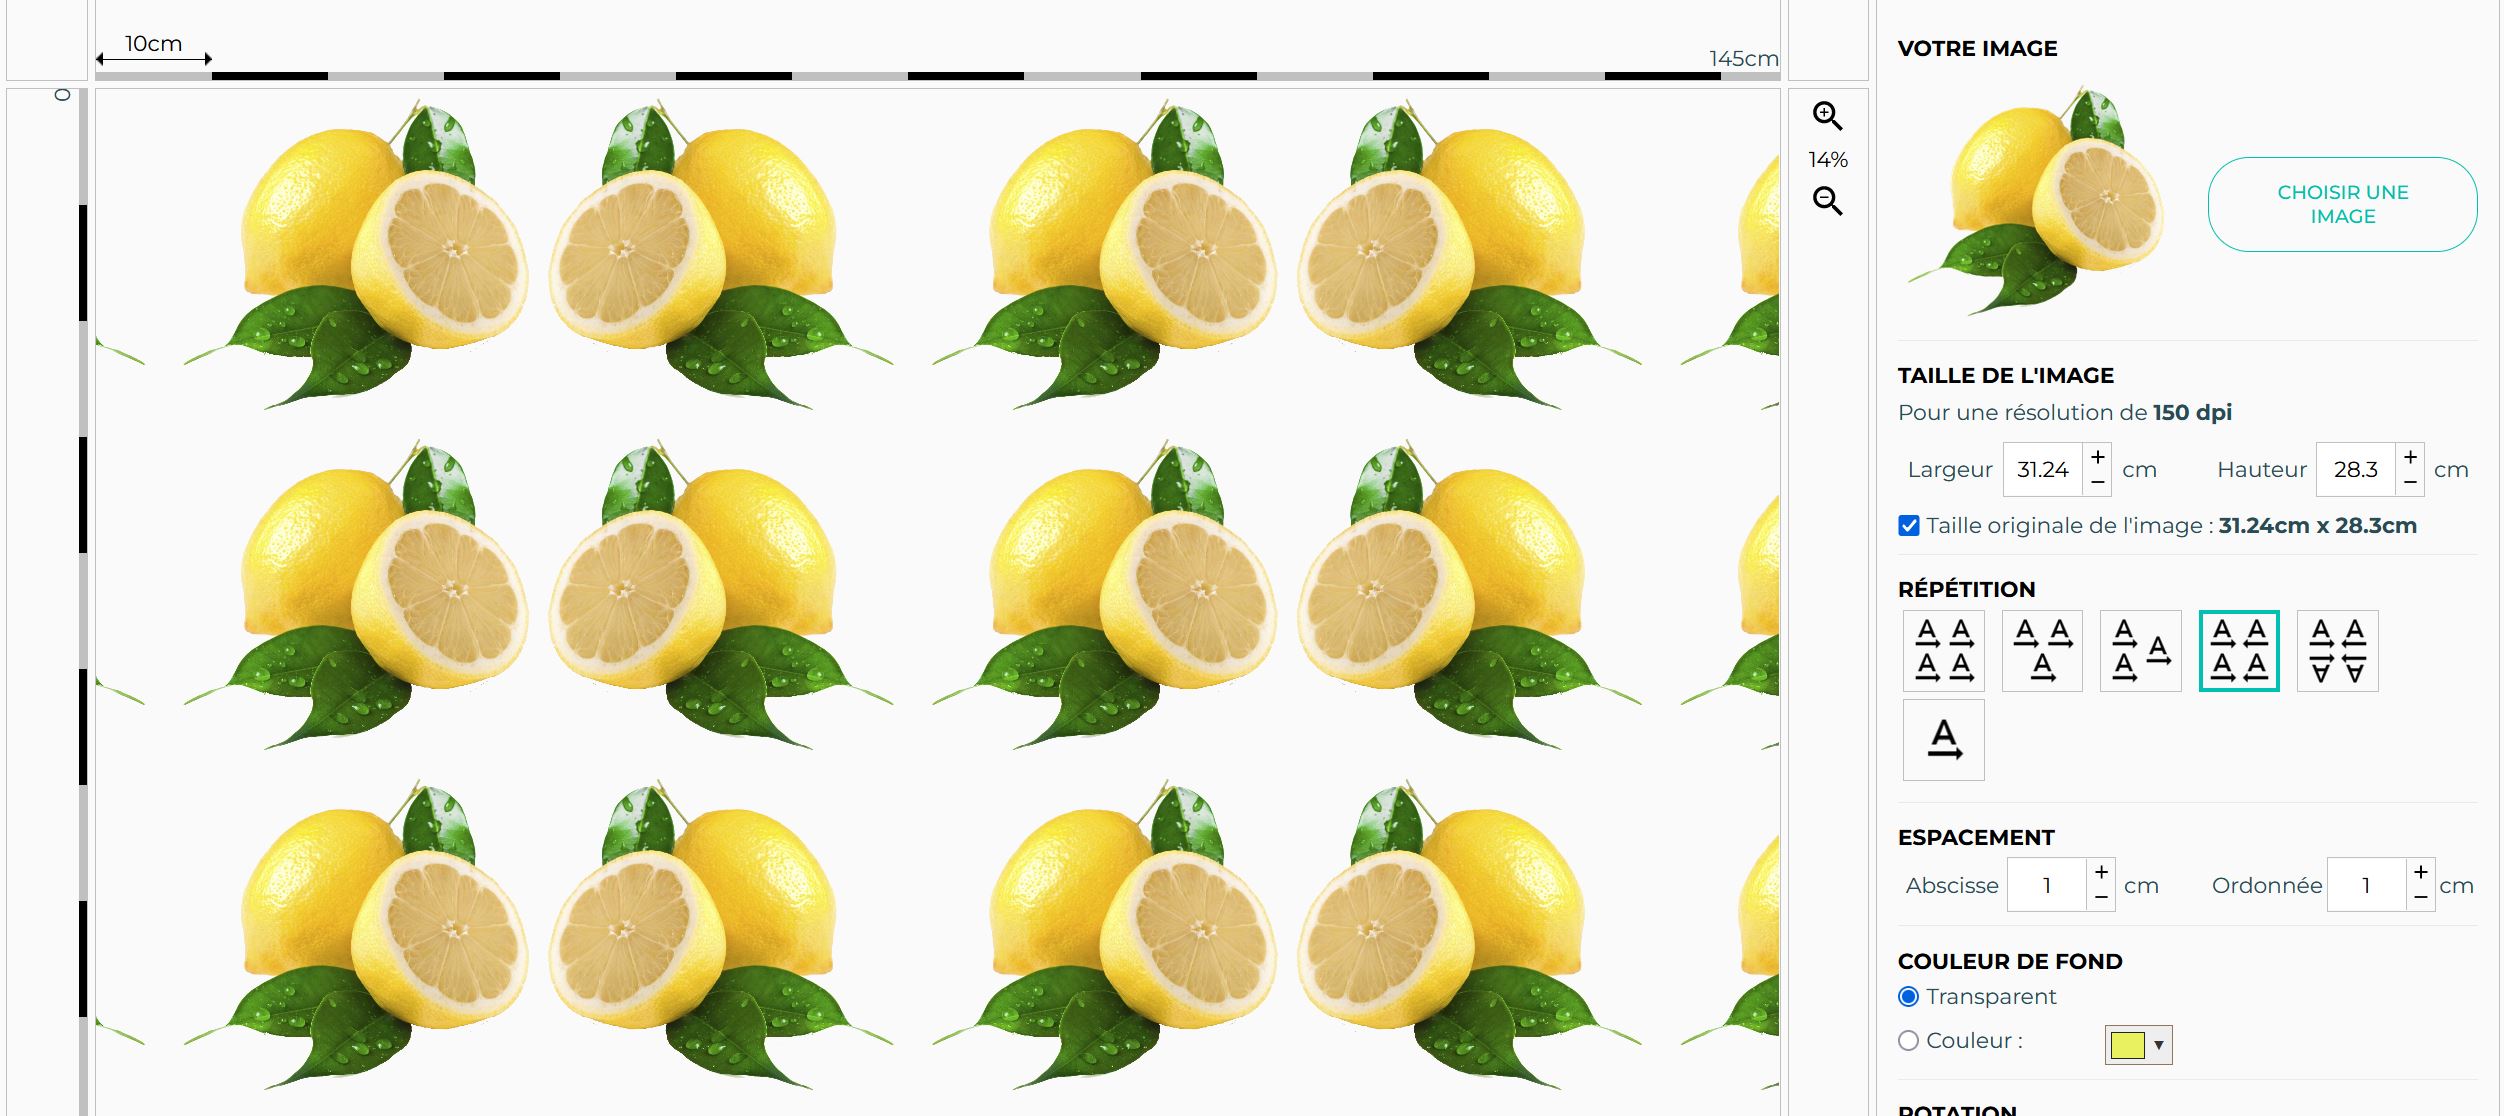
Step 3: Create a repetition
Importing your image into our customization tool creates a basic repeat by default, but additional options are available to optimize the pattern:
Non-repeating pattern:
Staggered repeat:
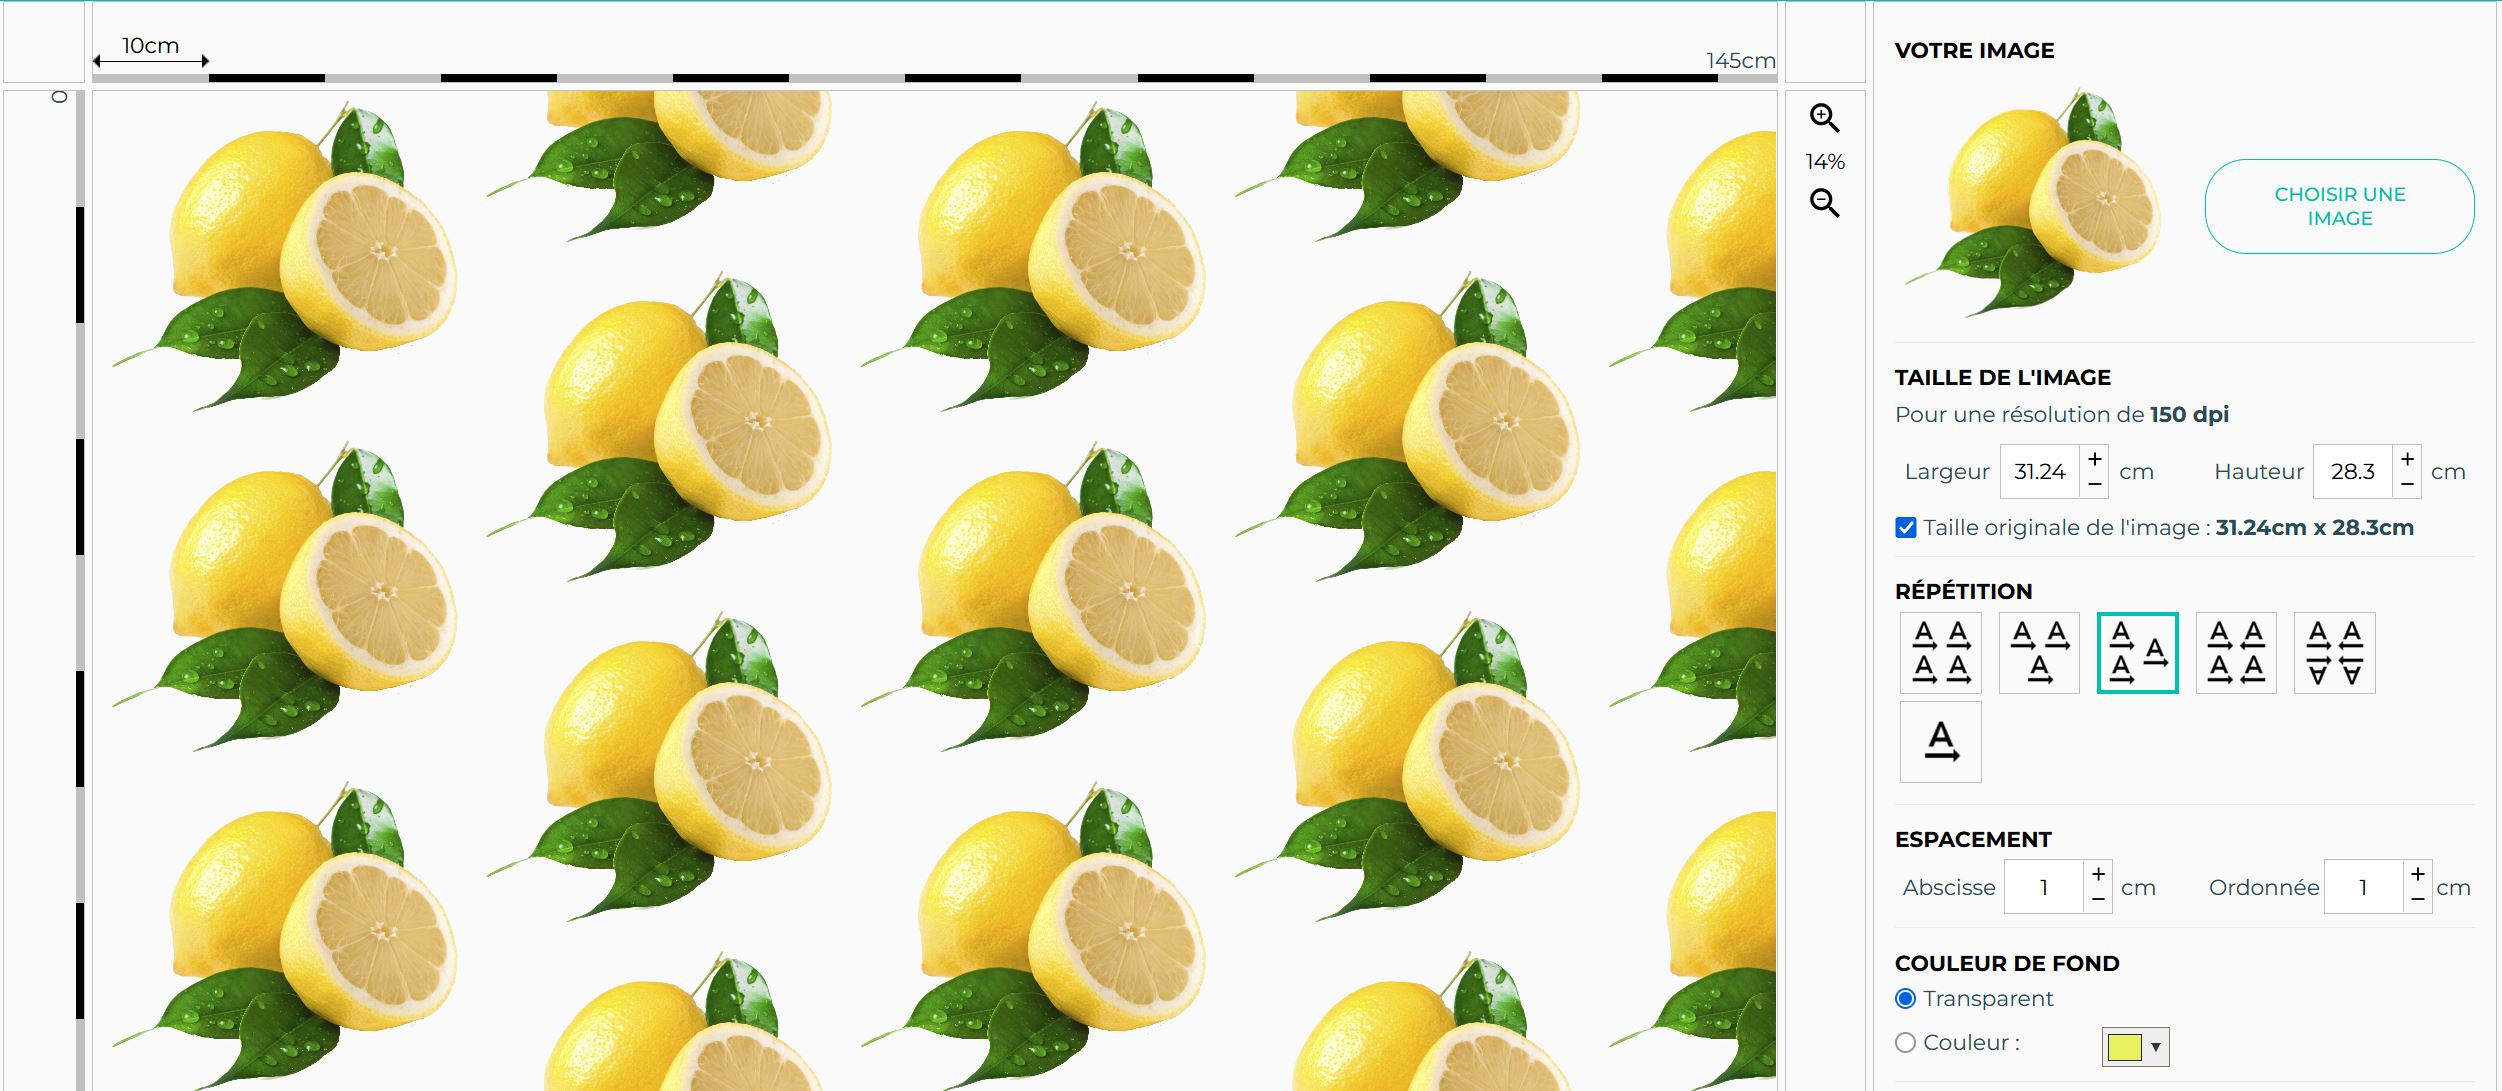
Mirror repeat:
Inverted mirror repeat:

Basic repeat:
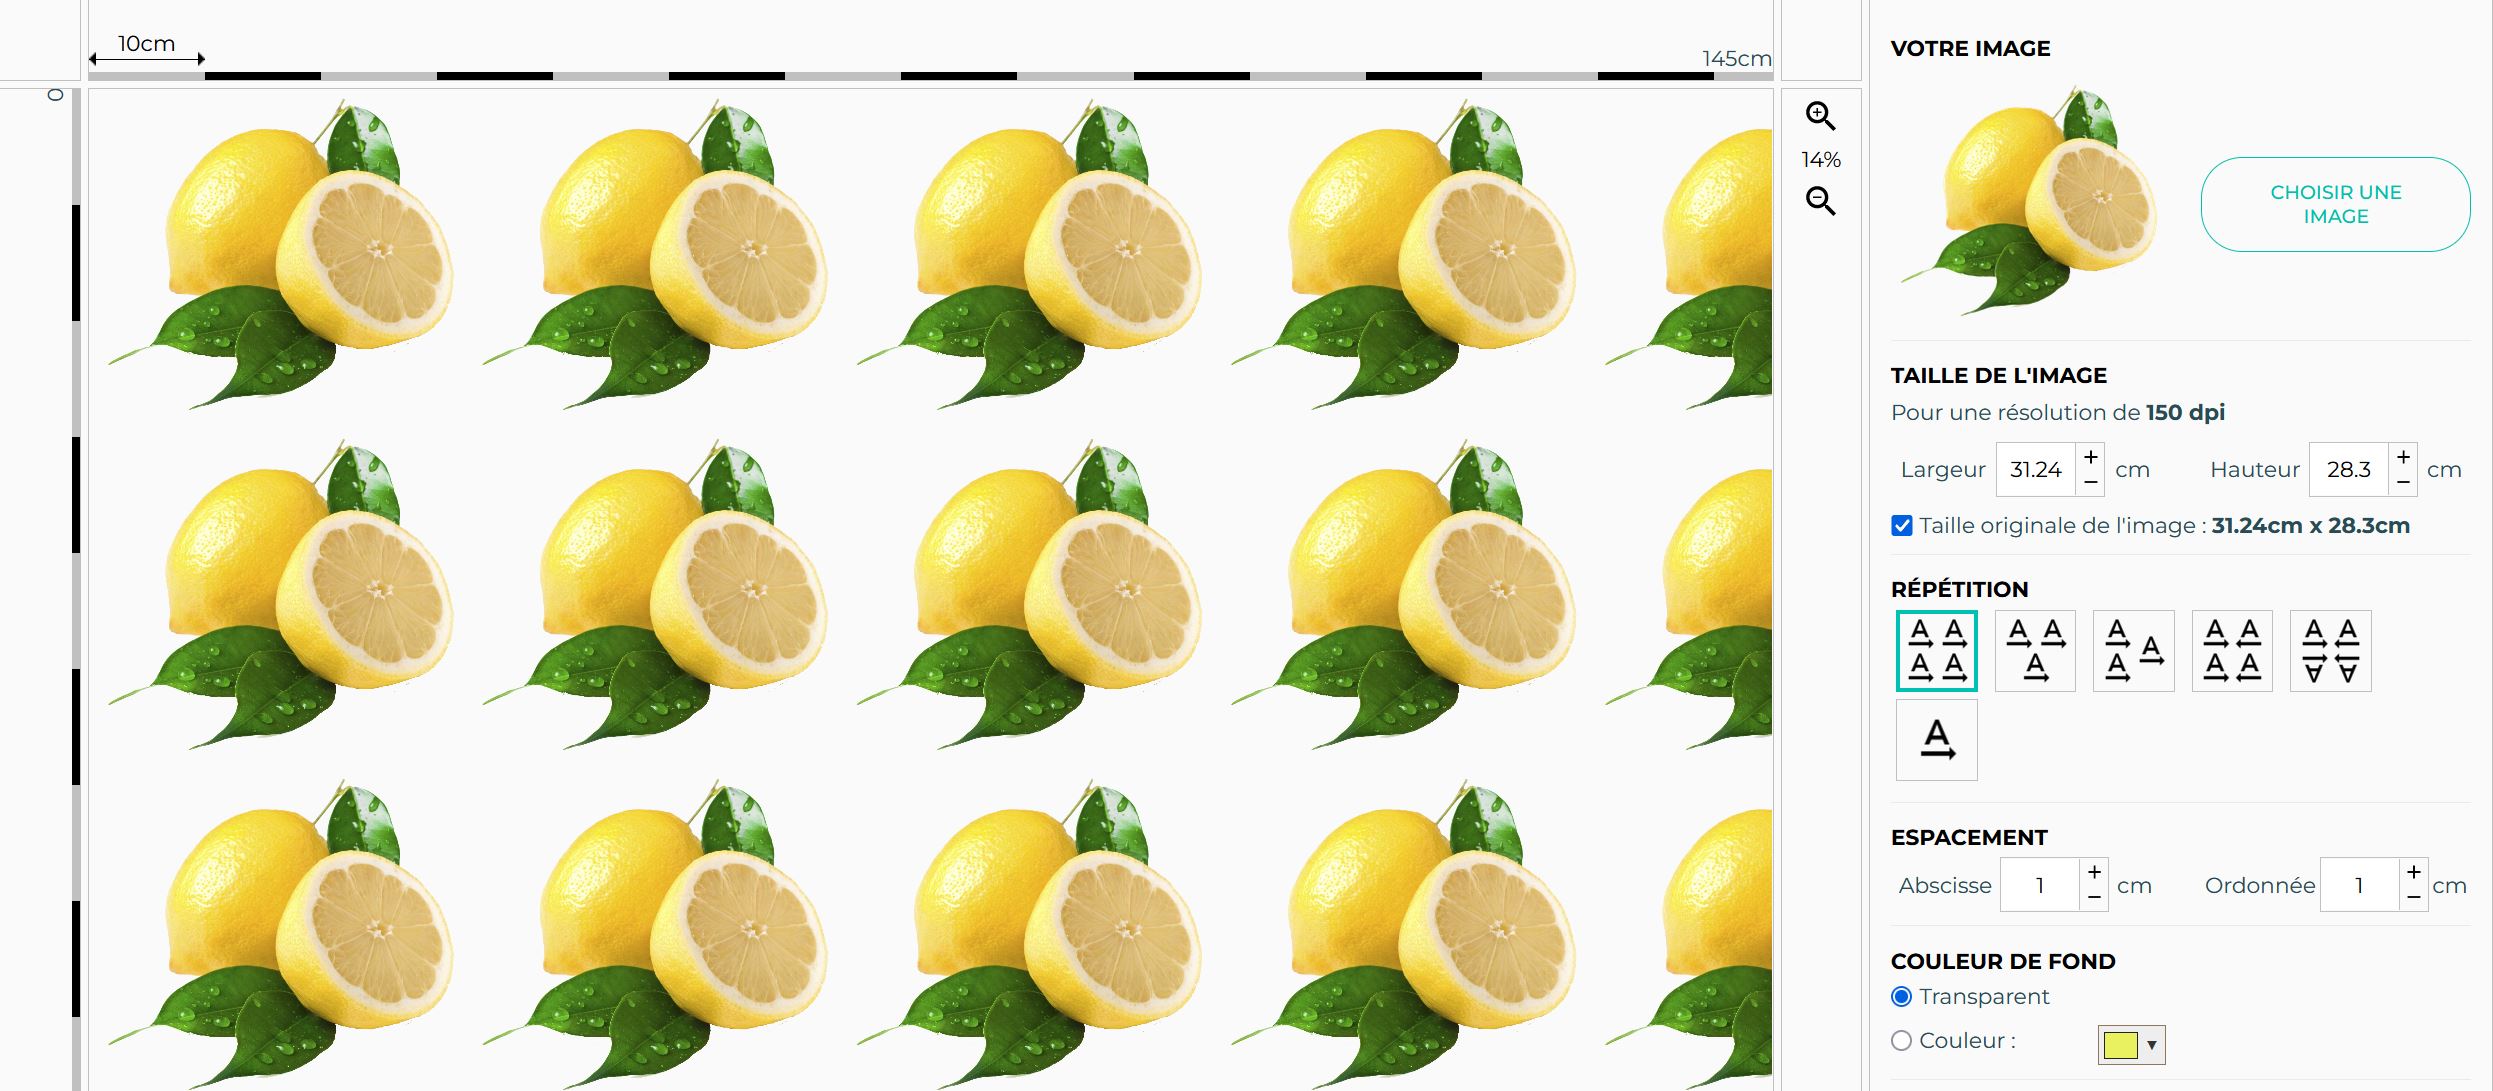
For guidance on creating repeated images, see our article: How to create a repeated pattern for your custom fabric.
Step 4: Pattern spacing
With our tool, you can adjust the spacing or overlap of the pattern repeat.
Example 1: widely spaced repeat
Example 2: overlapping repeat
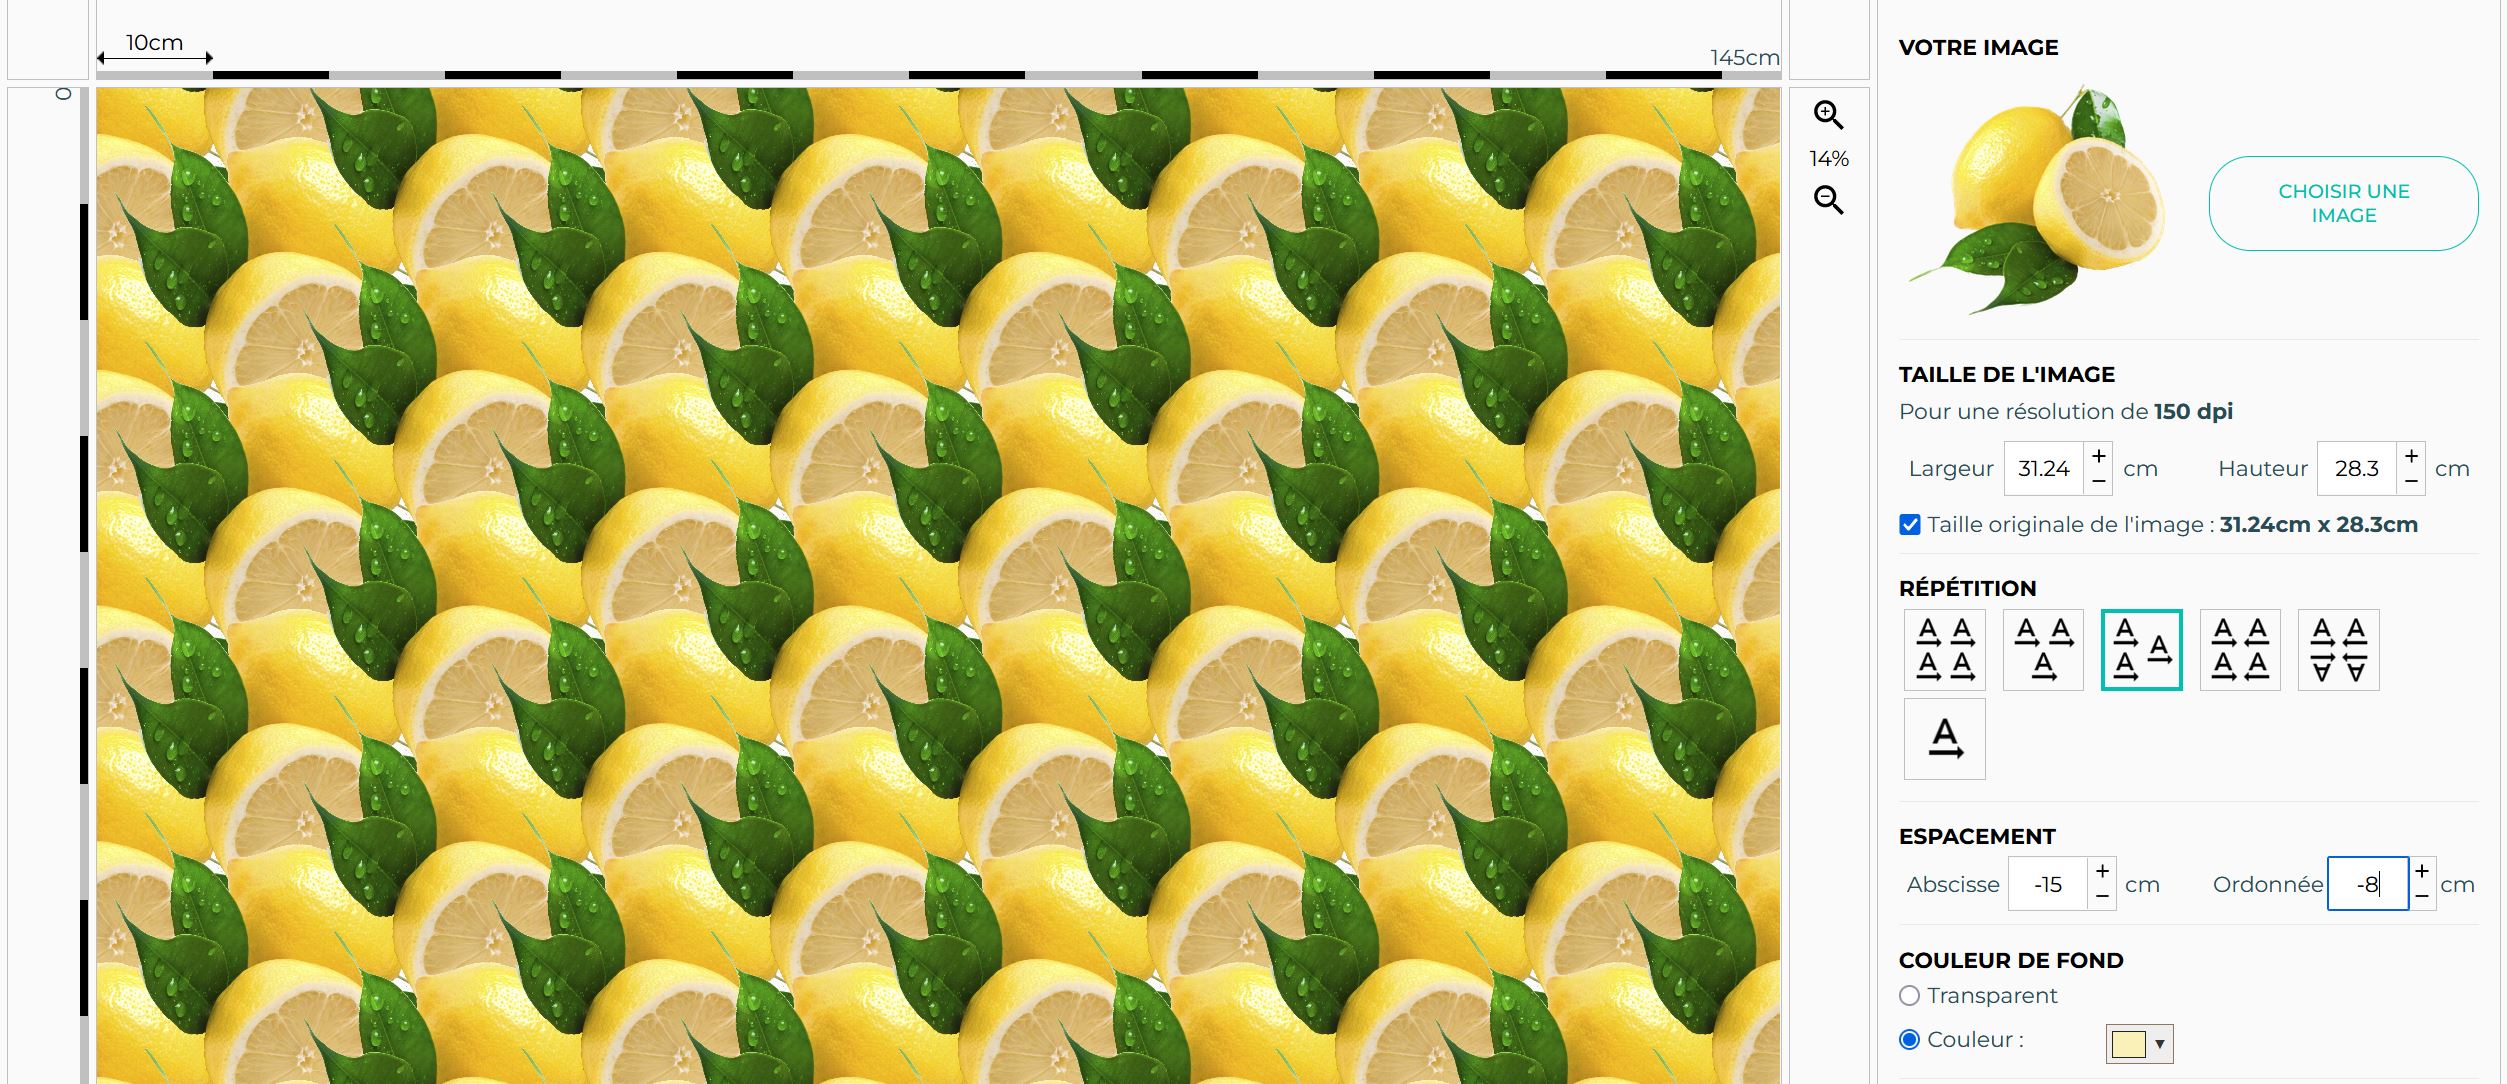
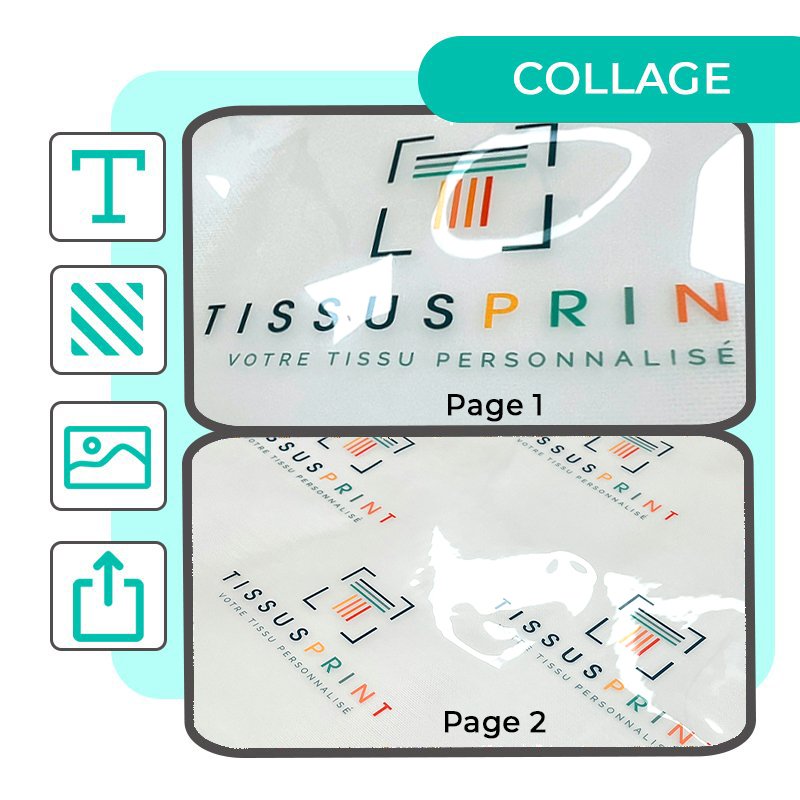
Step 5: Background color
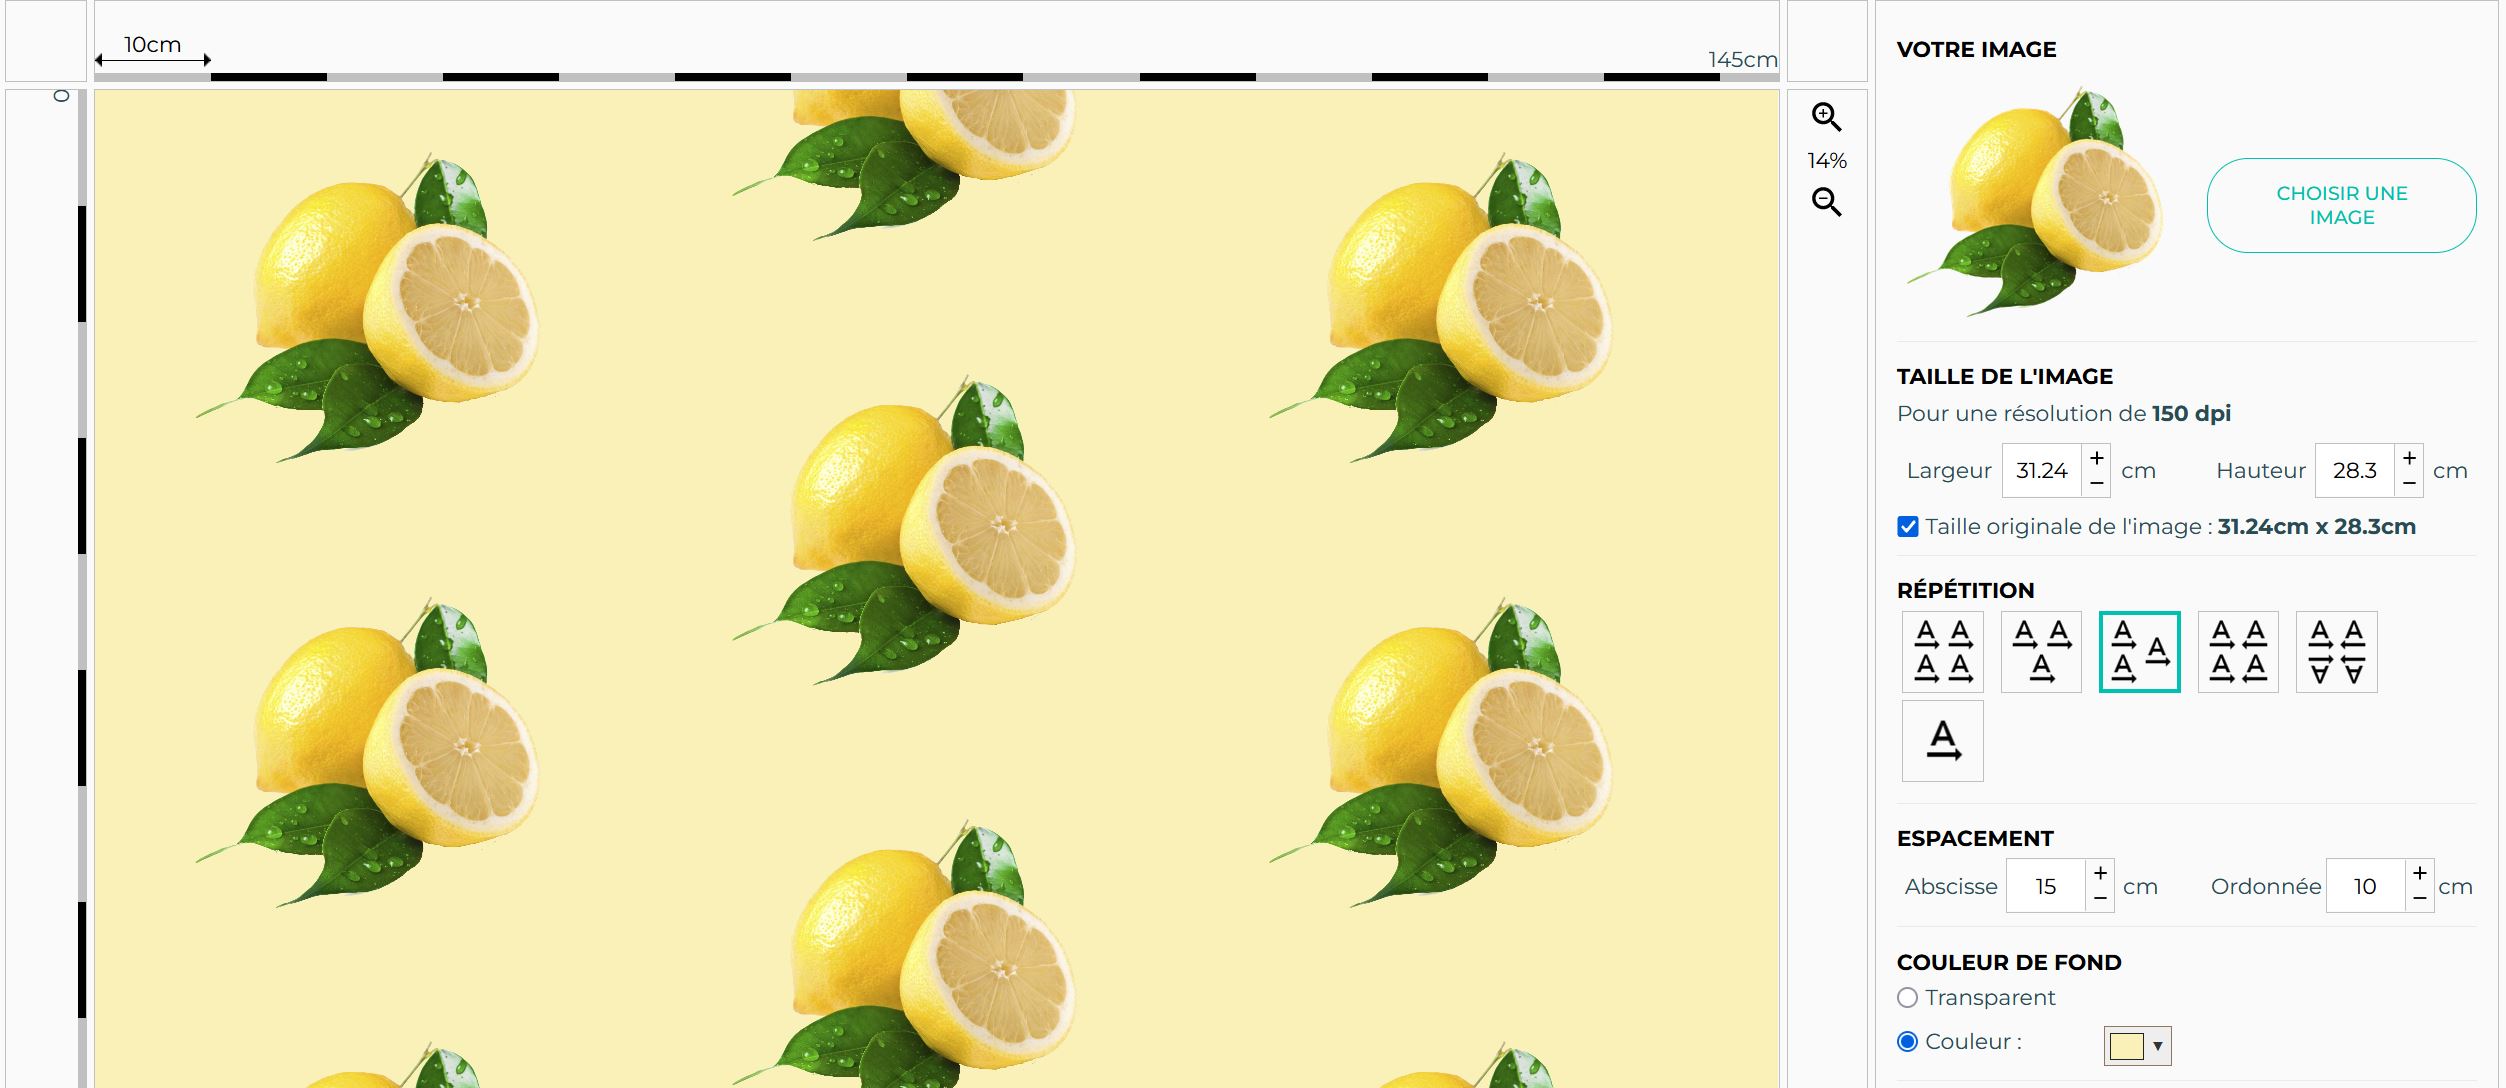
Adding a background color is ideal for PNG images with transparency. Choose a color from the palette or enter a custom color code.
Step 6: Rotation
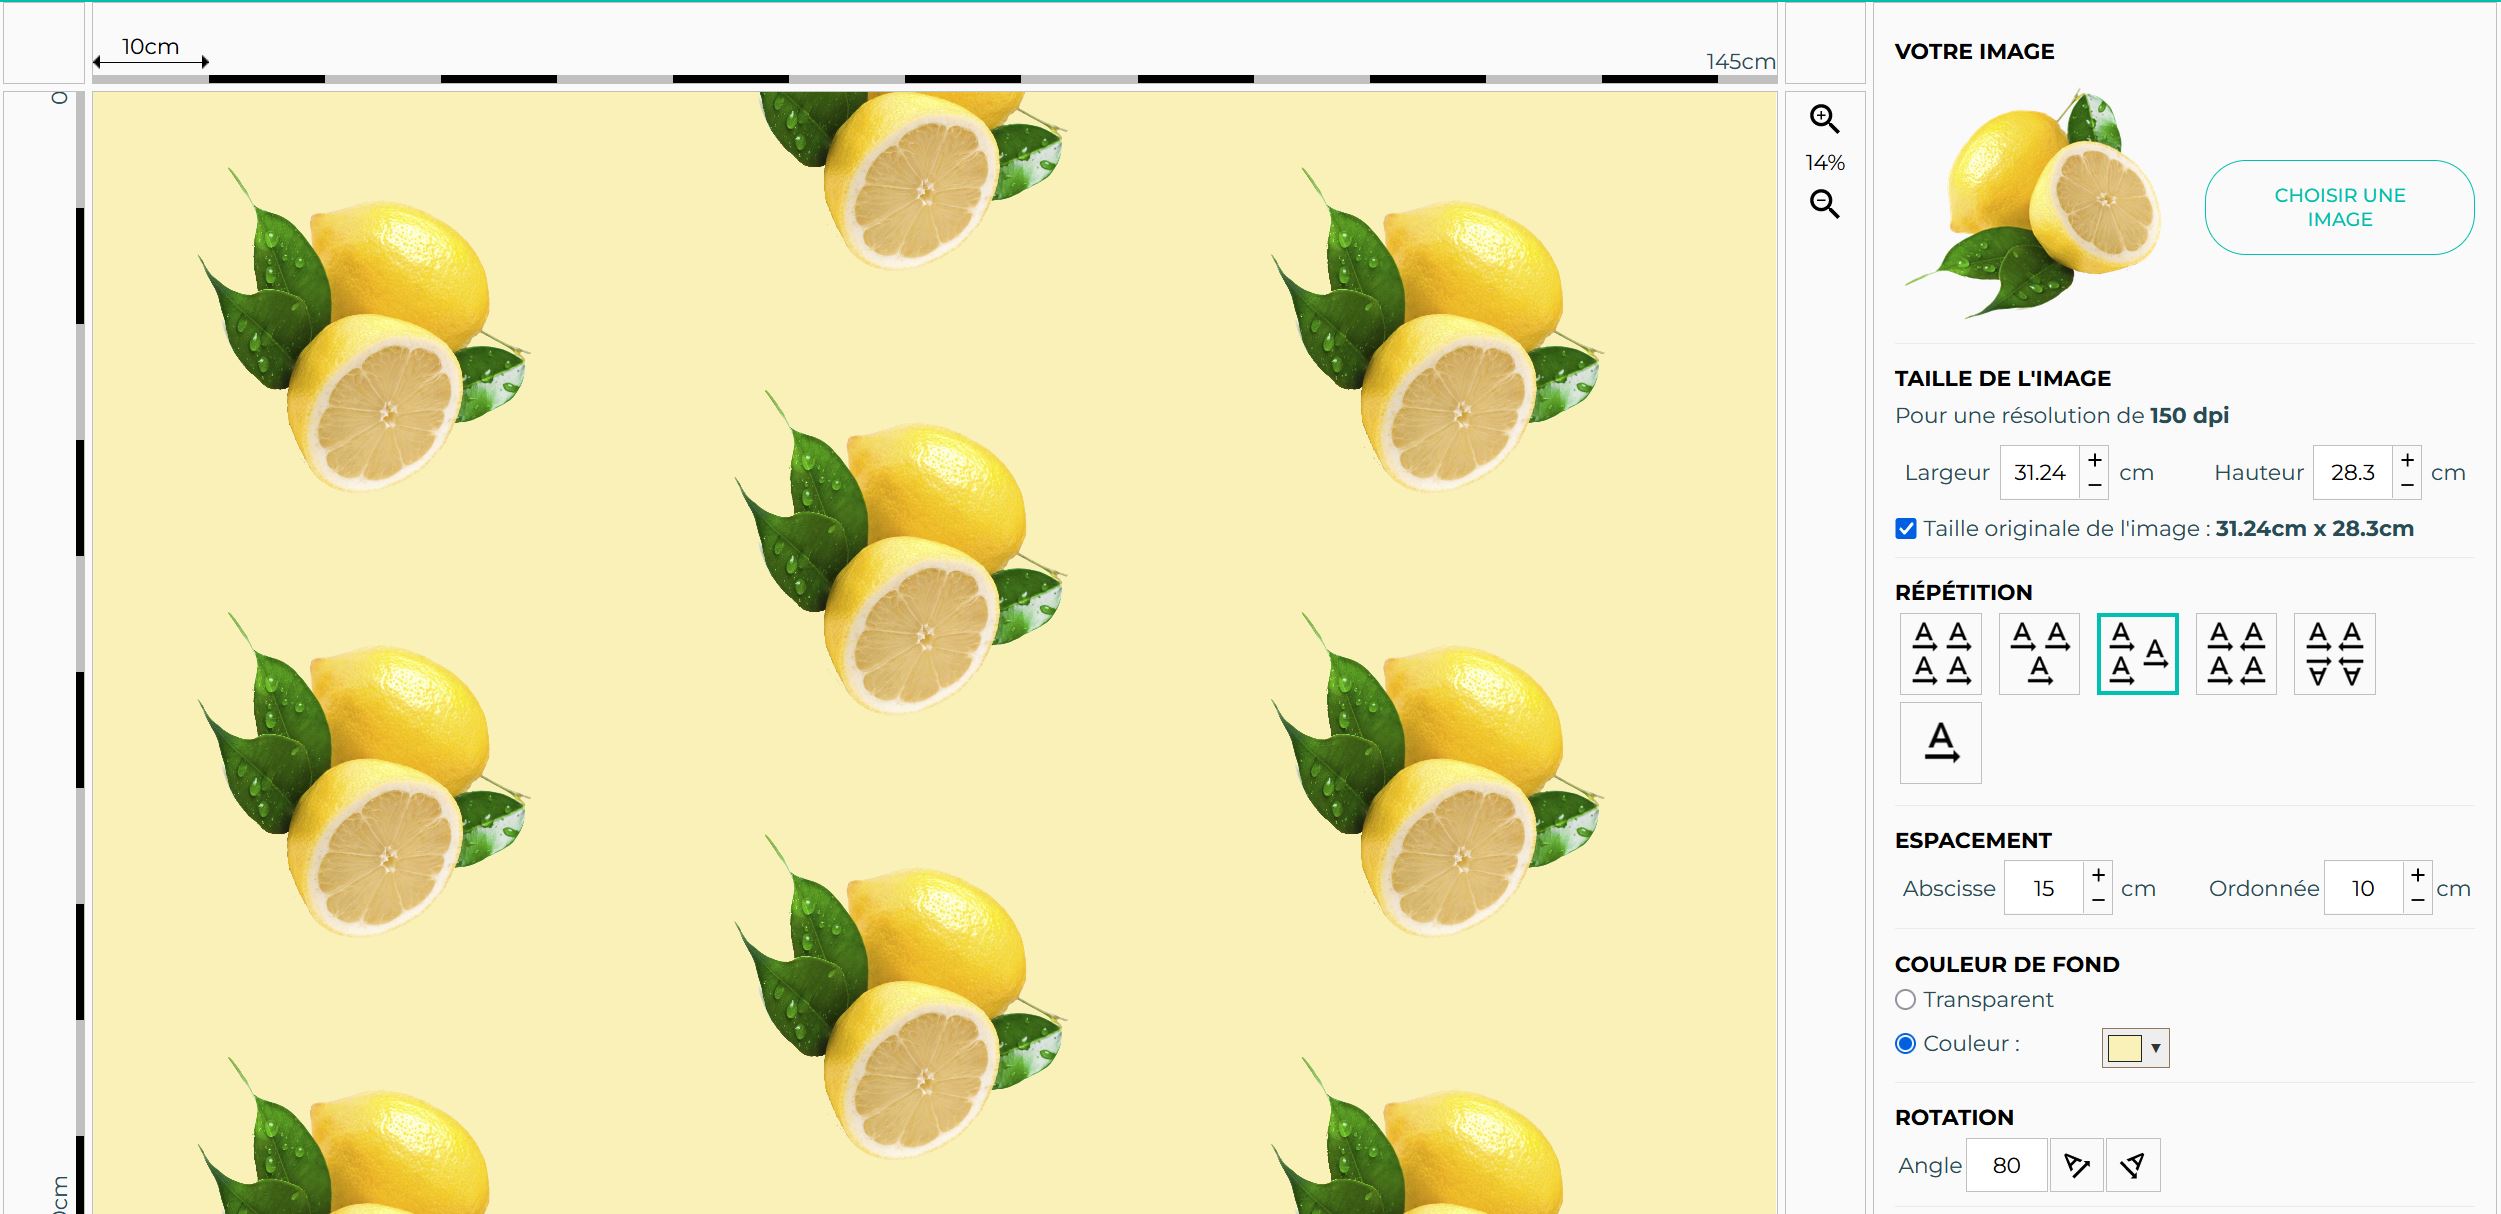
To further customize your pattern, our rotation tool allows you to tilt the image to the desired angle.
The platform also includes basic image filters such as black & white and grayscale.
Files & printing quality: pro guide
For sharp, faithful, and durable printed fabric, prepare your files and verify key settings before printing. This guide summarizes best practices for professional-quality custom fabric.
Recommended file formats
- TIFF (preferred): LZW or ZIP lossless compression, ideal for solid areas and detailed patterns.
- JPEG (maximum quality): quality 10–12, imperceptible artifacts, smaller file size.
- PNG: perfect for transparent backgrounds (background handled in tool).
Avoid: multi-page PDFs, GIFs, overly compressed files, or unconverted spot colors.
Color profile & color space
- RGB recommended (sRGB or Adobe RGB).
- Neutralize color casts: white balance, gamma correction, black density.
- Avoid out-of-gamut colors (neon) on natural fabrics: preview close alternatives.
Resolution & print scale
- 150–300 dpi at final print scale.
- Repeated patterns (all-over): 150–200 dpi is usually sufficient.
- Fine visuals/typography: aim for 300 dpi for optimal sharpness.
Material choice & expected result
| Material | Common process | Finish & usage |
|---|---|---|
| Cotton (canvas, poplin, cretonne) | Direct digital printing | Matte, natural look. Accessories, clothing, interior décor. |
| Polyester (satin, velvet, lycra, canvas) | Sublimation / transfer | Vibrant colors, excellent hold. Technical fashion, décor, soft signage. |
| Blackout / Waterproof / Flame-retardant | Sublimation / transfer | Functional, events, outdoor, technical curtains. |
Pattern repetition, alignment & repeat sizes
- Repetition type: basic (grid), staggered, mirror, inverted mirror, non-repeating (placement).
- Repeat size: pattern dimension before repetition (e.g., 16 × 16 cm). Keep clean values.
- Seamless alignment: avoid visible image edges, extend patterns 1–2 px.
- Spacing: “breathing” for minimal looks, density for all-over prints.
Margins, bleed & safe zones
- Bleed: allow 0.5–1 cm if visuals should extend to edge after sewing.
- Safe zone: keep text/fine elements ≥ 10 mm from edges.
- Scale: check 1:1 preview before approval.
Color management & final result
Final result depends on material and process. Cotton: matte, natural look; polyester (sublimation): vivid and high contrast.
- Use balanced colors (avoid extreme saturation on matte cotton).
- A printed sample validates true shades before production.
- Standardize photo lighting and white balance to limit color drift.
Care & durability
- Washing: 30°C delicate cycle, similar colors, no bleach.
- Drying: air-dry preferred; gentle tumble if suitable.
- Ironing: moderate, inside out if possible.
- Durability: colors last with appropriate inks and processes.
Prepress checklist (before confirming order)
- File in RGB (sRGB/Adobe RGB), flattened if necessary.
- Resolution matches final print scale (150–300 dpi).
- Repetition type & repeat size verified (alignment OK, no visible edges).
- Background color set (for transparent PNGs).
- Safe zones and bleed considered.
- Order a sample if critical shade or new material.
Need flawless results? Test a sample first and adjust your file using our recommendations above.
Create my custom fabricAll our printed fabrics are made in our French workshop (Cuers, Var 83) using processes suited to each material to maximize color accuracy and durability.
Your pattern is now complete! Just finalize the remaining settings to proceed with printing your design on fabric. You now know how to create printed fabric! For more on textile printing, see our article on different textile printing techniques.
You will need to select your material (if you are unsure about your initial choice) and decide the quantity to print:
- Sample: 50 cm
- Meterage: 100 cm
- Per centimeter: from 100 cm
At Tissus Print, there is no minimum order, and you receive a discount from 10 meters purchased. Fast delivery from our workshop in southern France. Take advantage now to create your custom printed fabric!
Explore the exciting world of online pattern creation with our fabric customization tool. From material selection to pattern creation, our complete guide accompanies you through every step. With advanced features such as pattern repetition, spacing, background color, and rotation, you can bring unique designs to life. Optimal resolution of 150–300 dpi ensures exceptional print quality. Once your custom pattern is created, simply select your material and desired quantity. Enjoy the flexibility of Tissus Print, with no minimum order and discounts from 10 meters, to realize your unique printed fabric creations. Start your textile printing journey now with our user-friendly tool.


0 commentaires